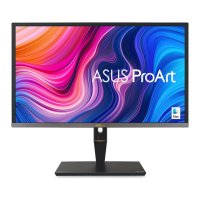
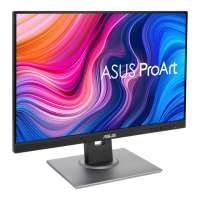
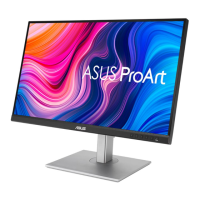
2-3ASUSPA248SeriesLCDMonitor
2.3 Connecting the cables
1. Connectthecablesasthefollowinginstructions:
• To connect the power cord:connectoneendofthepowercordsecurelyto
themonitor’sACinputport,theotherendtoapoweroutlet.
• To connect the VGA/HDMI/DVI/DisplayPort cable:
a. PlugoneendoftheVGA/HDMI/DVI/DisplayPortcabletothemonitor’s
VGA/HDMI/DVI/DisplayPortjack.
b. ConnecttheotherendoftheVGA/HDMI/DVI/DisplayPortcabletoyour
computer'sVGA/HDMI/DVI/DisplayPortjack.
c. TightenthetwoscrewstosecuretheVGA/DVIconnector.
• To use the earphone:connecttheendwithplugtypetothemonitor’s
earphonejackwhenanHDMIorDisplayPortsignalisfed.
• To use the USB 3.0 ports:TakethesuppliedUSB3.0cable,andplug
thesmallerend(typeB)oftheUSBupstreamcabletothemonitor’sUSB
upstreamport,andthelargerend(typeA)toyourcomputer’sUSB3.0port.
MakesureyourcomputerisinstalledwiththelastestWindows7operating
system.ThatwillenabletheUSBportsonthemonitortowork.
Whenthesecablesareconnected,youcanchoosethedesiredsignal
from the Input Select item in the OSD menu.
2.4 Turning on the monitor
Press the power button .Seepage1-2forthelocationofthepowerbutton.The
power indicator lightsupinwhitetoshowthatthemonitorisON.
 Loading...