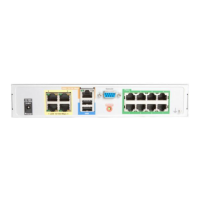
The AT&T Business in a Box® Add-On’s may be wall mounted on a
¾” or thicker plywood backing. Use the two (2) rack-mount
brackets, eight (8) bracket screws (included) and four (4) 1 ½”
wood screws (not included).
Complete the following steps:
1) Position the device so that the front panel is facing down
and apply the rack-mount brackets with bracket screws to
each side as shown in Figure 1. Rack-mount bracket
position.
2) Attach the bracket to ¾” or thicker plywood backing using
four (4) 1 ½” wood screws as shown in Figure 2. Rack-
Mount bracket on plywood backing.
Important: Cables will flow down and should be dressed using a
wire minder. The unit should be mounted high enough that the
technician can see the status lights**. See Figure 3 Installation
example.
Step 1 – Wall Mounting Instructions (optional to Rack Mounting)
6
** It is recommended, but not required that a skilled technician mount the router on the wall.
© 2014 AT&T Intellectual Property. All rights reserved. AT&T, Globe logo and other marks are trademarks of AT&T Intellectual Property.

 Loading...