Using Macros
What is a Macro?
A macro is an easy way to automate a sequence of switcher actions so you can repeat the
sequence at the press, or click, of a button. For example, you can record a sequence of
transitions between several video sources, including key effects, audio mixer adjustments,
camera control settings and more. Record all your actions to a macro button, then when
you press that button all your recorded actions will be instantly performed. Macros are
recorded using the macros window in ATEM Software Control, an ATEM Advanced Panel, or a
combination of the two and are stored inside your ATEM switcher. Macros are common to all
control panels, they can be triggered using any control panel you like.
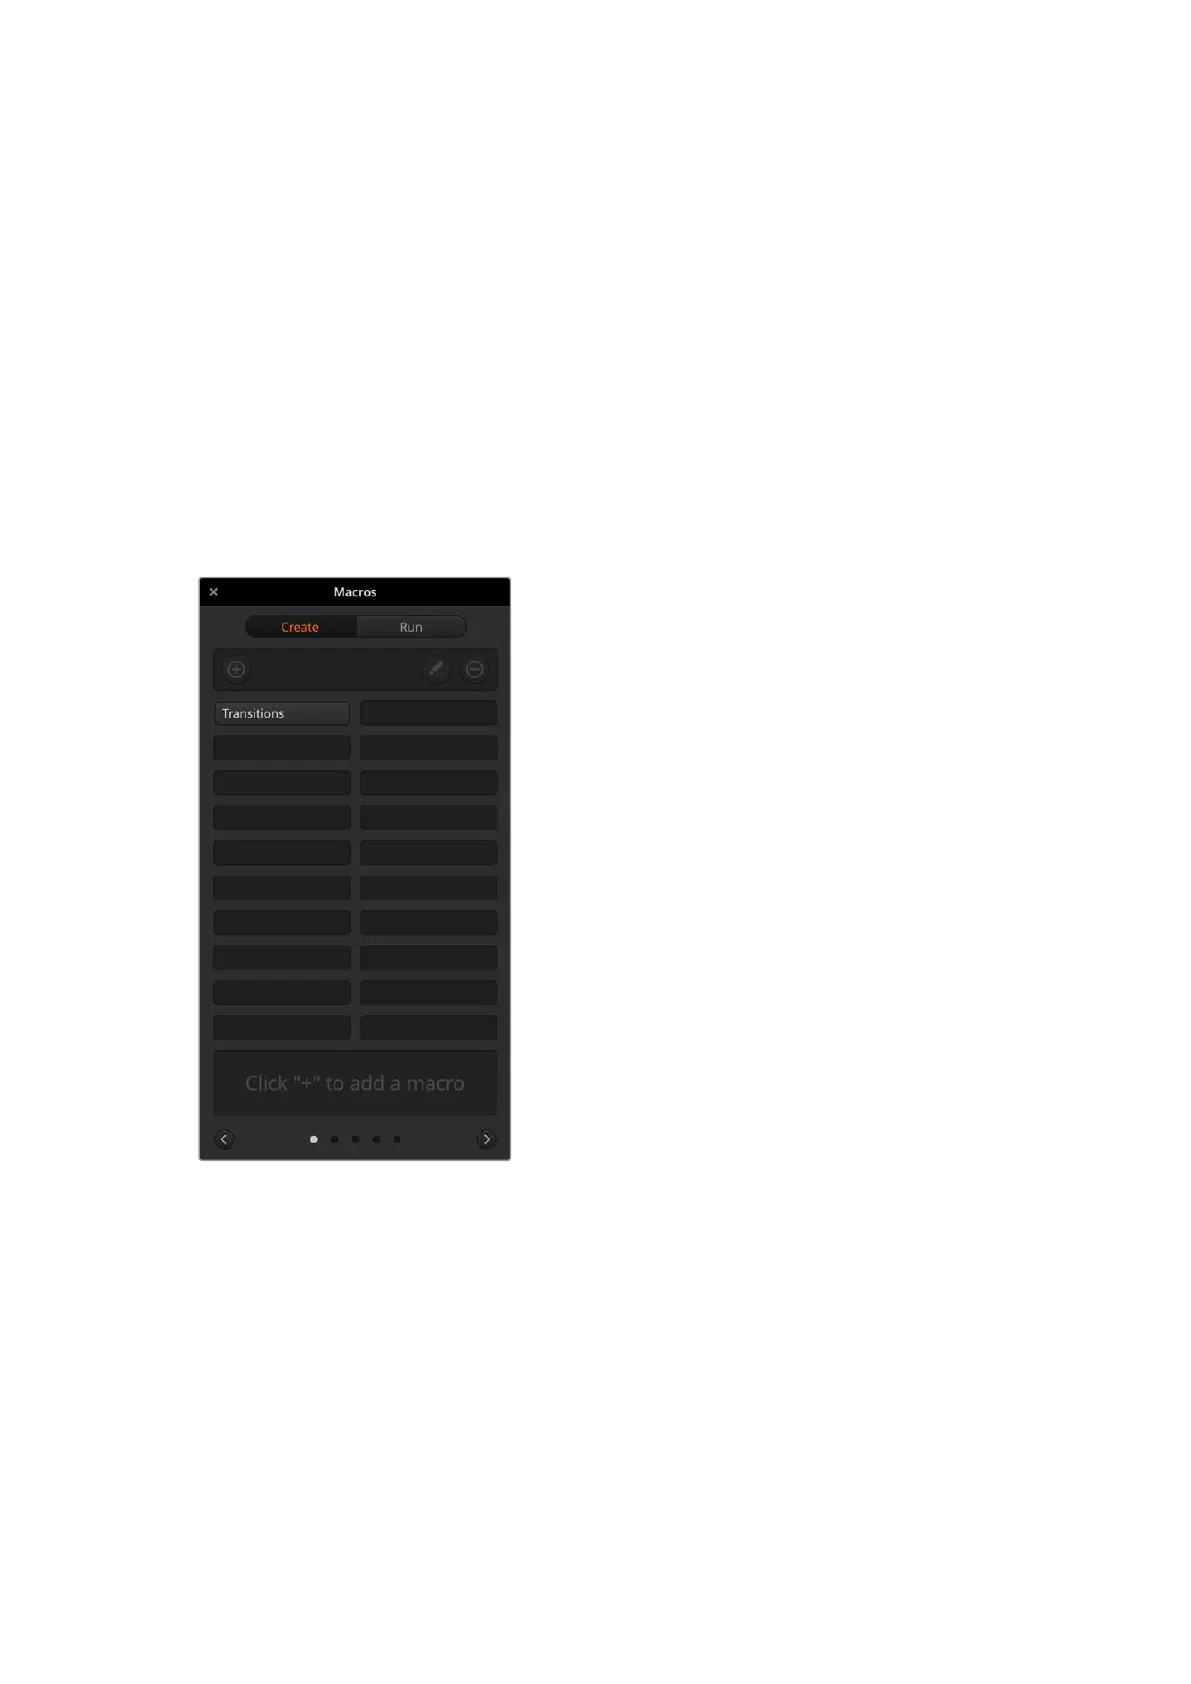
The Macros Window in ATEMSoftware Control
To open the macros window in ATEM Software Control,
click on macros in the title bar, or you can also press
shift/command/M for Mac, or shift/control/M for Windows.
The macros window is a floating window you can move
freely about your desktop. This is so you can always
access the window when moving between the switcher,
media, audio and camera pages. While recording a
macro, you can even reduce the size of the window by
clicking on the minimize icon at the top right corner.
Macros can be recorded to any of the 100 macro slots.
Up to 20 macro slots are visible on eachpage. Move
forwards and backwards through pages by clicking on
the arrows on the bottom sides of the window. Clicking
on the create and run buttons lets you swap between
thecreate and run pages so you can record your
macros and then run them during your liveproduction.
Recording Macros
Macros need to be recorded comprehensively, in
clearly defined sequences from start to finish without
error. This is because your macro will record every
setting, press of a button and switcher action you
perform. When you run a macro, all the switcher actions
you recorded in that macro will be repeated precisely.
It’s worth highlighting that a macro will only record the settings you change. For example, if you
want a 3:00 second transition and your switcher’s transition rate is already set to 3:00 seconds,
you’ll need to change the duration, then set it back to 3:00 seconds to record the setting. If not,
your desired transition rate will not be recorded and when the macro is run it will simply use the
transition rate your switcher was last set to. So you can see why precision is important!
If settings are changed while recording a macro and you want them restored to a particular
state, simply restore those settings while recording the final steps of the macro. You can even
record macros to restore settings for various projects. You have lots of choices. The important
thing to remember when recording a macro is that you change all the settings you need to so
you can create the specific effects you want.
119Using Macros
 Loading...