HOME
MIX
FTB
MACRO
SETTINGS
WIPE
MEDIA
PLAYERS
SUPER
SOURCE
KEYS
DVE
BORDER
CAMERA
CONTROL
STINGER
COLOR
AUDIO
DIP
AUX
1
4
7
ENTER
2
5
8
0
3
6
9
RESET
SHIFT MACRO
BKGD
KEY 1
KEY 2
KEY 4
KEY 3
ON
ON
ON
ON M/E 1 M/E 2
M/E 3
M/E 4
SHIFT DIP
DVE
STING
DSK 1
TIE
DSK 2
TIE
DSK 1
CUT
DSK 2
CUT
DSK 1
AUTO
DSK 2
AUTO
FTB
MIX
CUT
AUTO
WIPE
ARM
PREV
TRANS
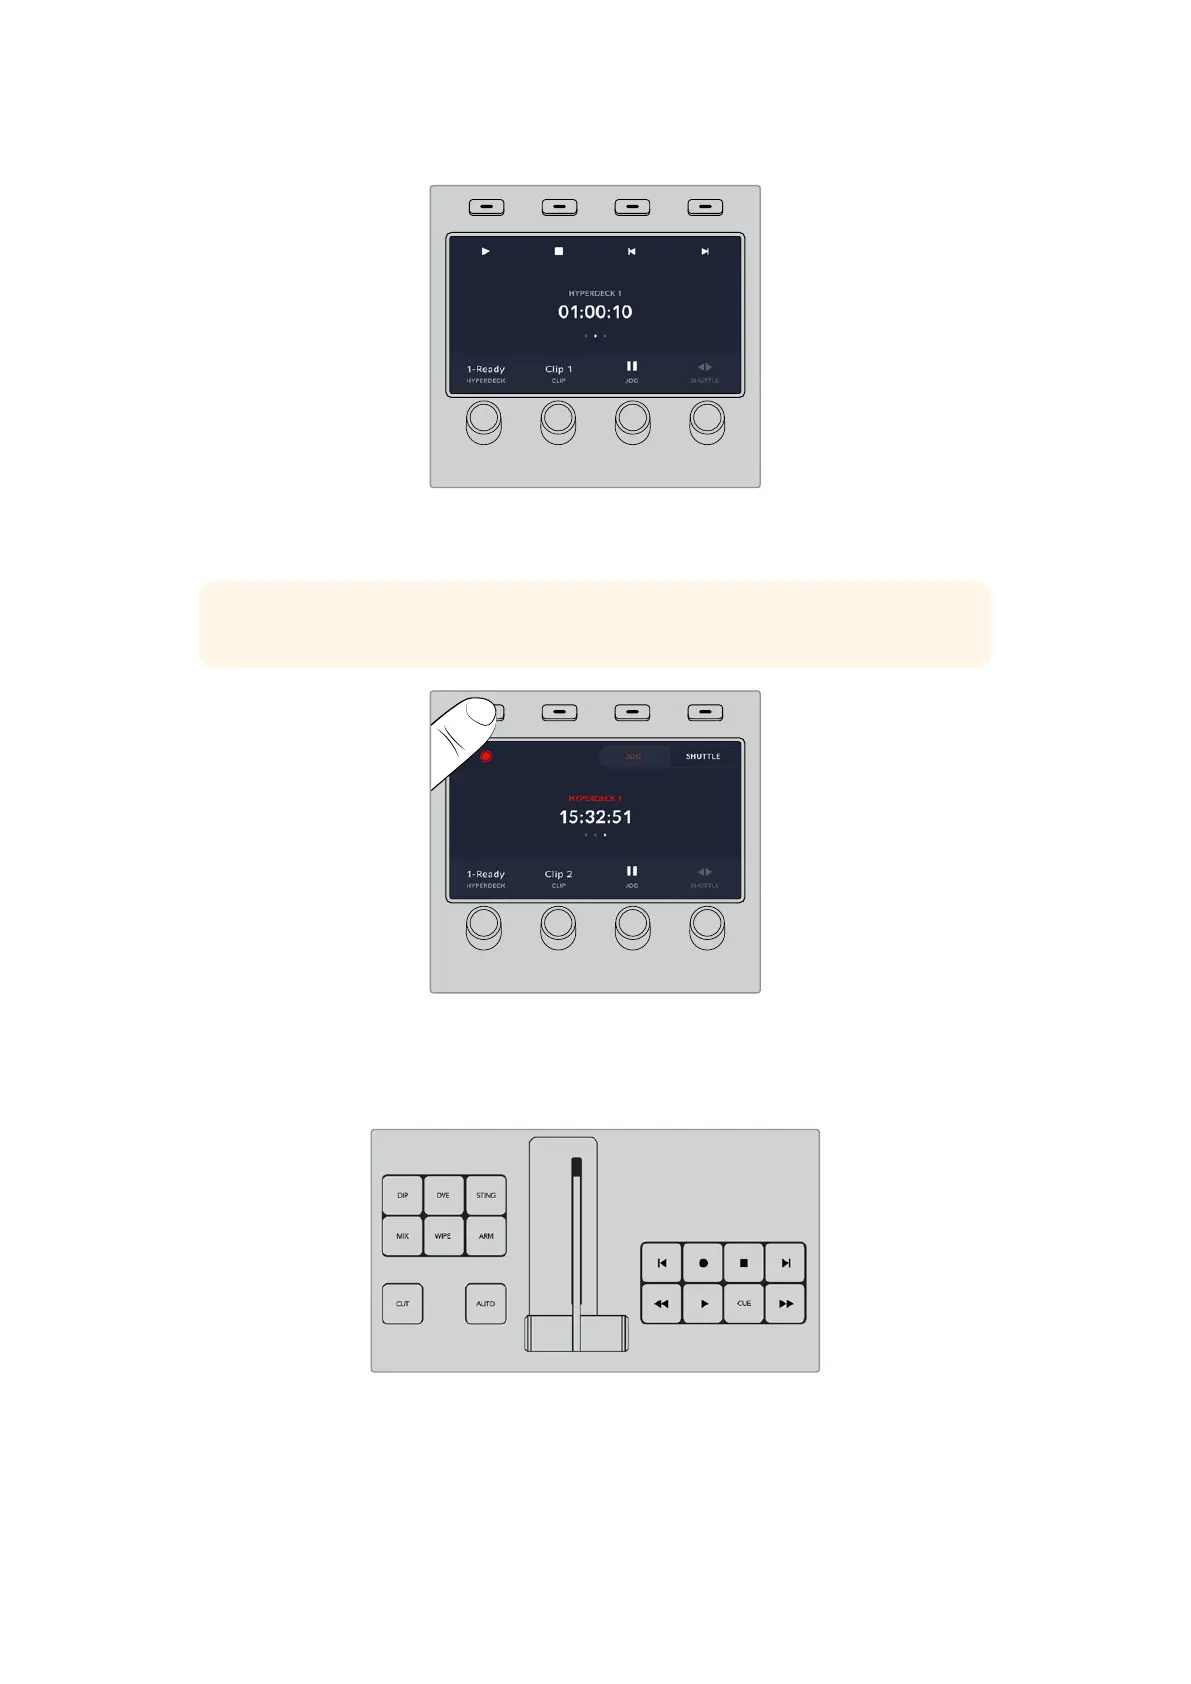
Use the second and third pages of the ‘media players’ LCD menu for more HyperDeck controls,
including play, stop, loop playback and forward and reverse skip for moving between clips.
TIP To play all clips, hold down the shift button and press the ‘play’ softbutton.
HOME
MIX
FTB
MACRO
SETTINGS
WIPE
MEDIA
PLAYERS
SUPER
SOURCE
KEYS
DVE
BORDER
CAMERA
CONTROL
STINGER
COLOR
AUDIO
DIP
AUX
1
4
7
ENTER
2
5
8
0
3
6
9
RESET
SHIFT MACRO
BKGD
KEY 1
KEY 2
KEY 4
KEY 3
ON
ON
ON
ON M/E 1 M/E 2
M/E 3
M/E 4
SHIFT DIP
DVE
STING
DSK 1
TIE
DSK 2
TIE
DSK 1
CUT
DSK 2
CUT
DSK 1
AUTO
DSK 2
AUTO
FTB
MIX
CUT
AUTO
WIPE
ARM
PREV
TRANS
In the third menu page, press the ‘record’ button to record the program output of your switcher
to your HyperDeck. Use the ‘jog’ and ‘shuttle’ commands to scrub through recorded footage.
Controlling HyperDecks with ATEM 2 M/E and 4 M/E Advanced Panels
ATEM 2 M/E and 4 M/E Advanced panels feature up to three banks of dedicated transport
controls so you can operate up to three HyperDecks directly from the panel buttons. To set up
150HyperDeck Control