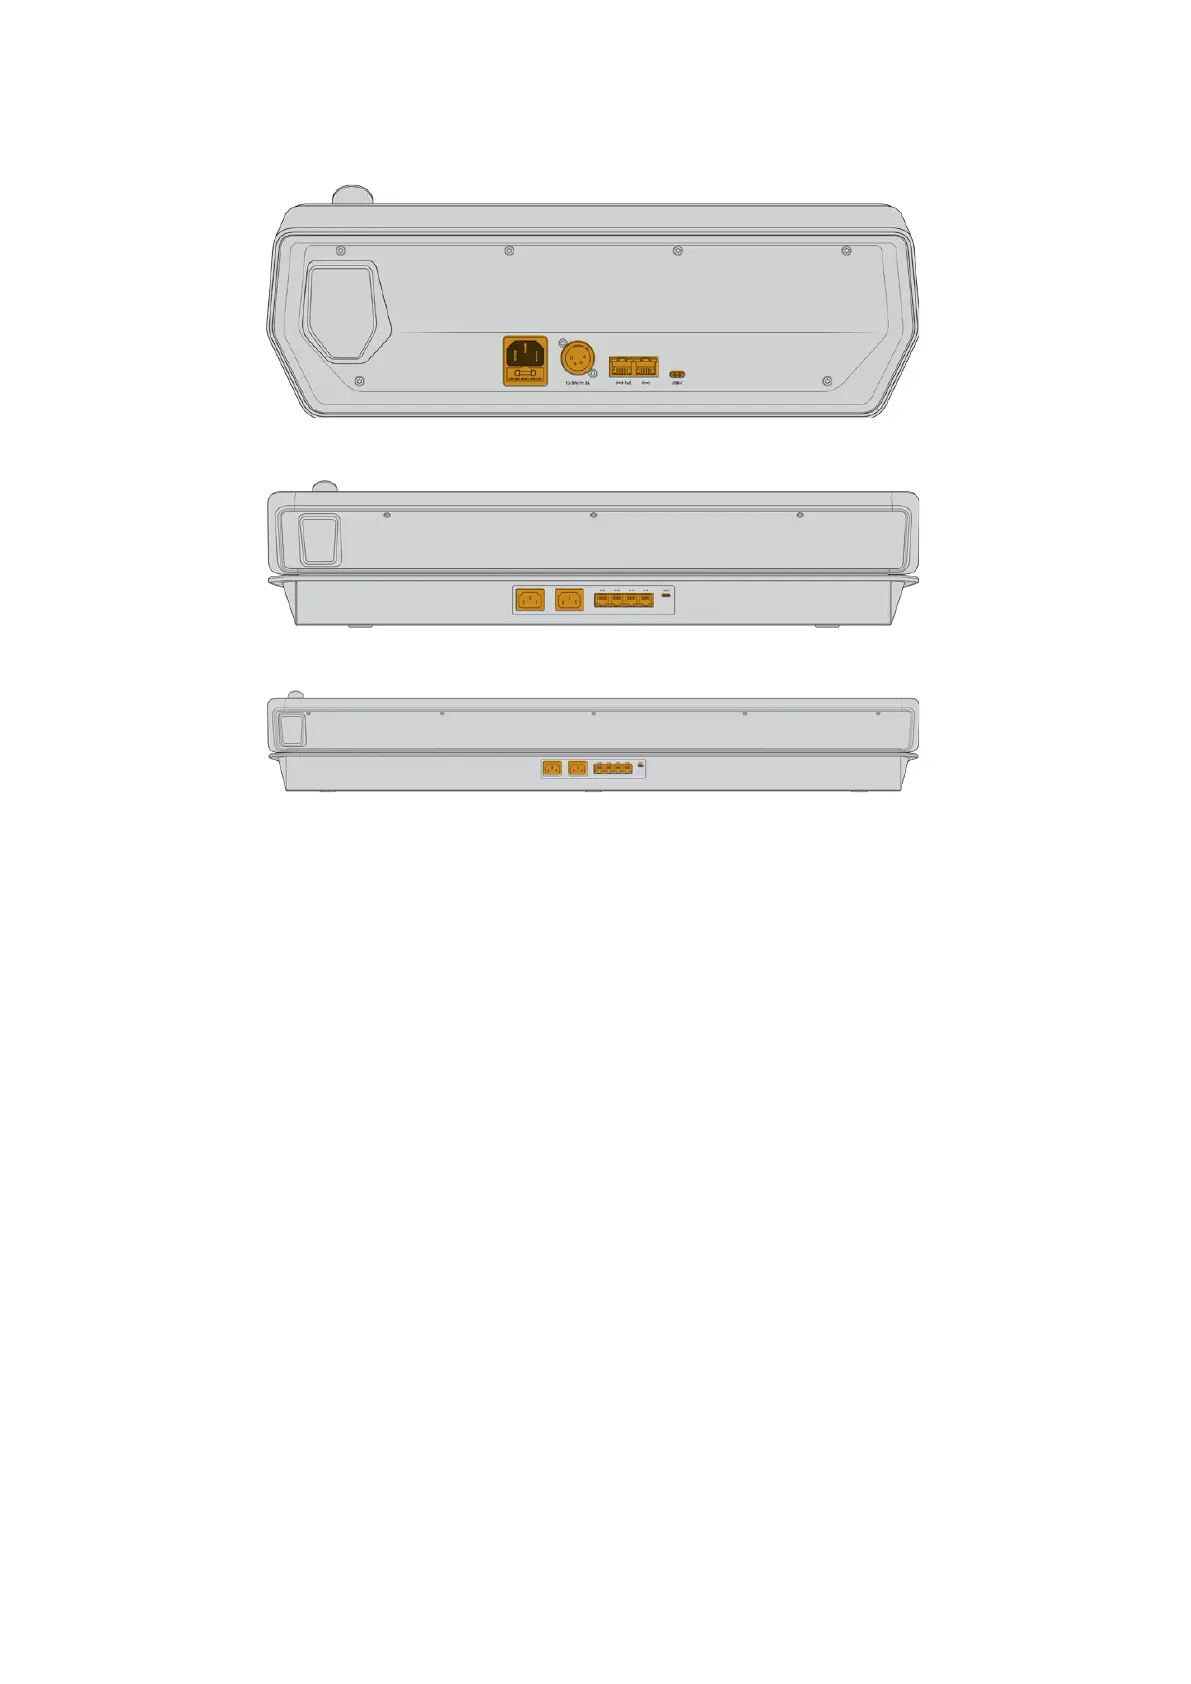
ATEM 1 M/E Advanced Panel rear connectors
ATEM 2 M/E Advanced Panel rear connectors
ATEM 4 M/E Advanced Panel rear connectors
Understanding ATEM Hardware Panel Network Settings
The hardware panel’s network settings are configured from the network setup menu in the
hardware panel’s system control. Along with its own IP address, the hardware panel also needs
to be configured with the network location of the switcher, so that communication between the
two devices can be established over the Ethernet connection. If the hardware panel’s network
settings are correctly configured, you will see the panel light up and buttons turn on so you can
control the switcher.
If the hardware panel is displaying a message looking for the switcher, then you will need
to set the hardware panel’s network settings so that the panel and switcher share the same
subnet, and the network location to which the hardware panel is trying to connect, matches the
switcher’s IP address.
Setting the Switcher IP Location
To set the network location of the switcher on the hardware panel, so the panel can find the
switcher and communicate, follow these steps:
Changing the IP location on an ATEM advanced panel
1 When there is no communication with the switcher, the LCD will say ‘connecting’ and notify
you of the IP address it is searching for. If the panel can’t find the switcher, the connection
will time out and a notification will ask you to check the IP address. Press the ‘network’ soft
button above the LCD to open the network settings.
2 In the network settings, press the right arrow in the system control buttons next to the LCD
to move to the ‘switcher IP address’ setting.
63Using ATEM Hardware Panels