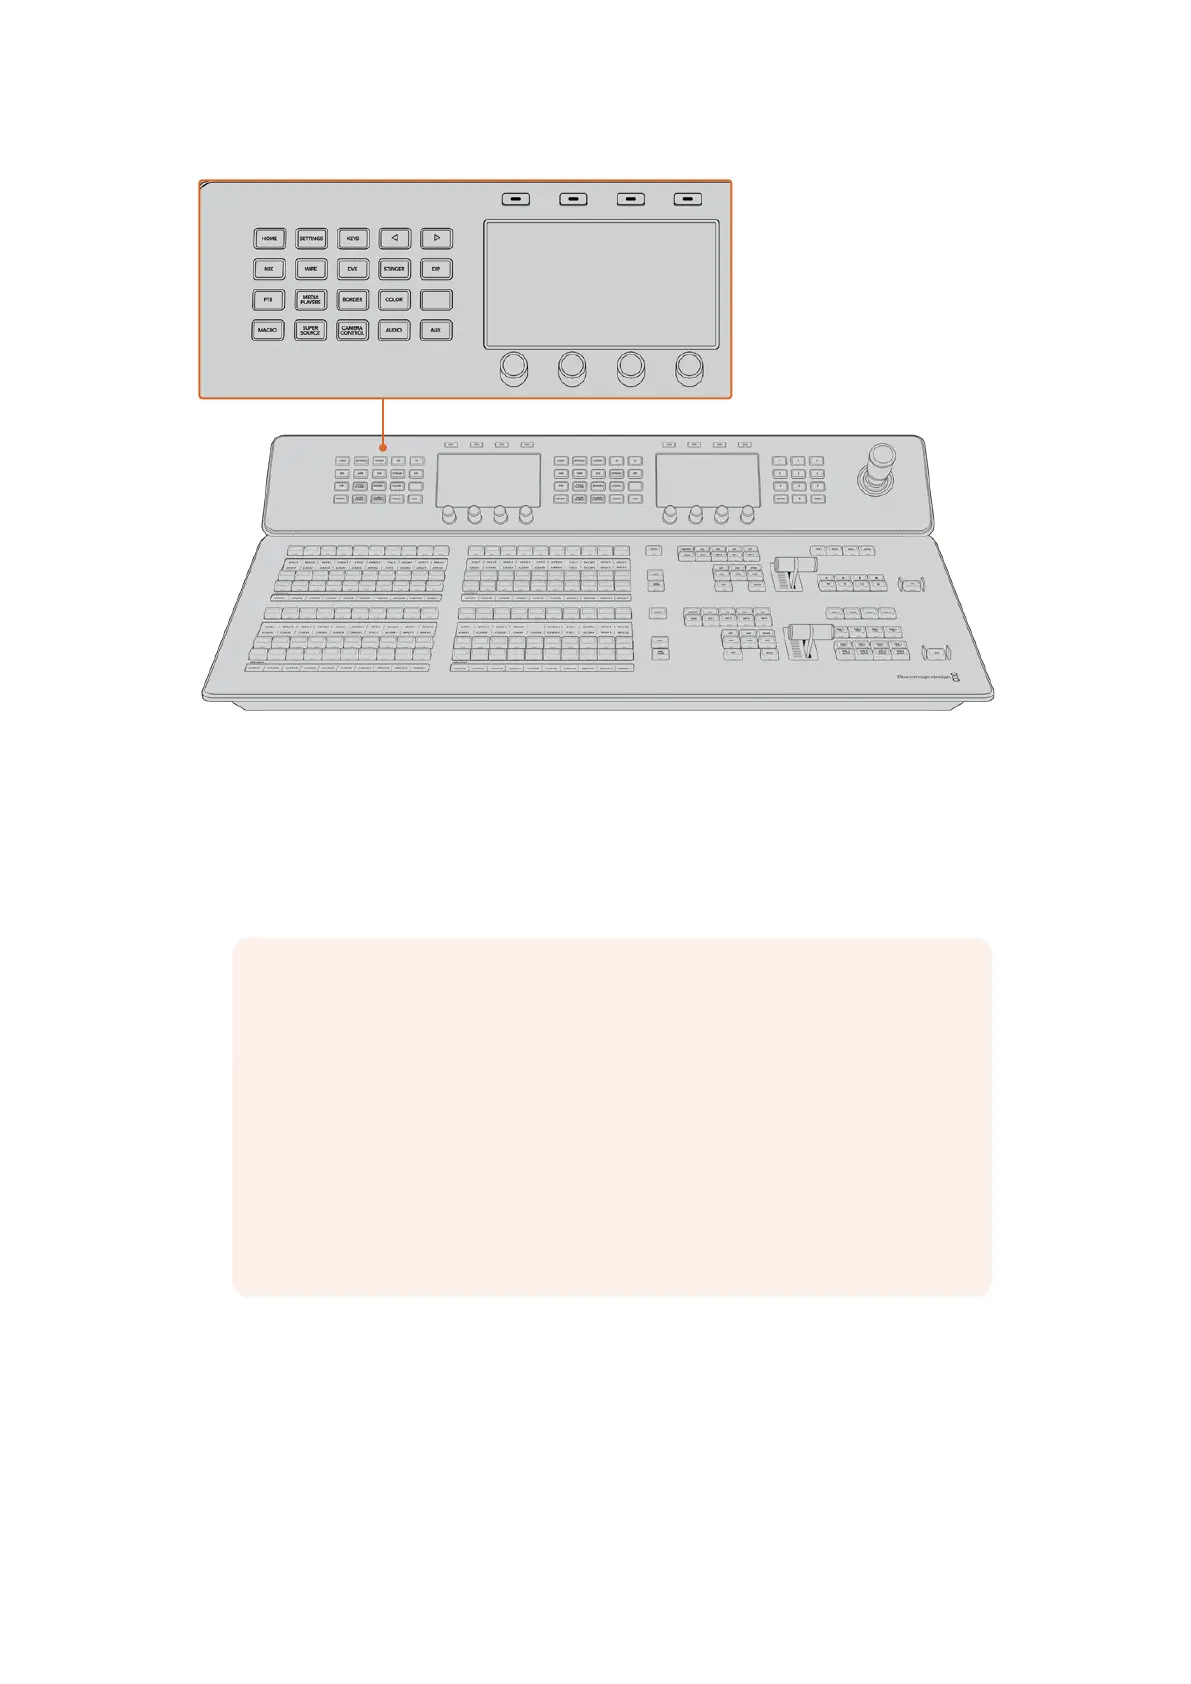
Change network settings using the system control buttons and LCD soft controls
1 Press the ‘home’ button in the system control buttons to open the LCD home menu.
2 In the home menu, press the ‘network’ soft button to open the network settings.
3 The next step is to decide if you want the panel to use a fixed IP address or to be
automatically assigned an IP address from a DHCP server. Set DHCP on or off by pressing
the corresponding DHCP ON/OFF soft button.
NOTE If you’re connecting direct to a switcher without a network, then you won’t
have a DHCP server to assign an IP address automatically, so you will want to
select ‘DHCP off’. ATEM Advanced Panels are delivered with a fixed IP address set
to 192.168.10.60 for a direct connection.
However, if your network has lots of computers that automatically assign IP
addresses via DHCP, then you can also select ‘DHCP on’ so the panel can get its
network information automatically. This is possible on the panel, and it’s only the
switcher itself that always requires a fixed IP, as the switcher needs to be found by
the control panels at a known fixed address on your network.
If you select ‘DHCP on’, your network settings will be complete because the panel
network settings will be obtained from the network automatically.
4 If you have elected to use a fixed IP address, you now need to set this IP address by
adjusting the corresponding soft control knobs for each field of the IP address. You can
also use the numeric keypad. Changing this IP address may cause the panel to lose
communication.
5 If the subnet mask and gateway address need to be set, then press the right arrow button
in the system control buttons to progress through each setting menu, and use the knobs or
the numeric keypad to edit. If at any time you want to cancel the changes, press ‘undo’.
65Using ATEM Hardware Panels
 Loading...