29
1.3 - Connect the radiator
The radiator must be powered at 230V 50 Hz.
The radiator power supply must be connected directly to the
network behind the omni-pole breaking device with a contact
opening distance of at least 3 mm without an intermediate switch
(clock, mechanical and static relay, ambience thermostat, etc).
The connection to the mains power supply will be made using a
3-wire cable (Brown = Phase, Blue = Neutral, Black = Pilot wire)
through a connection box. The connection box must be installed at
least 25 cm above the oor. The installation must be provided with
a circuit breaker type protection device.
Connection to the earth is prohibited.
Do not connect the pilot wire (black) to the earth.
If the supply cable is damaged, it must be replaced by the
manufacturer, by its after-sales service or by a person of similar
qualications in order to avoid danger.
If the pilot or piloted device is protected by a 30mA differential
protection device (e.g. bathroom), then the power supply to the
pilot wire connected onto this differential switch will have to be
protected.
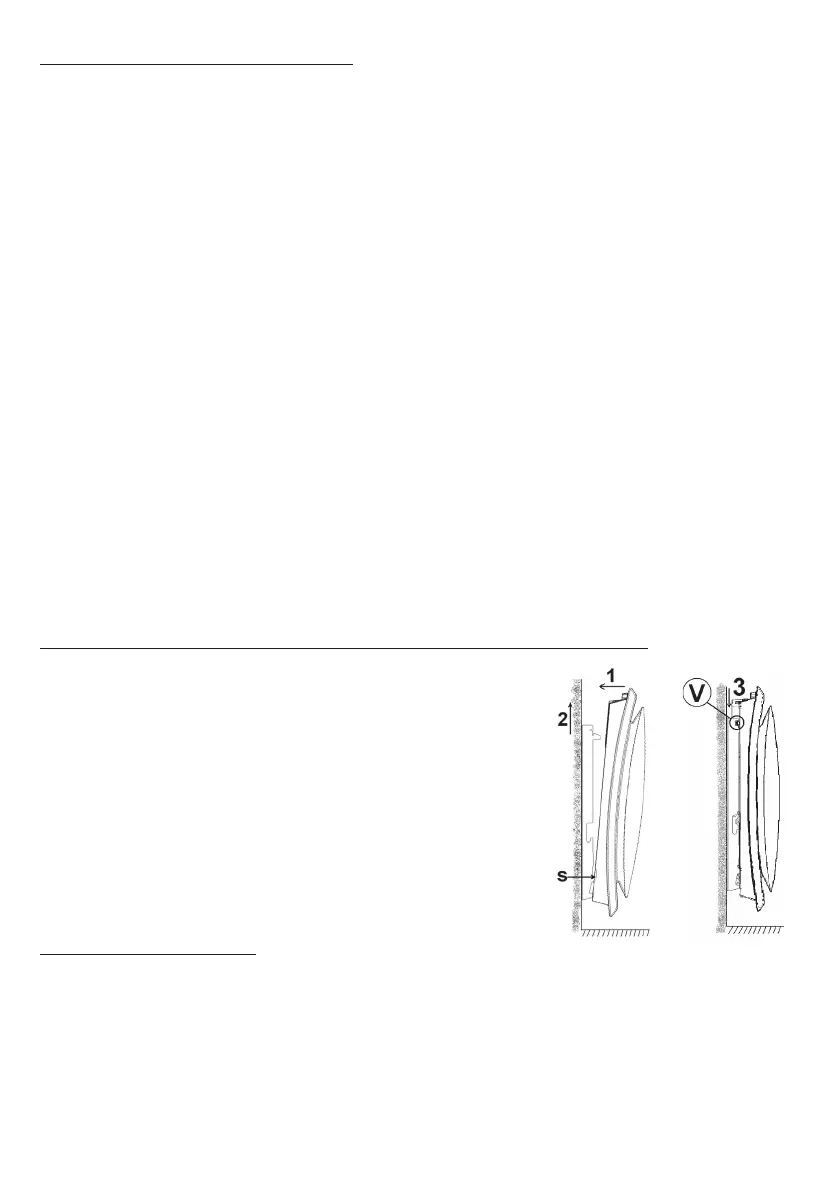
1.4 - Lock the radiator on its wall-mounting frame
- Place the radiator on wall-mounting frame
S as shown on the diagram.
- Bring the radiator to the wall-mounting
frame and then lift it (arrows 1 and 2).
- Insert the wall-mounting frame tabs in the
radiator holes and then lower the radiator
(arrow 3).
- Lock by turning the 2 V screws by half a
turn and your radiator is xed.
1.5 - Maintenance
Do not perform any maintenance action before switching your
equipment off, put the switch on 0 position.
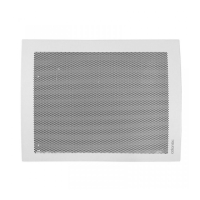
If you want to maintain the performances of your radiator, you will
need to use a vacuum cleaner or a brush to remove dust from the
lower and upper radiator grills about twice every year.