Figure 37
Fit replacement gas valve in reverse order.
Reinstate boiler operation and check gas valve
settings (Refer to section 10.1)
11.2 Fan
Disconnect the connecting tube from the gas valve
to the fan via the union. (Fig 36) and remove gas
supply tube from the fan inlet connection.
Release the four nuts securing the fan to the burner
manifold using a 7mm socket (Fig 39). Unscrew
the cross-headed screws to remove the gas/air
mixing chamber.
Fit replacement fan in reverse order.
Figure 39.
4 x 7mm
nuts
1
1.3 Ignition transformer.
Isolate the electrical supply to the boiler.
Disconnect the 'push' on electrical connections and
release the transformer’s two cross-headed fixing
screws (Fig 40).
Fit new transformer in reverse order, ensuring
correct connection of the power supply to terminals
1 & 2 and ignition out from terminals 3 & 4.
Figure 40
11.4 Burner, Ignition electrode, Ionisation
electrode and Sight glass.
Isolate the electrical supply to the boiler.
Disconnect and remove the burner assembly. (Refer
to section 10.3).
Burner. Detach the burner from the manifold
by releasing the three fixing nuts using a 10mm
socket (Fig 41). Fit the new burner in reverse order
replacing the burner manifold gasket.
Ignition electrode. Detach the ignition
electrode from burner manifold by releasing the
two cross-headed fixing screws (Fig 41). Fit the
new electrode in reverse order, checking that the
electrode's distances between the burner and earth
in are 8.5mm and 4mm respectively. p
Ionisation electrode. Detach the ionisation
electrode from burner manifold by releasing the
two cross-headed fixing screws (Fig 41.) Fit new
electrode in reverse order, checking that a 8.5mm
gap exists between the electrode and burner.
Sight glass. Detach the sight glass from burner
manifold by releasing the two cross-headed fixing
screws (Fig 41.) Fit new sight glass in reverse
order, replacing the sealing gasket.
Warning! Incorrect connection to the
transformer terminals will result in damage to
the boiler control unit.
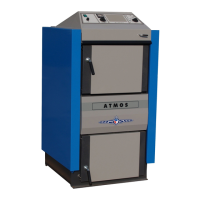
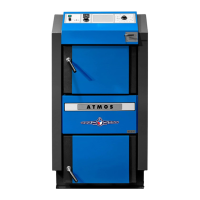
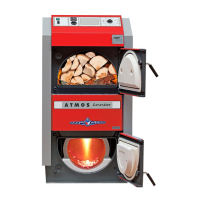
ATMOS MULTI Mk 2 version 2004
Page 38