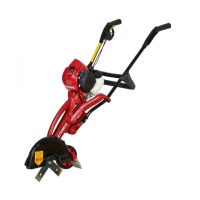
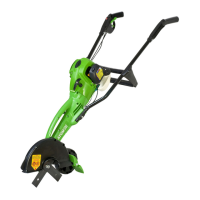
EDGING INSTRUCTIONS
(
CONTINUED
)
PROBLEM CAUSE ACTION
1. Blades do not turn Loose blade nut or incorrect assembly. Tighten blade nut (or add washer under nut).
when operating
Blade cover filled with dirt/grass/mud. Clean.
Blade stops under load when blade depth is too low. Cut less depth.
Clutch slipping.
Missing blade washers.
Cut less depth or clean. Instal washers.
2. Motor lacks power or blade stops rotating Cutting too deep. Raise cutting depth and see (1) above.
3. Heavy vibration Wrong blade fitted. Only use ORIGINAL Atom blade set #43105
Worn clutch or clutch drum or damaged drive. Take to service dealer.
4. Engine will not run or runs and stops Ignition switch is OFF. Turn switch on.
Choke ON. Push choke to OFF position.
Partially empty fuel tank. Fill tank.
Primer bulb not pushed enough times. Press primer bulb fully and slowly 5 times.
Engine is flooded Use starting procedure without choke.
PAGE 6
TROUBLESHOOTING TIPS
MAINTENANCE INSTRUCTIONS
! NOTE
Keep the inside of blade
guard clean, especially in
muddy conditions. A clogged guard can slow
down or stop blade rotation and may cause
damage to automatic safety clutch. Always
operate blade at high speed when edging. To
prevent damage to edger body, untangle and
remove any grass, vines or wire that may wrap
around the blade drum.
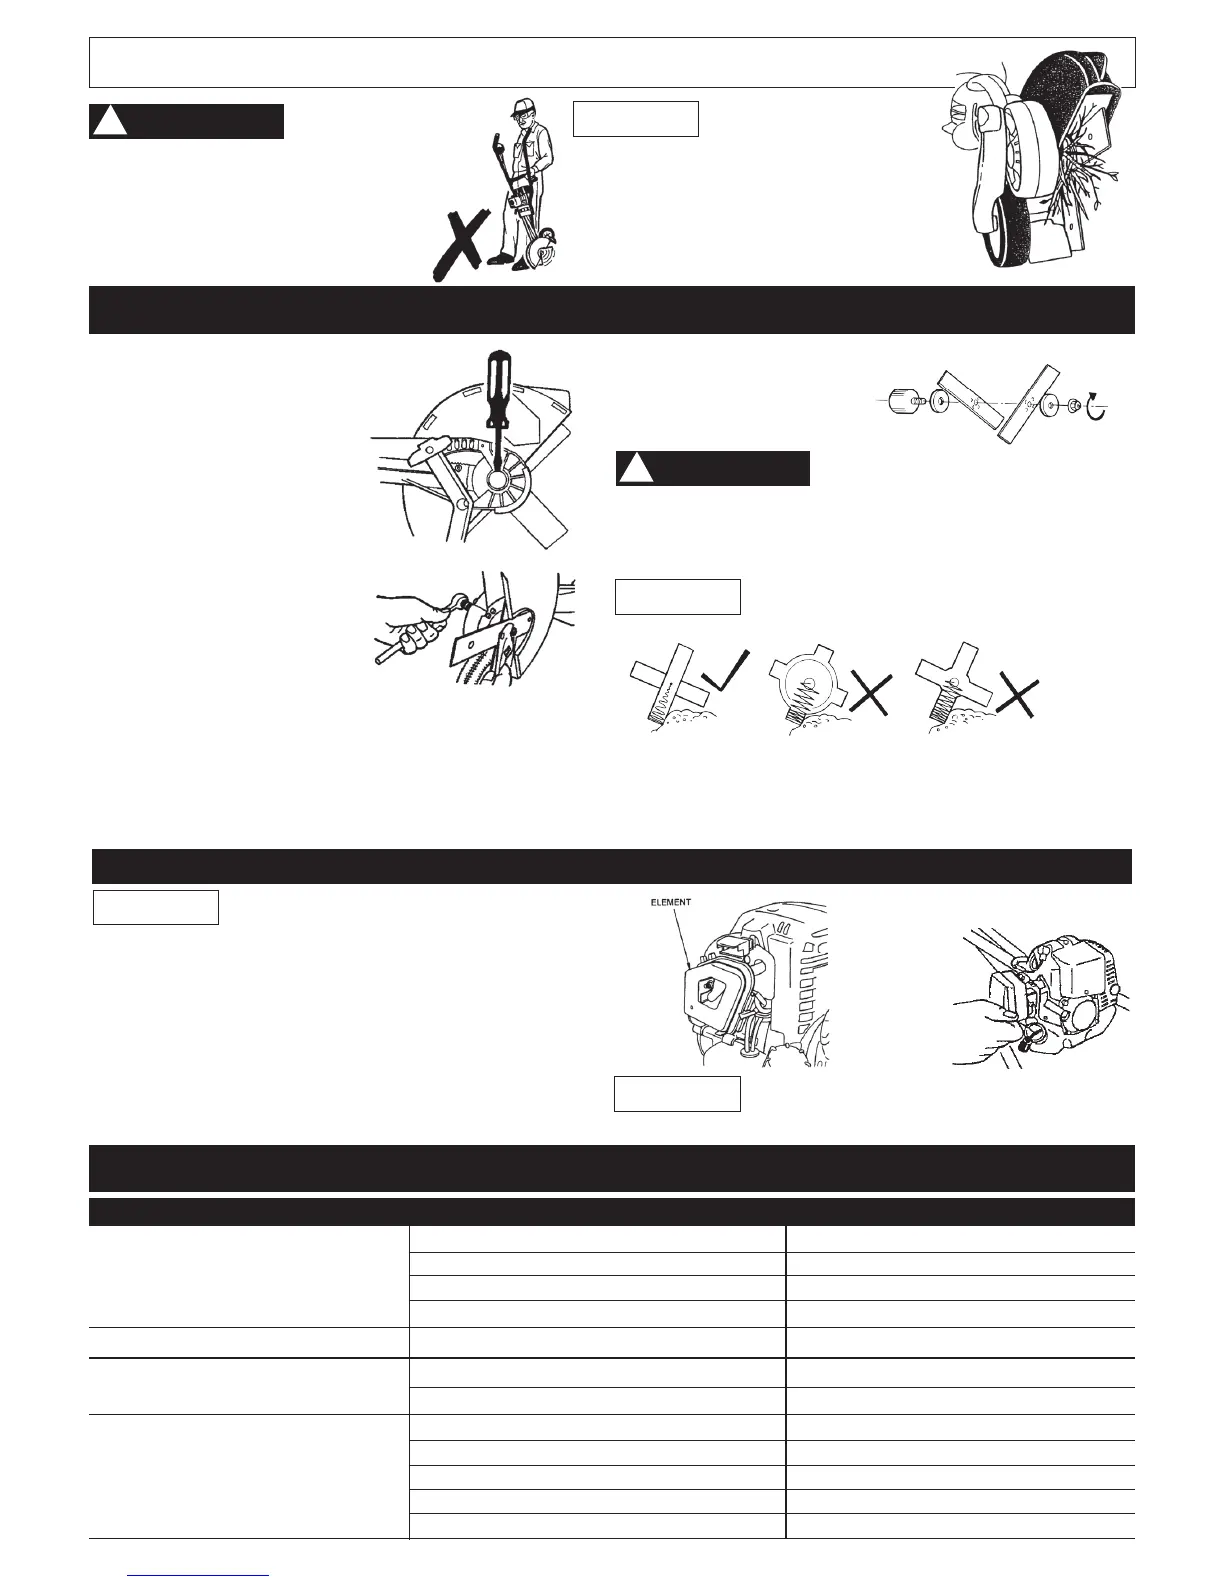
FIG 22
To avoid personal injury,
never carry the Edger
while the motor is running. Never hold the handle
cross brace if the motor is running. (Fig.22)
Stop the engine prior to lifting or carrying.
The Lawn Edger can be transported by
guiding it on its wheel, or carrying it with
motor switched off holding handle between
blade cover and motor.
! WARNING
FIG 26
FIT BLADES AT RIGHT ANGLES
2 SPIGOTS ON EACH BLADE
FIT INTO HOLES OF OTHER BLADE
BLADE REPLACEMENT
1. Use impact driver to undo blade
nut, then proceed to instruction 4.
Otherwise clean area around
dust cover #62936 and pry
off with screwdriver (Fig. 24)
exposing 14mm hex head (for
unscrewing blade nut).
2. Through dust cover hole, place
14MM FULL 6 SIDED 6
pointed socket spanner (do
not use 12 sided 12 pointed
socket spanner) over hex head,
and use 19mm (or adjustable)
spanner on blade nut.(Fig. 25).
3. Unscrew blade nut counter
(anti) clockwise (normal right hand thread).
4. Remove nut, one large washer and two blades (Fig. 26).
Before installing blade and washers, clean off all grit and
grease. Re-assemble these parts clean and dry. Fit large
washer, new blades #43105 with spiggots of one blade
interlocking with holes on opposite blade, large washer
and nut. Tighten nut to 15-20ft.lbs. (20-27Nm) or hand
tight with 8” (200mm) or longer spanner.
Hardened Atom spring
steel cross blades
absorb shock when
rocks and hard objects
are hit, ensuring long
edger life.
Non-Atom edger blades do not absorb
shock due to solid stiff construction.
Gear and edger life is reduced. NO
WARRANTY allowed if damage to
Atom unit caused by use of non genuine
Atom parts.
FIG 25
FIG 24
FITTING INSTRUCTIONS
USE ONLY ORIGINAL ATOM BLADES
#43105. Other blades have larger size
holes (1/2”) which will cause out-of-balance vibrations which will
damage unit and cause injury. Other blades can also break and
cause major injury. Circular blades must not be used. Only use
ORIGINAL Atom blades otherwise warranty is VOIDED.
! WARNING
Always use two blades as shown above. Never
use a single blade. Do not use other thicker
blades as you will damage the unit.
! NOTE
AIR AND FUEL FILTER MAINTENANCE
! NOTE
Clean and re-oil the air filter every
five hours of operation or daily.
1. The air filter (Fig.28) is one of the most important areas
to maintain. If it is not maintained, you will void the
warranty. Before cleaning, make sure the unit is turned off.
2. If filter torn or dirty replace.
3. Wash the filter in detergent and water. Rinse the filter
thoroughly and allow it to dry.
4. Apply enough clean SAE 30 or 2-stroke oil to saturate
the filter when squeezed. Squeeze the filter to spread the
oil and to remove excess oil. Re-install the filter element.
5. Replace fuel lines every 3 years, sooner if damaged.
If the unit is operated with dry or dirty filter or without
the air filter and/or carburetor air filter cover, you will
void the warranty.
! NOTE
AIR FILTER
FIG 27
FUEL FILTER
FIG 28
The fuel filter can be cleaned by hooking
out with a piece of wire and blowing with
compressed air
FIG 23
Note: Models 560 and 580 do not have
jets to adjust carburettor. CLEAN
CARBURETTOR THOROUGHLY.