- 15 -
stays on no mater if the power switch is on or off. If that is case, you need to tape the
brown wire for the other wire on the back entrance socket.
2) For the Gaggia machine, most of time, the hot wire went to the front power switch, but
sometimes, the neutral wire went to the front power switch. For the kit installation, you
don’t need to identify which is hot and which is neutral. Just tap the black wire to the
front switch and brown wire to the back power entrance tab.
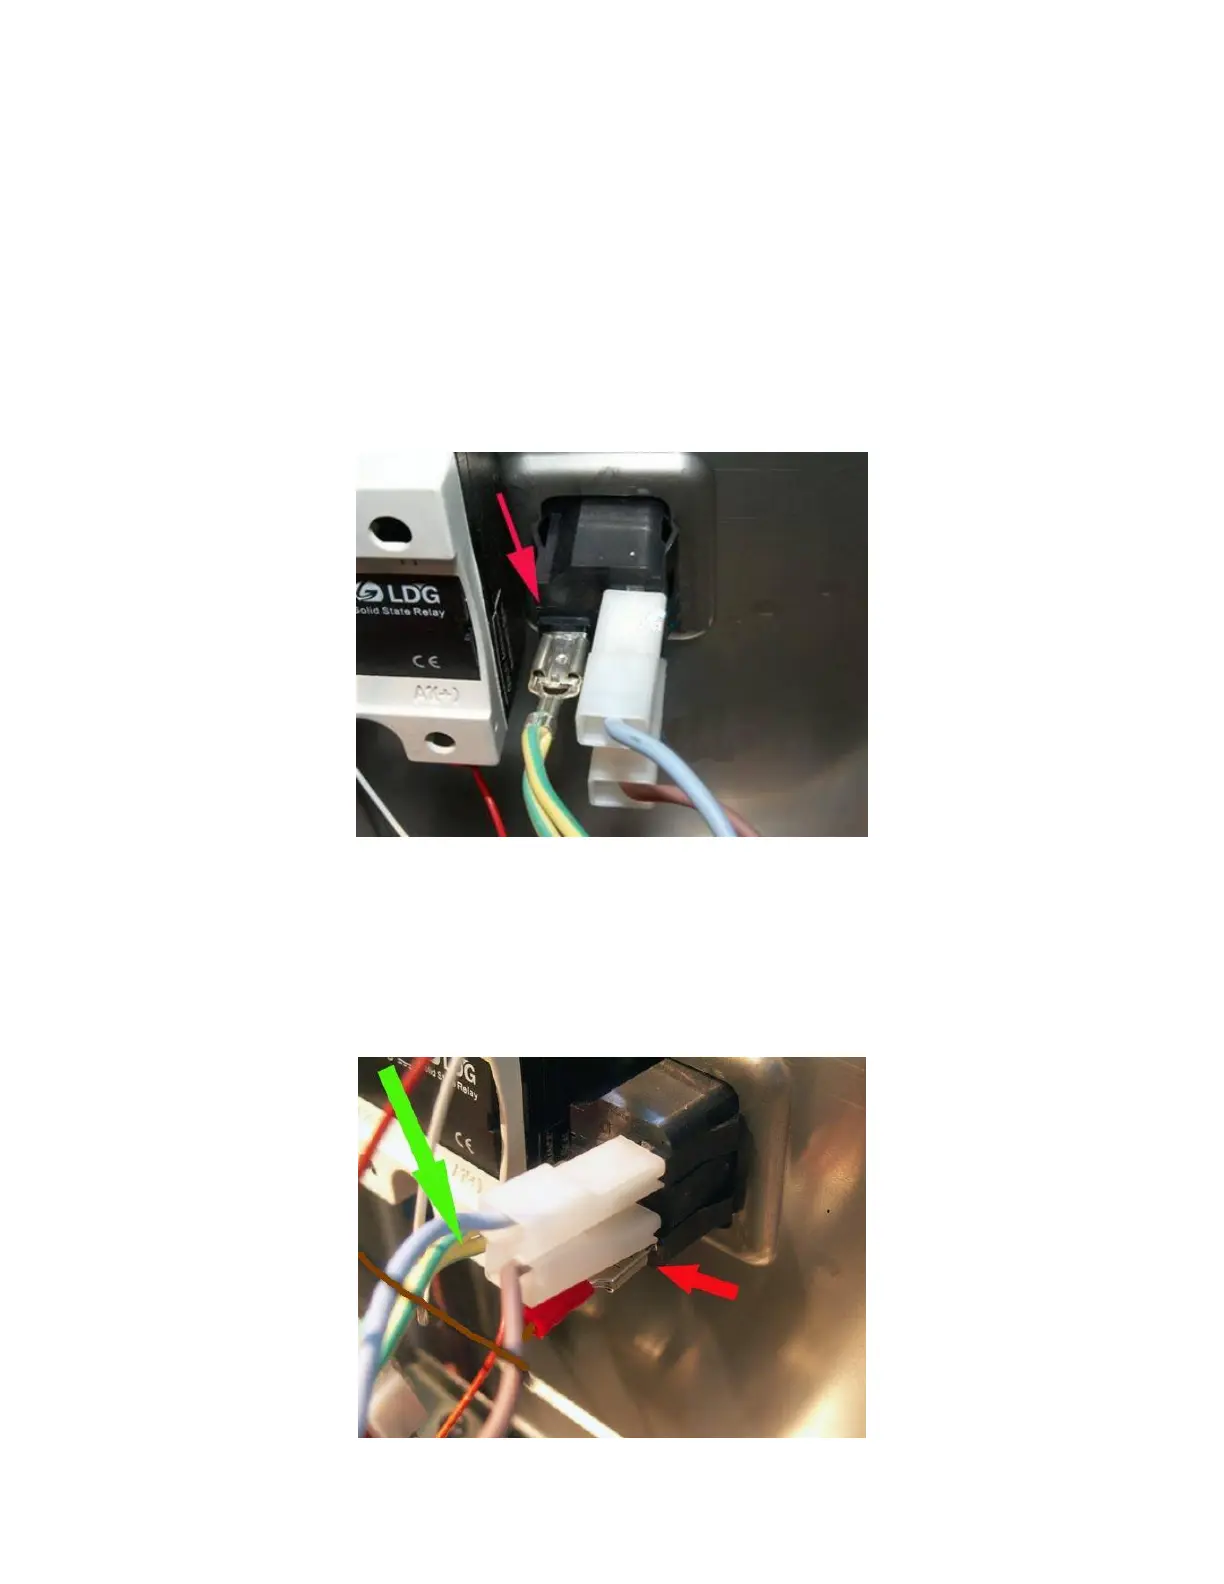
E. Grounding wire.
Gaggia Classic sold in US and many countries has only two conductors at the power entrance.
One is hot and other is neutral. There is no ground wire. This step can be skipped.
Fig 20a. Grounding wire on some of the Gaggia.
Gaggia Classic sold in some of the European country has three conductors at the power entrance.
The extra conductor is connected to a green cable with yellow strip. This is the ground wire. The
red arrow in Fig 20a indicates where the cable should be removed and tapped to the grounding
cable (similar to the way the power cable was tapped). Red arrow in Fig 20b indicates that after
the controller box is installed, the other end of the grounding wire should be connected behind
the controller box (Fig 20c).
 Loading...