3
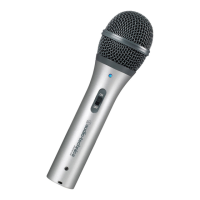
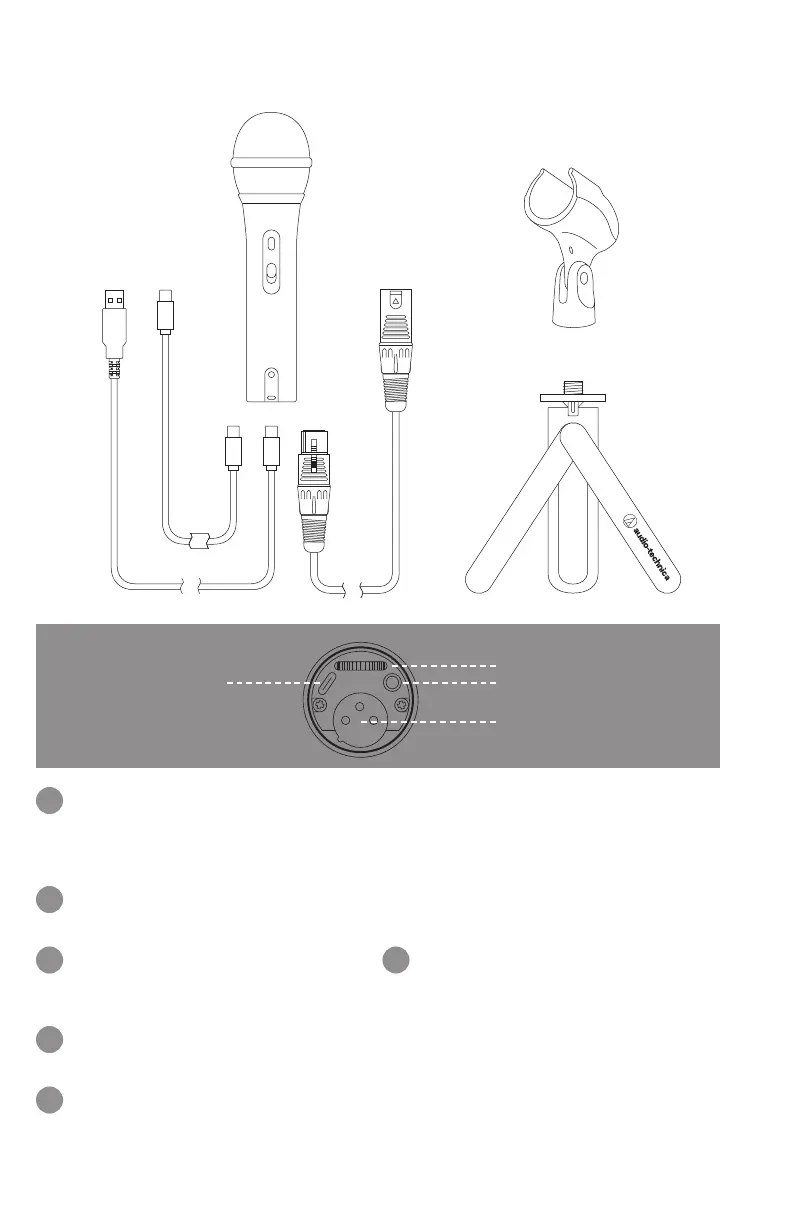
ATR2100x-USB Setup
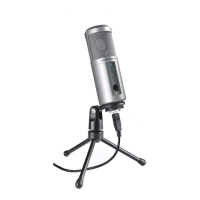
Stand clamp
Bottom of microphone
Tripod desk stand
XLRUSB-CUSB-A
Screw the microphone stand clamp onto the
threaded portion of the desk stand. The front of the
microphone should be facing the A-T logo on the
desk stand.
Install the microphone into the stand clamp, with
ON/OFF switch facing up.
Extend the tripod legs to provide a wide, secure
base, and place the tripod desk stand on a flat
surface.
Use a screwdriver or coin to loosen/tighten the
pivot screws for angle adjustment.
For digital use, plug one of the provided USB
cables into the base of the microphone then
connect the other end of the cable to your digital
recording device.
When connecting the microphone to a USB-C port,
you must use a USB On-The-Go (USB OTG) cable
like the one included.
For analog use, plug the provided XLR cable into
the base of the microphone then connect the other
end of the cable to your analog audio device.
When using with equipment that includes a
built-in mic, consult that device’s user guide for
instructions on disabling its mic.
Optional headphone monitoring: Connect
headphones with 3.5 mm (⅛") plug into base of
microphone. Use the dial to control volume.
1
2
3
4
5
6
Headphone volume
3.5 mm (⅛") headphone output
XLR
USB-C
 Loading...