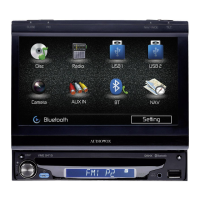
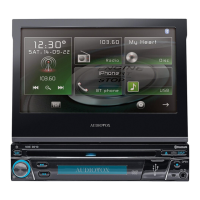
SETTING THE CLOCKSETTING THE CLOCK
SETTING THE CLOCKSETTING THE CLOCK
SETTING THE CLOCK
1. Turn the vehicle ignition and radio “on”.
2. Press and hold the Time/Frequency Selector button cp approximately 2 seconds until the time display
begins flashing on the display panel.
3. Within 5 seconds after the time display begins flashing, press the Manual Down Tuning button ( )to
adjust the hours and the Manual Up Tuning button ( ) to adjust the minutes to the correct time.
4. Five seconds after the last hour or minute adjustment is made, the time will be set in the unit and normal
operation can resume.
99
99
9
OPERATING INSTRUCTIONS / SETTING THE CLOCKOPERATING INSTRUCTIONS / SETTING THE CLOCK
OPERATING INSTRUCTIONS / SETTING THE CLOCKOPERATING INSTRUCTIONS / SETTING THE CLOCK
OPERATING INSTRUCTIONS / SETTING THE CLOCK
NOTES ON USE OF FRONT PANEL
1. Make sure the front panel is right-side-up when
attaching it to the chassis as it cannot be at-
tached when up-side down.
2. Do not press very hard on the front panel when
attaching it to the chassis. No more than light
to moderate pressure should be needed.
3. When attaching the front panel, make sure the
right side is correctly engaged before press-
ing the left side to lock it into position.
4. When taking the front panel with you, please
use the supplied carrying case to protect the
panel from dirt and damage. Make sure there
is no dust or dirt on the electrical terminals on
the back of the panel as this could cause in-
termittent operation or other malfunctions.
Engage right
side first
ATTACHING THE FRONT PANEL
Release Button
DETACHING THE FRONT PANEL