The interface must be programmed in the specic
order shown in the diagram on page 8.
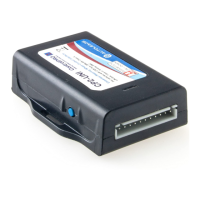
1. Turn the key to the ignition position. The LED
on the CP2 module will illuminate red.
2. Press and hold the programming button on the
side of the CP2 interface until the LED illuminates
green Release the programming button.
3. Within 7 seconds, press the button that is to be
learned on the steering wheel.
At this point you have two options:
a. For short press functionality: Hold the button on
the steering wheel until the LED changes from green to
red. Release the button.
b. For long press functionality: Continue to hold the
button until the LED ashes between red and amber
once. Release the button.
4. If you need to program more buttons, repeat step
3 for each additional audio function on the steering
wheel.
5. If you come across a function in the chart that your
steering wheel does not have, or you do not want
to program, press and release the program button
on the side of the CP2 interface to skip that
function. The LED will turn off then back on when
the skip has been done successfully.
6. Once programming is completed, wait seven
seconds. The LED will ash green 3 times
indicating the end of programming.
7. Test the interface for proper functionality.
Whenever a SWC button is pressed the LED on
the interface should blink green. If any function
does not work, repeat the programming steps
Manually Mapping the Steering
Wheel Buttons (continued)