Apr-09 87
Avantes www.avantes.com info@avantes.com
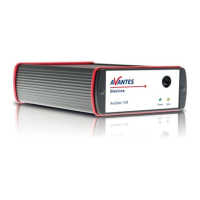
4.4 AvaLight-LED LED Light Source
Parts included
Your package should contain:
1. AvaLight-LED
2. The AvaLight-LED Operating Manual
3. Optional IC-DB15-2 (to connect to USB1 platform)or IC-DB26-2 (to connect to USB2 platform)
connection cable, should have been ordered separately.
4. PS-12V/1.0A power supply, should have been ordered separately.
Starting up
1. Plug the power supply into a standard 220V outlet and into the back of the AvaLight-LED
2. Screw an optical fiber onto the SMA connector on the front of the light source.
Designations and Functions of Panel Controls
Using the Continuous Mode
1. Turn the switch on the AvaLight-
light coming from the AvaLight-LED is continuous.
2.
Using the Pulsed Mode
1. Plug one end of the IC-DB-15-2 /IC-DB26-2 interface cable into the back of the AvaLight-LED
and the other end into the back of the AvaSpec-Spectrometer.
2. Turn the switch of the AvaLight-
3. The pulsing of the AvaLight-LED is controlled through the AvaSpec spectrometer and fixed to
1 kHz with a 50% duty cycle for the USB1 platform and 500 Hz-300 kHz with 0-100% duty
cycle for the USB2 platform, the newer type AvaLight-LED-p14 uses the input from pin 14 of
the controlling of the LED (only on, when spectra are acquired).
Table of DB-15/DB26 connector
TTL Input from AvaSpec-USB1 (1KHz, 50%) or
AvaSpec-USB2 PWM 500 Hz-300 kHz with 0-100% duty cycle
TTL input from AvaSpec with AvaSoft -OXY
OFF / TTL-pulsed / ON Switch
Fiber optic Connector SMA 905
 Loading...