Electrostatic alert:
Do not touch any components on the printed circuit board.
Procedure
1. Disconnect the G430 power cable from the mains power supply.
2. Disconnect all cables (data and power) connected to the G430 and its media modules, both
front and rear.
3. Remove the G430 from the rack or wall, if it is wall or rack mounted.
Note to which connector each cable is connected, so that you can reconnect them correctly.
4. If mounting brackets are attached to the G430, remove them.
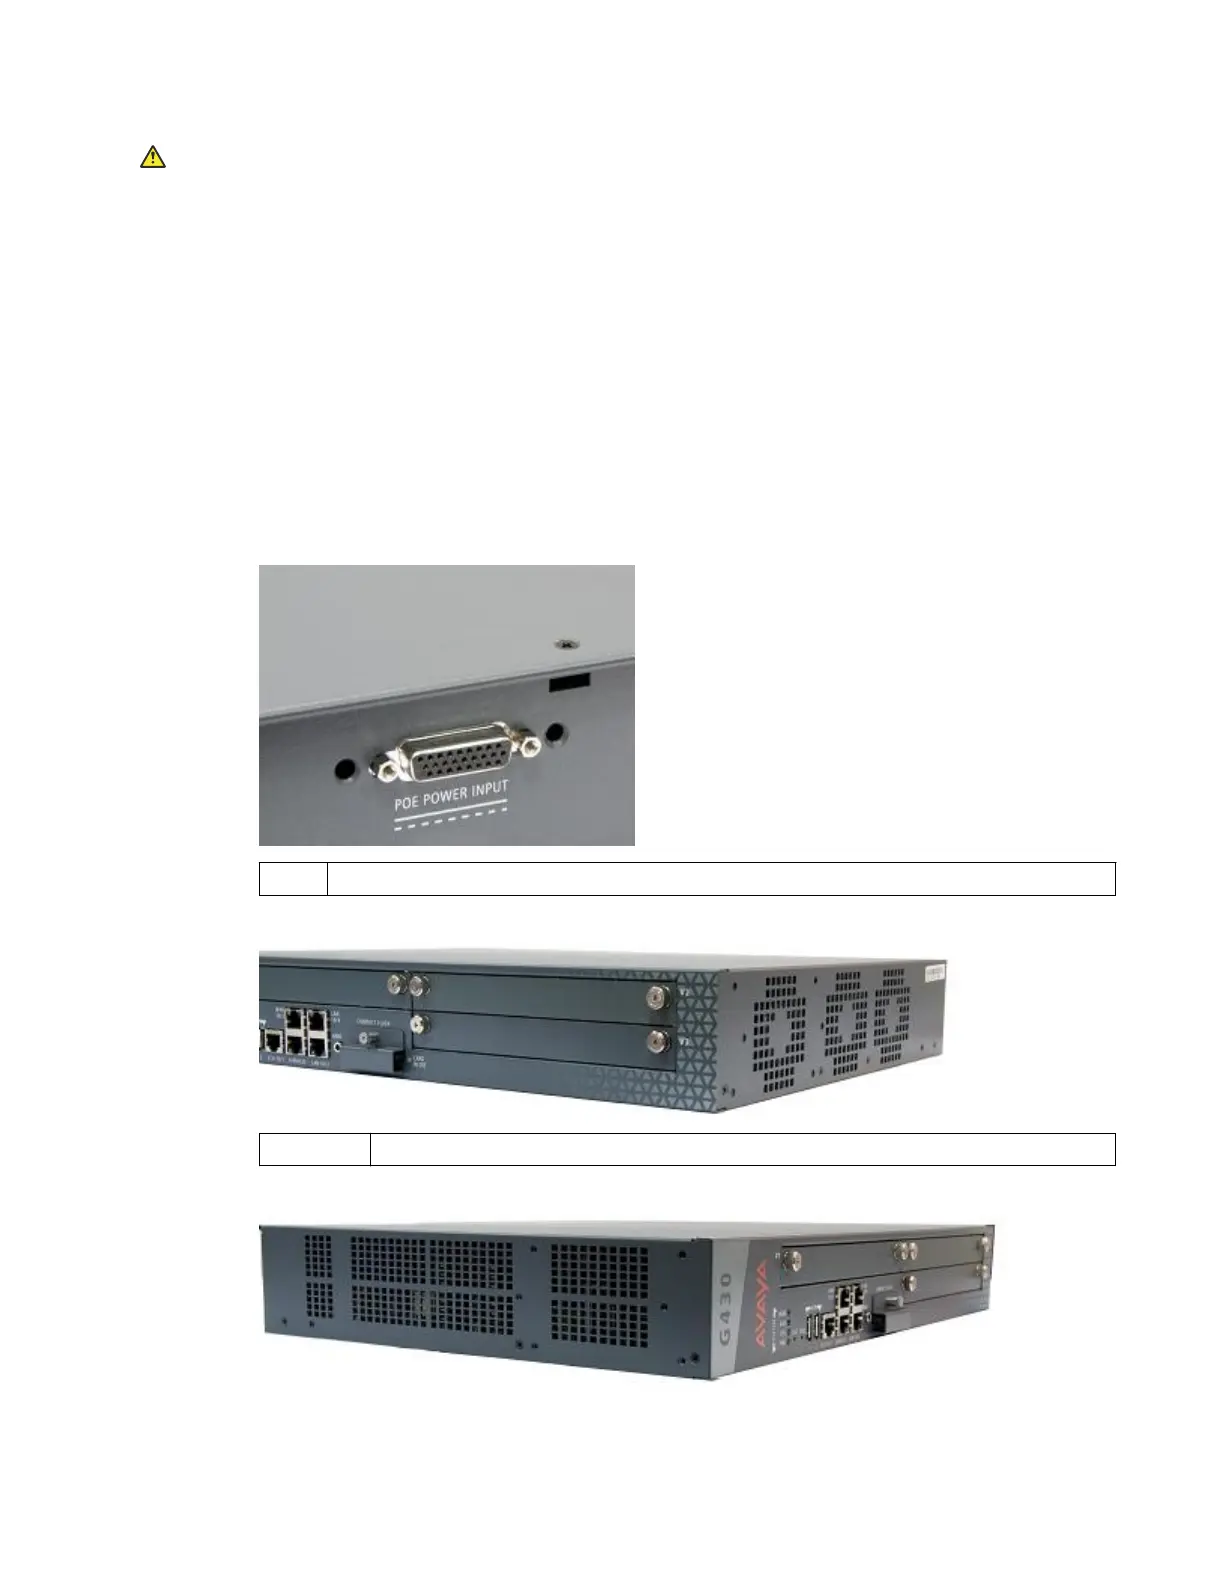
5. Unscrew the eight cover screws, indicated by small arrows etched into the cover:
a. Remove one screw from the top. See first figure below.
1. G430 top cover screw.
b. Remove four screws from the right side.
1 — 4 Four G430 right-side cover screws.
c. Remove three screws from the left side. See third figure below.
January 2018 Installing the upgrade memory kit in the G450 and G430 Media Gateway 7
 Loading...


