e. Repeat the above steps on the rear bracket.
f. Repeat these steps for the rack rail on the other side of the frame.
9. Install the switch in the equipment rack to complete the installation. (See Step 6 of the
300mm-600mm instructions.)
a. Insert the chassis rails on the switch into the rack rails on the frame.
b. Pull the blue locks on the chassis rails towards the front and slide the switch into the
frame.
Note:
After you install the switch in a rack, slide it out until the lock (shown above) engages.
To slide the switch back into the rack, push the blue locks on the chassis rails towards
the back and slide the switch into the frame.
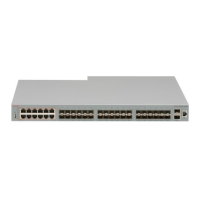
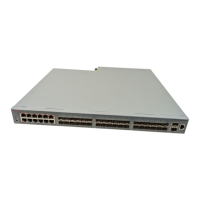
10. Connect power and network connections to the switch.
January 2015 Installation Job Aid for Avaya Virtual Services Platform 7200 Series 28
 Loading...