Important Safety Notice for Models Quingo Classic & Plus
The freewheel device allows the vehicle to be moved without power. When the
lever is moved upwards the automatic brakes are released. This means there is
no braking except for the emergency handbrake (Page 6). Follow these
instructions but if you are in any doubt contact the service advisor immediately.
Points when using the freewheel device.
NEVER release the brake and sit on the scooter
NEVER release the brake on a slope. Only on flat ground
ALWAYS
remove the ignition key
Brakes.
Your scooter has 3 braking systems. The first is the emergency handbrake. This is
situated on the tiller (See page 6).The second is the electromagnetic brake or
Automatic handbrake. When you move off this releases automatically. When the
scooter stops it engages automatically and stops the scooter rolling forward or
backward.
The third is the regenerative brake. This works when you release the accelerator
lever. The faster you release the lever the faster the machine slows down. When it
slows enough the automatic brake engages.
Freewheel device/ Quingo Classic & Quingo Plus page 12
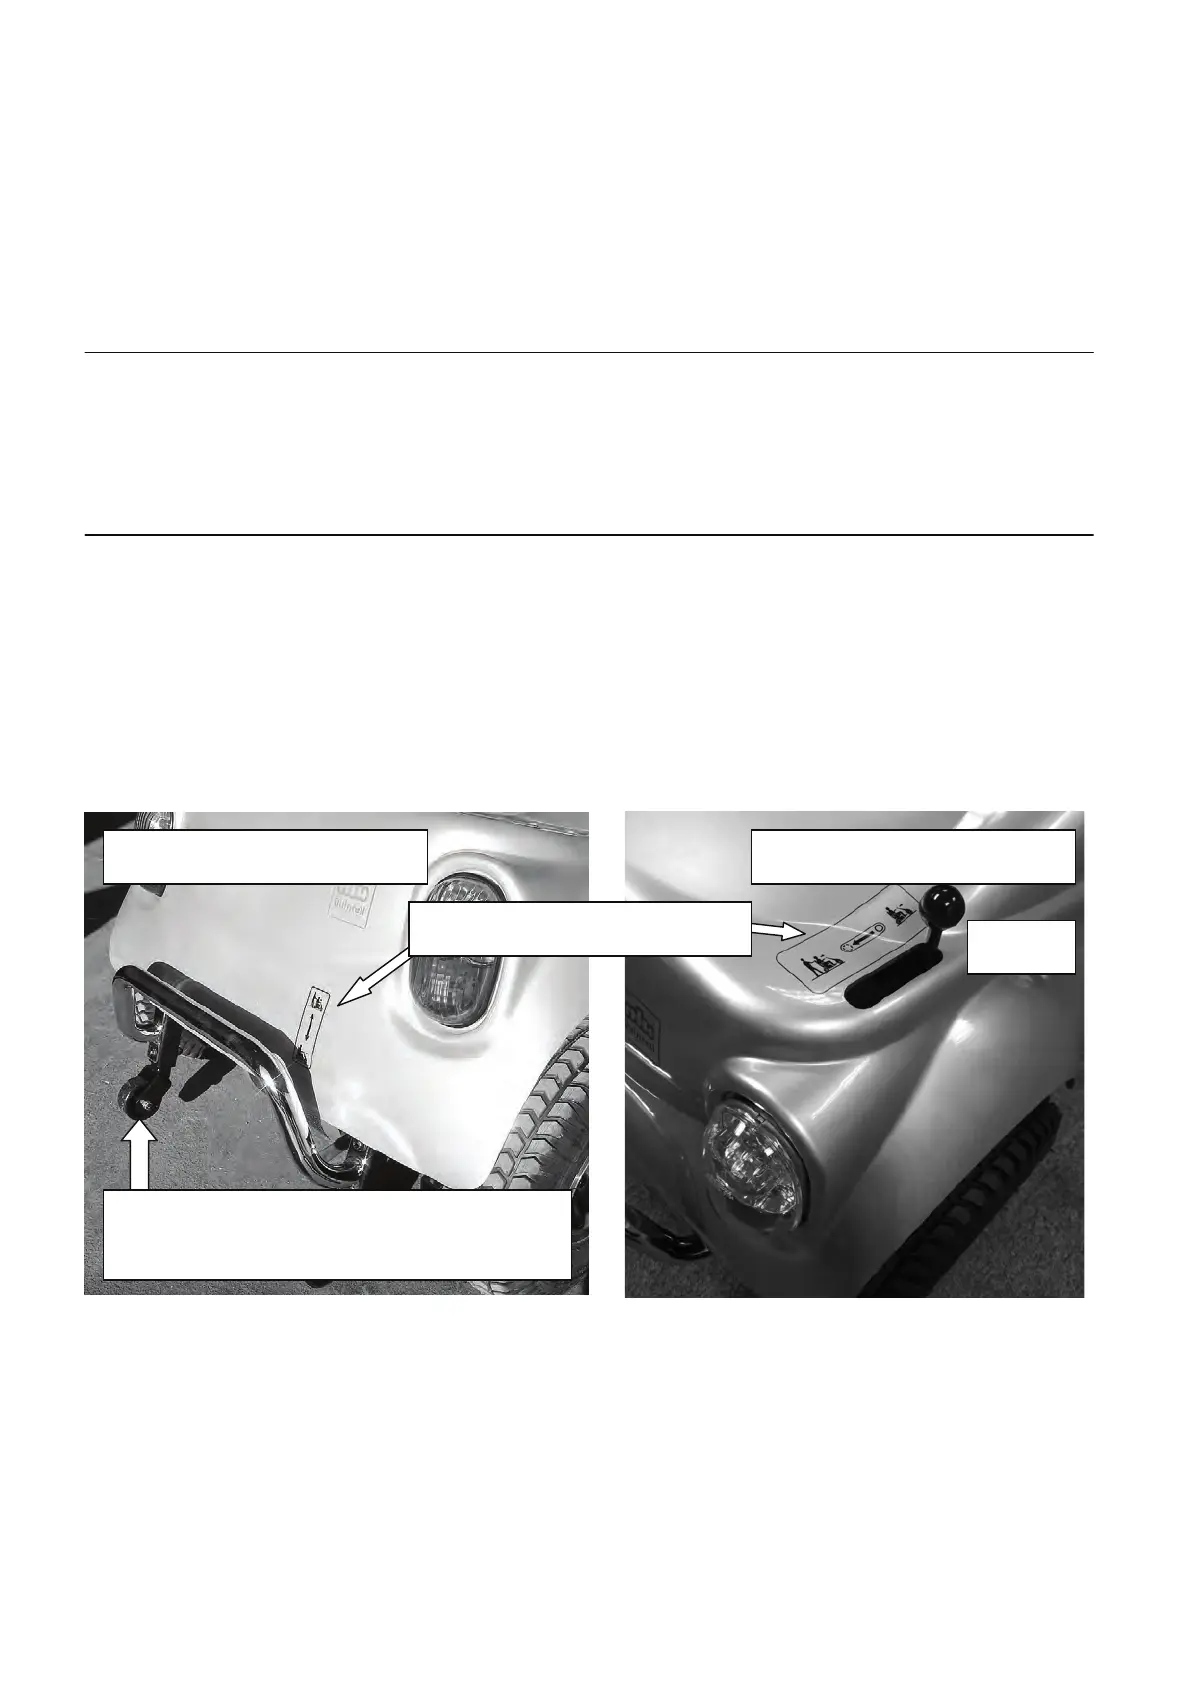
First locate the freewheel lever situated at the rear of the scooter. Photo 1 (Models to
December 2012) - Pull the lever upwards and freewheel is engaged so the machine
can now be pushed. Push the lever down and the freewheel is disengaged so the
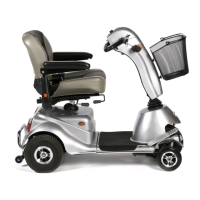
scooter cannot be pushed- This is the normal position for driving. Photo 2 (Models
from January 2013) – Push the lever backwards to the rear of the scooter and
freewheel is engaged. Push the lever forward and the freewheel is disengaged.
Check label for lever position
Older models have this type of anti tip units.
Newer models have the “Powered Anti Tip
Wheels”. See page 14 for a full explanation.