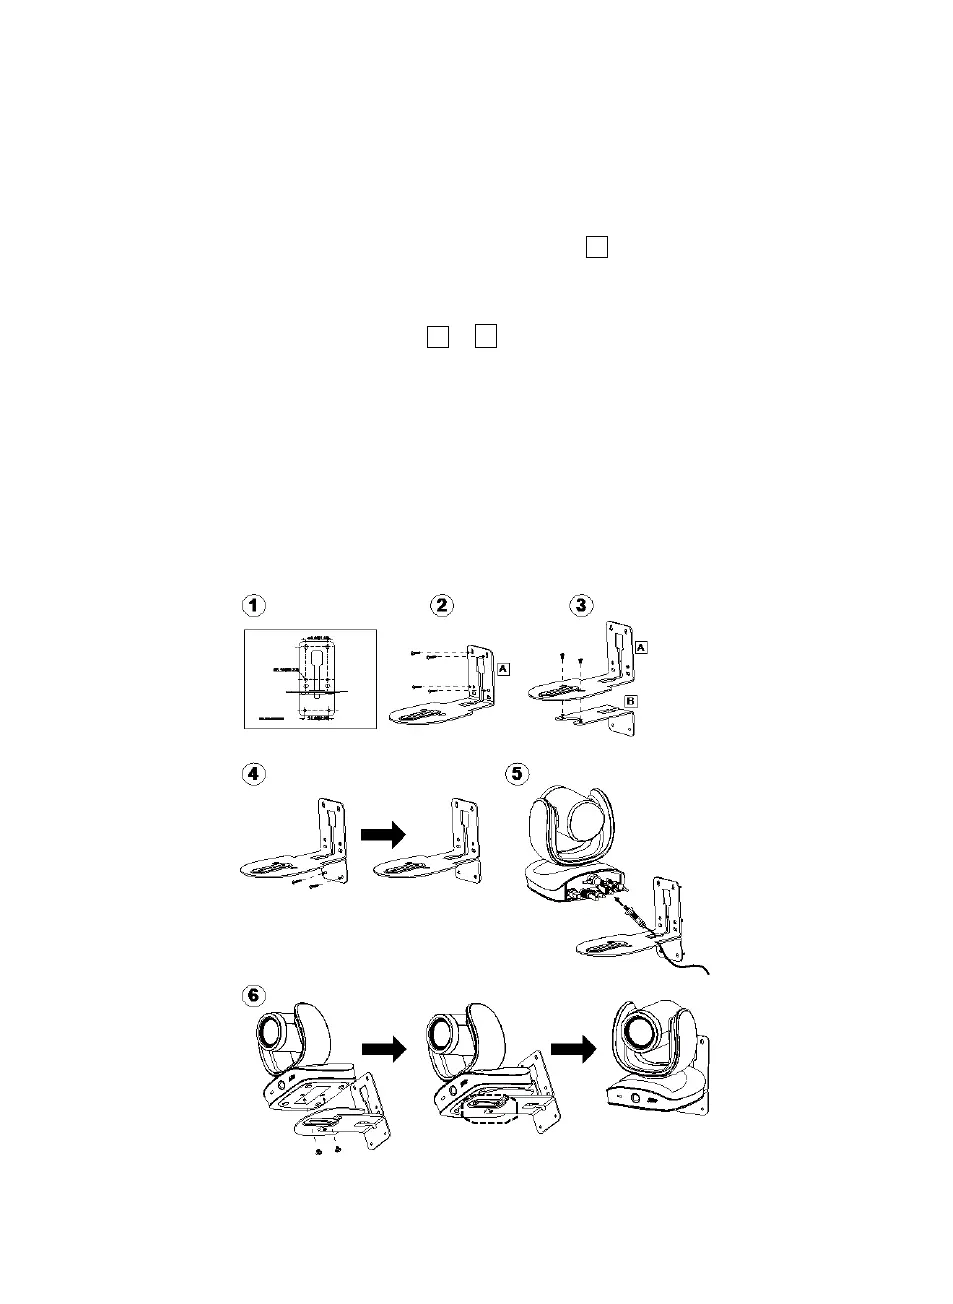
1. Use the drilling paper included in the package to drill the holes in the wall where the user wants
to mount the camera.
2. Use the screws (not included) to secure the L-mount bracket
on the wall.
[Note] For cement wall: M4 x20mm self-tapping screws (x4) + Plastic conical anchor
For wooden wall: M4 x20mm self-tapping screws (x4)
3. Then, assemble the L-mount brackets
with 2 screws (M4 x8mm, included in the
package).
4. After assembling the L-mount brackets, use the screws (not included) to secure the lower part of
L-mount brackets on the wall.
[Note] For cement wall: M4 x20mm self-tapping screws (x2) + Plastic conical anchor
For wooden wall: M4 x20mm self-tapping screws (x2)
5. Pass the cables through the hole on the L-mount brackets and connect the cables to
corresponding connection ports.
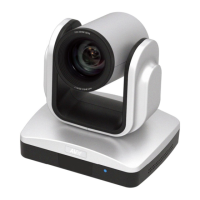
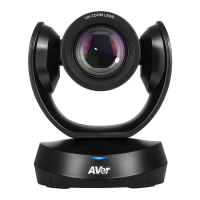
6. Use the remaining screws (1/4”-20 L=7.5mm, included in the package) to secure the camera on
the L-mount brackets.