Do you have a question about the AVG AVW-308CS and is the answer not in the manual?
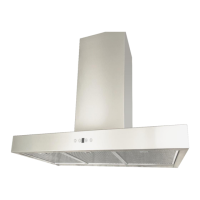
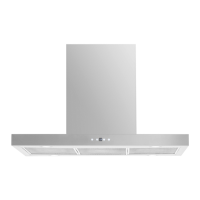
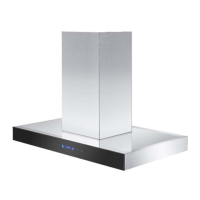
This document is a user manual for the AVG Wall Mounted Range Hood, models AVW-308CS & AVW-368CS – WYOMING.
The AVG Wall Mounted Range Hood is designed to extract vapors and odors from the kitchen, improving air quality and preventing the accumulation of grease and moisture. It is intended for domestic use and should not be used for exhausting hazardous or explosive materials and/or vapors. The hood features a blower system to draw air, and a lighting system to illuminate the cooking area. It is equipped with controls for adjusting blower speed and light intensity.
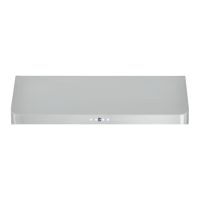
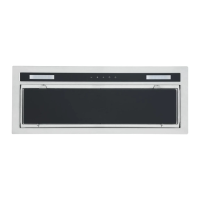
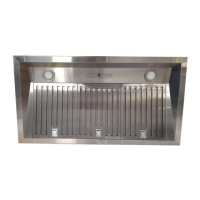
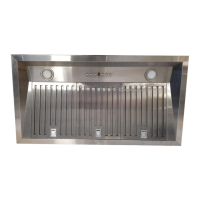
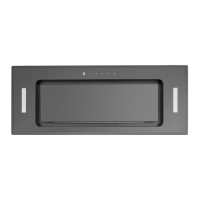
The range hood is operated via a control panel with several buttons:
Operating the Blower: The blower speed can be adjusted from 1 (lowest) to 6 (highest). The Power-Off Delay Timer allows the user to set a delay for the blower to turn off automatically after cooking. The timer can be set from 1 to 15 minutes.
Operating the Lights: The lights can be turned ON/OFF using the dedicated light button. The light intensity can be adjusted by pressing and holding the light button for 3 seconds, which will cycle through different brightness levels. The system stores the last used light intensity in memory.
Automatic Cleaning Reminder: The hood is equipped with a cleaning reminder that will activate after 30 hours of use. When the blower (motor) starts to rotate, a cumulative running time will be shown in the Power-On Elapsed Digital Timer. This timer flashes when 30 hours of usage is up and reminds the user to clean the aluminum filters. After cleaning the filters, the user should press and hold the Increase (+) button over 3 seconds to reset the timer.
Cleaning Exterior Surfaces: Periodically clean with hot, soapy water and a clean cotton cloth. Do not use corrosive or abrasive detergent or steel wool/scouring pads. For heavier soil, use liquid degreasing cleaner. A stainless steel cleaner can be used for stainless steel surfaces. Always follow directions for the stainless steel cleaner. Avoid getting cleaning solution onto or into the control panel.
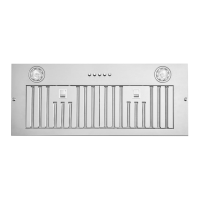
Cleaning Grease Filter: The stainless steel baffle filters should be cleaned after 30 hours of use (or once every month, according to usage). Remove and clean by hand in soapy water or in the dishwasher. Dry the filters and re-install. If cleaning the filters in the dishwasher, use a non-phosphate detergent to prevent discoloration.
Replacing Filters: Worn out or damaged filters should be replaced. Refer to the manual for instructions on replacing filters.
Cleaning Stainless Steel Surface: Regularly wash the surface with a cloth or clean cloth soaked in warm water and mild soap or liquid dish detergent. Always clean following the grain of the material and rinse thoroughly with clear water (2-3 times) before wiping completely. Use specially designed stainless steel cleaners.
Replacing LED Light Bulbs: To replace the LED lamps, turn off the power supply to the hood. Wait for the LED lamps to cool. To prevent damage or to avoid reducing the life of the new bulb, do not touch the bulb with your bare fingers. Replace the bulb by manipulating with a tissue paper or cotton gloves. If new lights do not work, ensure each lamp is properly inserted into its socket before requesting the intervention of a service agent. The lamp rating must be equal to the one already used. Make sure all control switches are off and the hood is unplugged or that the breaker is OFF. The steps involve:
| Brand | AVG |
|---|---|
| Model | AVW-308CS |
| Category | Ventilation Hood |
| Language | English |