Installation
Connecting Cables
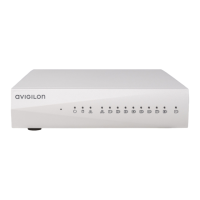
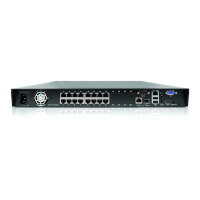
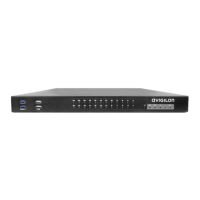
Refer to the diagrams in Overview on page5 for the location of the different connectors. Make any of the
following connections as required:
1. Connect the keyboard and mouse to the USB connectors on the recorder.
2. Connect the monitors to the dedicated graphics processor on the recorder.
3. Connect the recorder to your network using an Ethernet network cable.
4. Connect the power cable to the power supply at the back of the recorder.
5. Press the power button on the front of the recorder.
The NVR5 Workstation turns on and loads the Windows operating system.
Logging into Windows 10 for the First Time
After the workstation starts, you will need to configure the Windows operating system for the first time.
1. Proceed through the Language, Region, andKeyboard screens. Wait for Windows to complete the
network setup.
2. The MICROSOFT SOFTWARE LICENSE TERMS and AVIGILON CONTROL CENTER™ SOFTWARE END
USER LICENSE AGREEMENT are displayed. Review the terms and click Accept.
3. Enter a user name for the Windows administrator account.
4. Enter a password and password hint for the Windows administrator account and click Next.
Note: Remember the Windows Administrator password. If the Windows Administrator
credentials are lost, you may need to reinstall the operating system again. It is highly
recommended to create a second Administrator user as a backup.
5. You are logged in to the Windows environment. The ACC client automatically starts up.
Note: If you are performing operating system recovery, the ACC client does not automatically
start up. For more information about running the local ACC installer, see Operating System
Recovery By Avigilon Recovery Partition on page12.
Installation 8
 Loading...