4
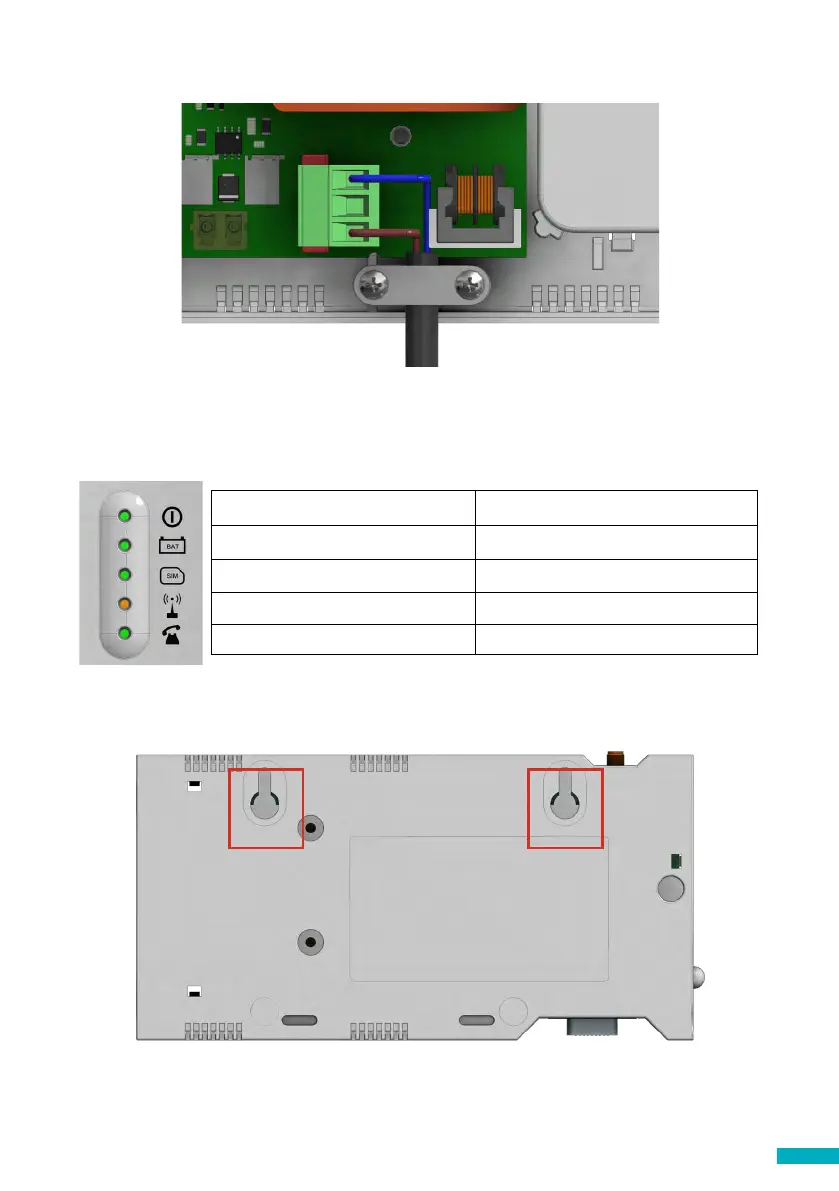
8. Clamp the power cable using the grey clamp provided inside the box.
9. Place the lid back on the top of the DCP and fasten the lid with the screw.
10. Turn on the power to the DCP. The RUN LED on the DCP should change colour
from ashing amber to ashing green when the mains power connection is made.
If you see any other colour, please consult the LED Indication list on page 14.
RUN LED ashes green Power supply is OK
BAT LED is always on Battery is OK
SIM LED is green or amber Device is connected to the network
Coverage LED is green or amber Good coverage
SLIC LED is green Device is in standby
J6
11. To x the device in position, drill two holes in the wall and insert the plugs and
screws provided with the device. Hang the DCP on these two points using the tear-
shaped holes at the back box of the DCP (mid points of holes are 105mm apart).
12. If a non-Avire SIM card is used, APN settings must be set prior to conguring it on
the Avire Hub; please refer to “Setting Parameters on non-Avire SIM cards” (page
6). If the SIM LED is ashing red, please see “SIM Card unlocking” (see page 5).