15
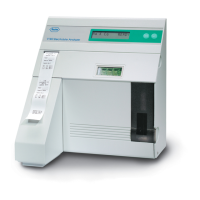
Begin by placing the analyzer on a secure table top
that allows plenty of working space and is convenient
to a power connection.
Open the analyzer main door. Locate and carefully
remove the five red relief clamps from the valves by
sliding out the clamps. Save the clamps for reuse to
prevent damaging the tubes in the event the analyzer is
later shut down for any reason.
See illustration 2-2.
Slip the two pump windings around the analyzer pump
rollers, making sure not to overstretch the tubing.
See illustration 2-3.
Electrodes and measuring chamber
The next procedure involves preparing and installing
the electrodes in the measuring chamber.
Remove the reference housing and electrodes from
their protective boxes and place them on a soft, clean
surface. Check that each electrode has an o-ring in
the left side of the electrode.
See illustration 2-4.
2-2. Removing relief clamps
2-3. Installing the pump windings
2-4. Electrode o-ring
 Loading...