Functions & Setup of the Transmitter Cont:
Test Pattern Generator:
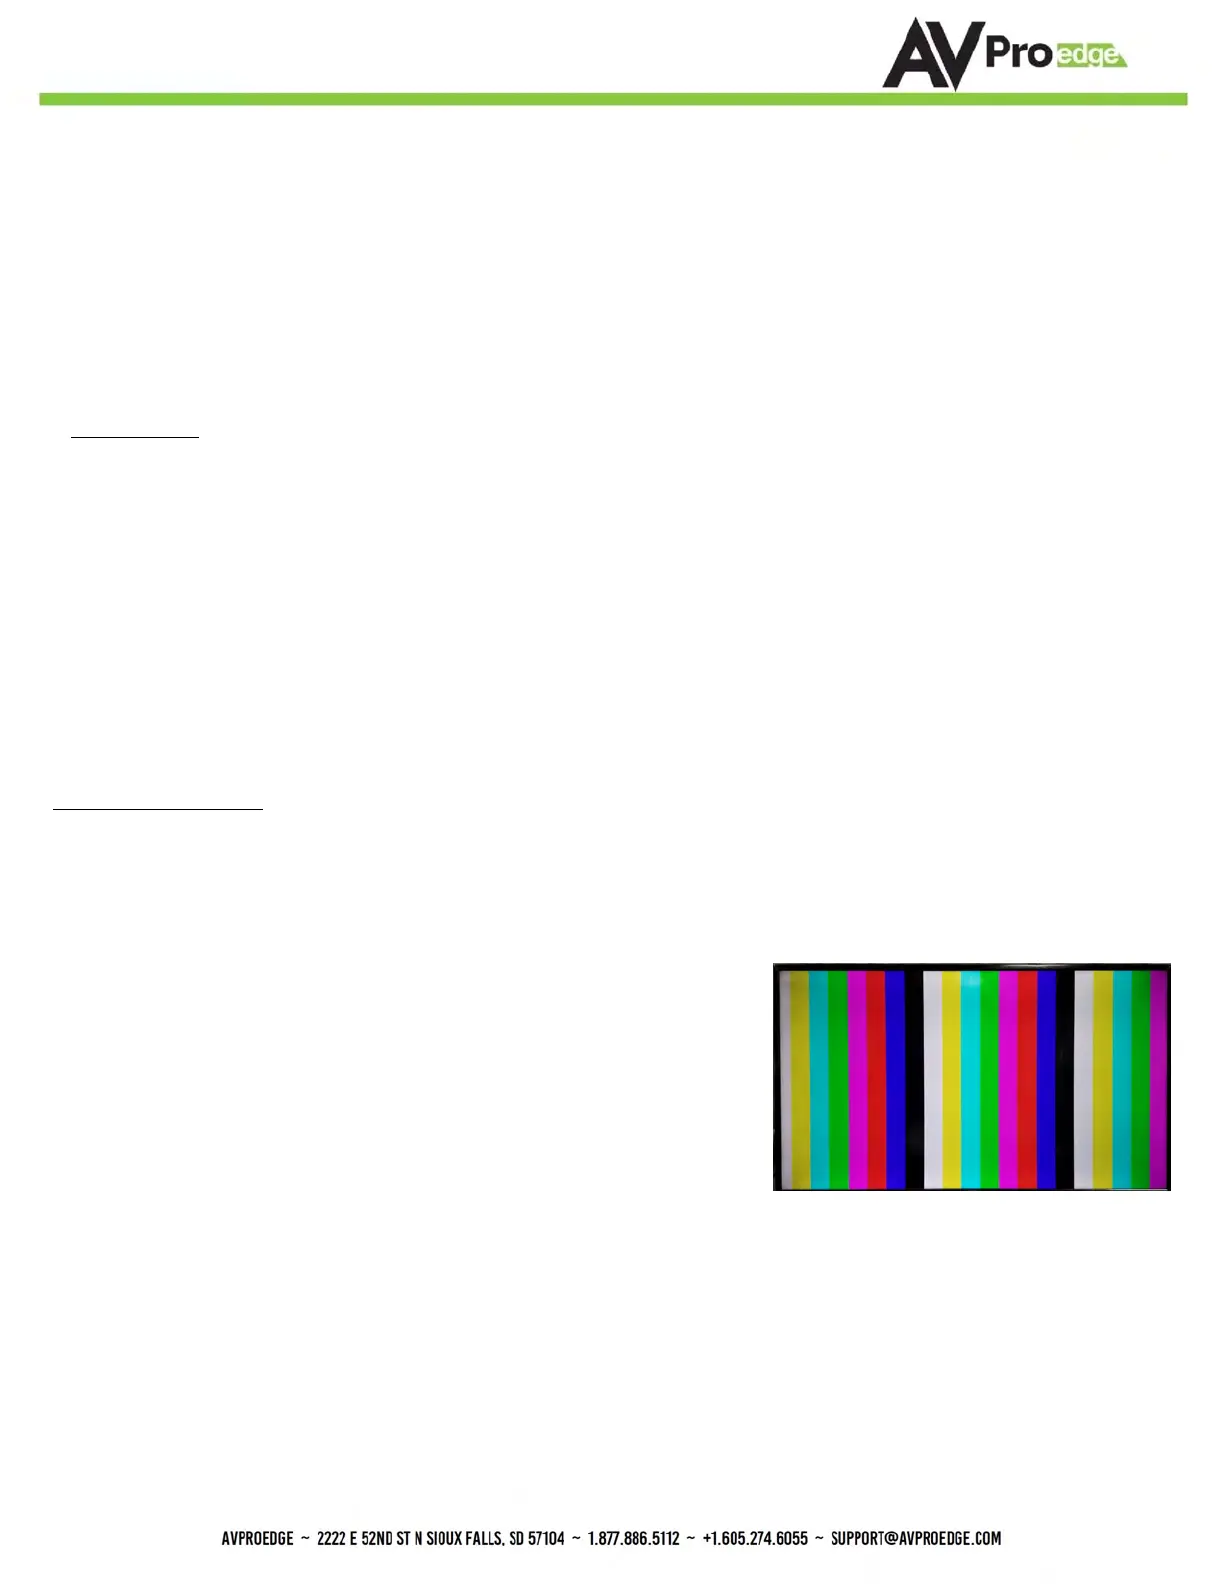
Press and hold the setting button (for 4 seconds) while powering up the transmitter. You should see the color bar
pattern to the right on screen. When in this mode, you can quick press to toggle the resolution.
Quick press the setting button---Select the test pattern timing.
• 1080P --- LED Flashes 1 Time (3 sets of color bars, example to the right)
• 4K --- LED Flashes 2 Times (5 sets of color bars)
*NOTE: This can be useful for checking your cabling and for
troubleshooting. You can also ensure you have sufficient
distance based on the resolution as well.
While in the USER EDID state (8), press and hold the setting button (for 4 seconds) in order to copy the EDID from the
connected display or downstream device to the user EDID and it will apply automatically.
Why do this?
This is commonly used when there is a need for a specific, known EDID that the installer may prefer. It can also be used if
you want to bypass an EDID of an AVR or another connected device. (IE, plug the extender kit directly into a display and
COPY the EDID. Plug it back into an AVR that may not have a current/good EDID).
Scaler Setting:
While in ANY state besides the USER EDID state, press and hold the setting button (for 4 seconds) to toggle the scaler
mode.
The options are:
COPY DEVICE EDID
Long Range Mode:
150m (500ft) on up to 1080P 8-BIT
1. Enable Test Pattern Mode - Press and hold settings button for 4 seconds while powering up the
transmitter.
2. In Test Pattern Mode - Press and hold the settings button for 4 seconds to enable/disable Long Range
Mode
a. Flash Once - Disabled
b. Flash Twice - Enabled
3. Reboot the extender, Long Range Mode is now active,.
1. Normal Mode(ICT Mode) --- LED Flashes 1 Time
2. Down Scaler Mode (4K->2K) --- LED Flashes 2 Times
 Loading...