18
AXIS P1343/-E/AXIS P1344/-E - Video & Audio
Overlay Image
An overlay image is a static image superimposed over the video image. The overlay image can be used to provide extra
information, or to mask a part of the video image. See the online help for supported image formats and sizes.
To use your own image, e.g. a logo, it must first be upload to AXIS P1343/-E/AXIS P1344/-E. Click Browse and locate the
image file on the computer. Click Upload. When uploaded, the file can be selected in the Use overlay image drop-down list.
To place the overlay image at specific coordinates in the live view image, check Include overlay image at coordinates and
enter the X and Y coordinates.
Once satisfied, click Save. Click View... to view the overlay image in the video stream.
Privacy mask
A privacy mask is an area of solid color that prohibits users from viewing parts of the monitored area. Up to three privacy
masks can be used. Privacy masks cannot be bypassed via the VAPIX® Application Programming Interface (API).
Privacy Mask List
The Privacy Mask List shows all the masks that are currently configured in AXIS P1343/P1344 and if they are enabled.
Add/Edit Mask
To define a new mask:
1. Click Add. A rectangle appears on the image.
2. Use the mouse to move the rectangle. To resize, click and pull the bottom right-hand corner.
3. Enter a descriptive name in the Mask name field.
4. Click Save.
To edit a privacy mask, select the mask and reshape or move as needed.
To change the Privacy mask color, select the new color from the drop-down list.
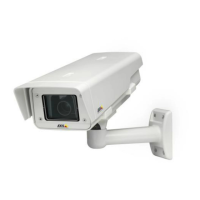
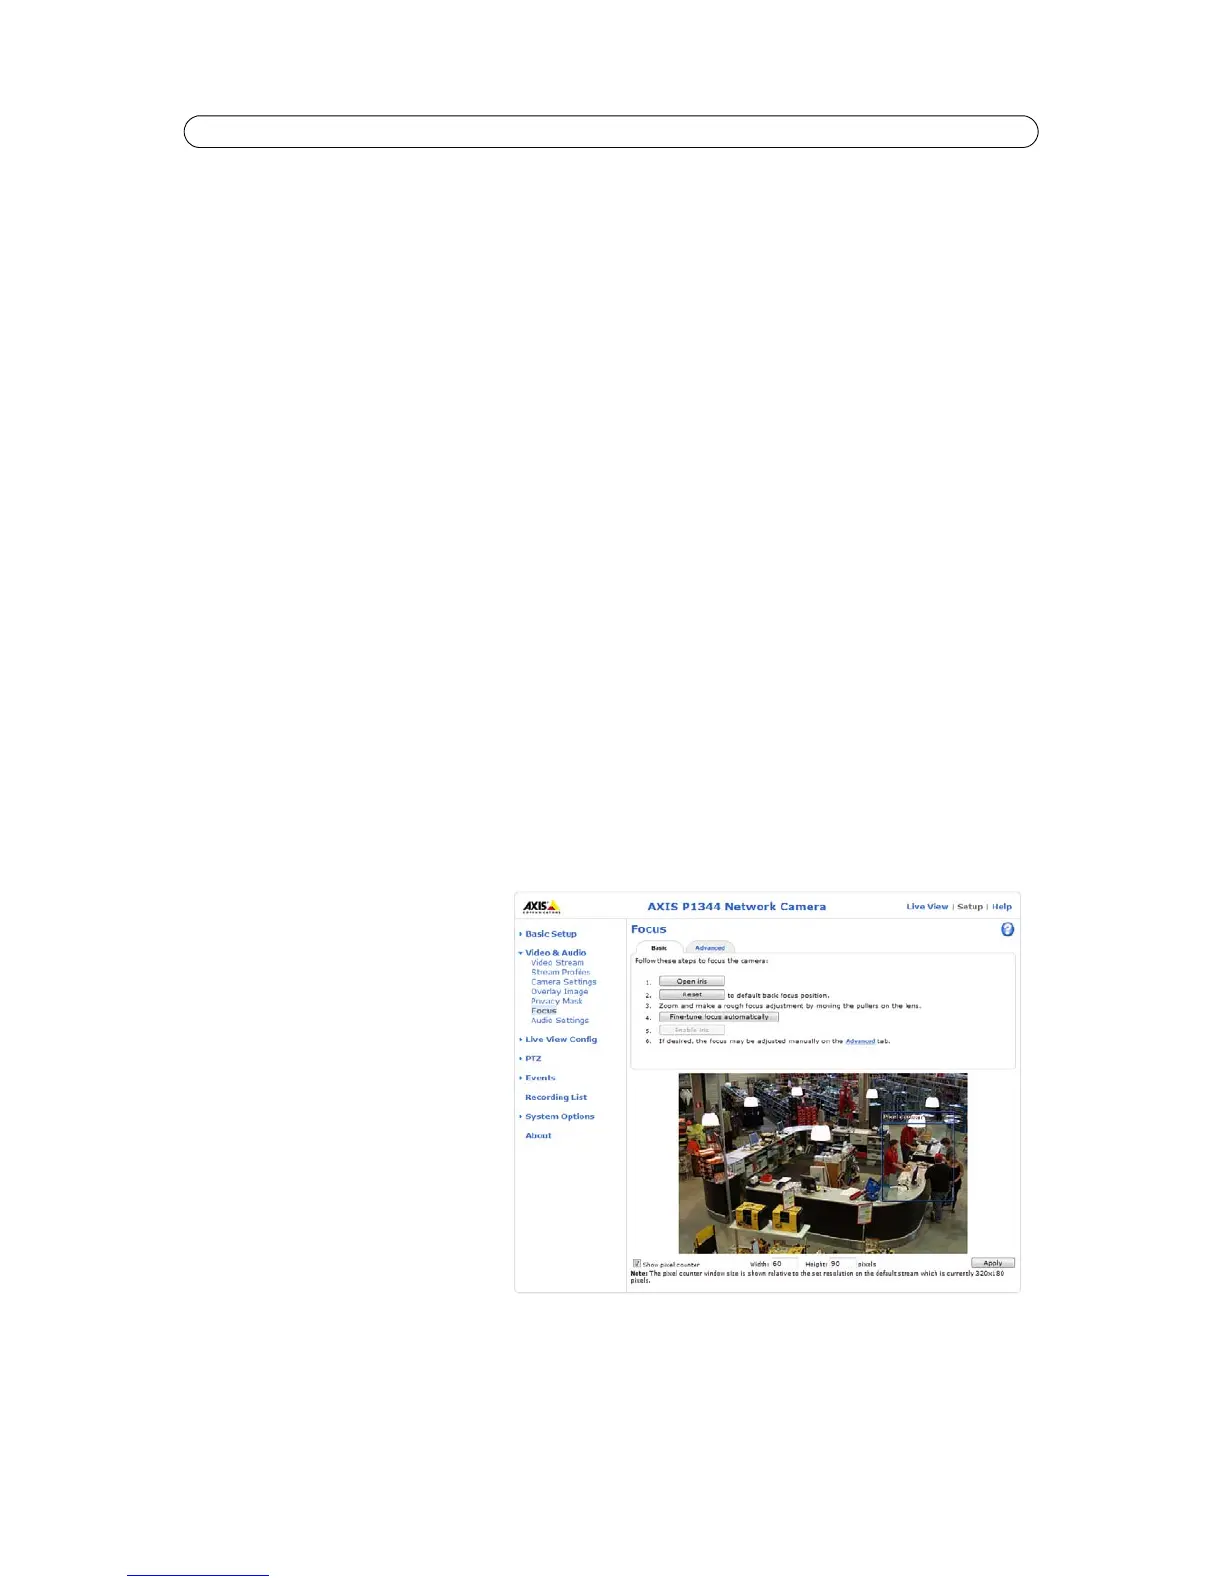
Focus
The Focus page provides tools and
step-by-step instructions for focusing
AXIS P1343/-E/AXIS P1344/-E. See also the
Installation Guide supplied with the product.
For most applications, the adjustments on the
Basic tab are sufficient. If required, additional
adjustments can be made on the Advanced
tab.
Before focusing, always click Open iris to
open the iris to its maximum. This gives the
smallest depth of field and thus best
conditions for correct focusing. Click Enable
iris when finished focusing.
Basic
Follow the on-screen instructions on the
Basic tab to adjust zoom and focus.
The pixel counter is used to determine the number of pixels in an area of the image, for example to ensure that the image size
fulfills specific requirements. To position the pixel counter, click on the text and drag the window to the desired position.