Do you have a question about the Axis P3265-LVE 9 and is the answer not in the manual?
Product repaint approval by Axis contingent on following document instructions and online guidelines.
Potential risks during product disassembly/assembly include ESD damage, dust contamination, and paint overspray.
Disassemble, clean parts, mask openings (screws, LEDs, microphones), and mask weathershield interior.
Use a primer to pretreat parts before painting. Materials used are PBT+PC Novaduran 5710N1TXY.
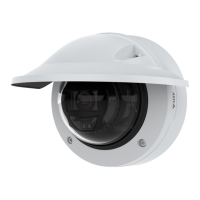
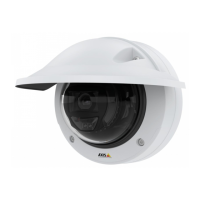
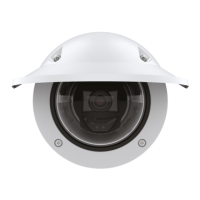
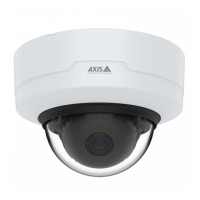
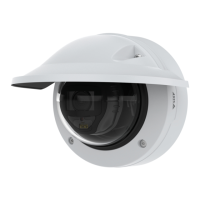
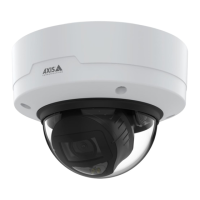
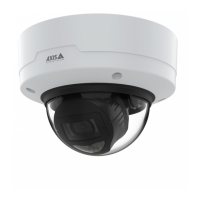
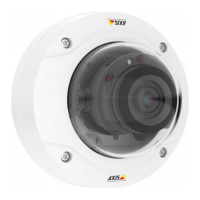
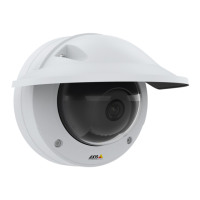
Instructions and diagrams for removing weathershield, dome cover, cable/conduit cover, dome, and anti-reflection ring.
Apply thin, even layers of paint, allowing drying time between coats. Avoid paint build-up in marked areas.
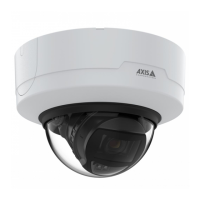
Reattach dome, weathershield, dome cover, and camera. Tighten screws to specified torque (1.0 Nm, 0.7 lb ft).
| IK Rating | IK10 |
|---|---|
| Vandal resistance | IK10 |
| Day and Night Function | Yes |
| Video Compression | H.264 |
| Audio Support | Yes (2-way audio) |
| Network Interface | 10/100 Mbps Ethernet |
| Ingress Protection | IP66 |
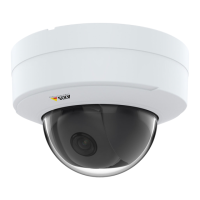
| Camera Type | Dome |
| Environment | Outdoor |
| Local Storage | Support for microSD/microSDHC/microSDXC card |
| Power Source | PoE |
| Power over Ethernet (PoE) | Yes, IEEE 802.3af/802.3at Type 1 Class 3 |
| Lens | Varifocal, 2.8–10 mm, F1.6 Horizontal field of view: 100°–34° Vertical field of view: 53°–19° Fixed iris, IR corrected |