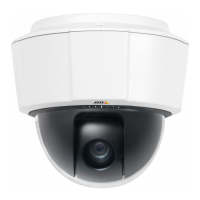
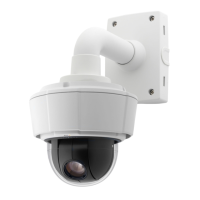
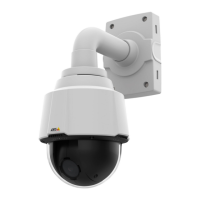
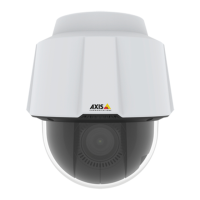
AXISPTZCamera
Instructions
RJ45push-pullconnector(IP66)–validforoutdoormodels(-E)only
Purpose:Maintainthecamera’singressprotectionrating(IPcode).TocomplywiththeIP66-rateddesignofthecameraand
maintaintheIP66protection,thesuppliedRJ45push-pullconnector(IP66)shallbeused.Alternatively,usetheRJ45IP66-ratedcable
withpremountedconnector(soldseparately).
Actions:
•MakesurethatRJ45push-pullconnector(IP66)isusedandthatitiscorrectlymounted.
-Makesurethattheconnectorisn’tdamagedorlooseinanyway.
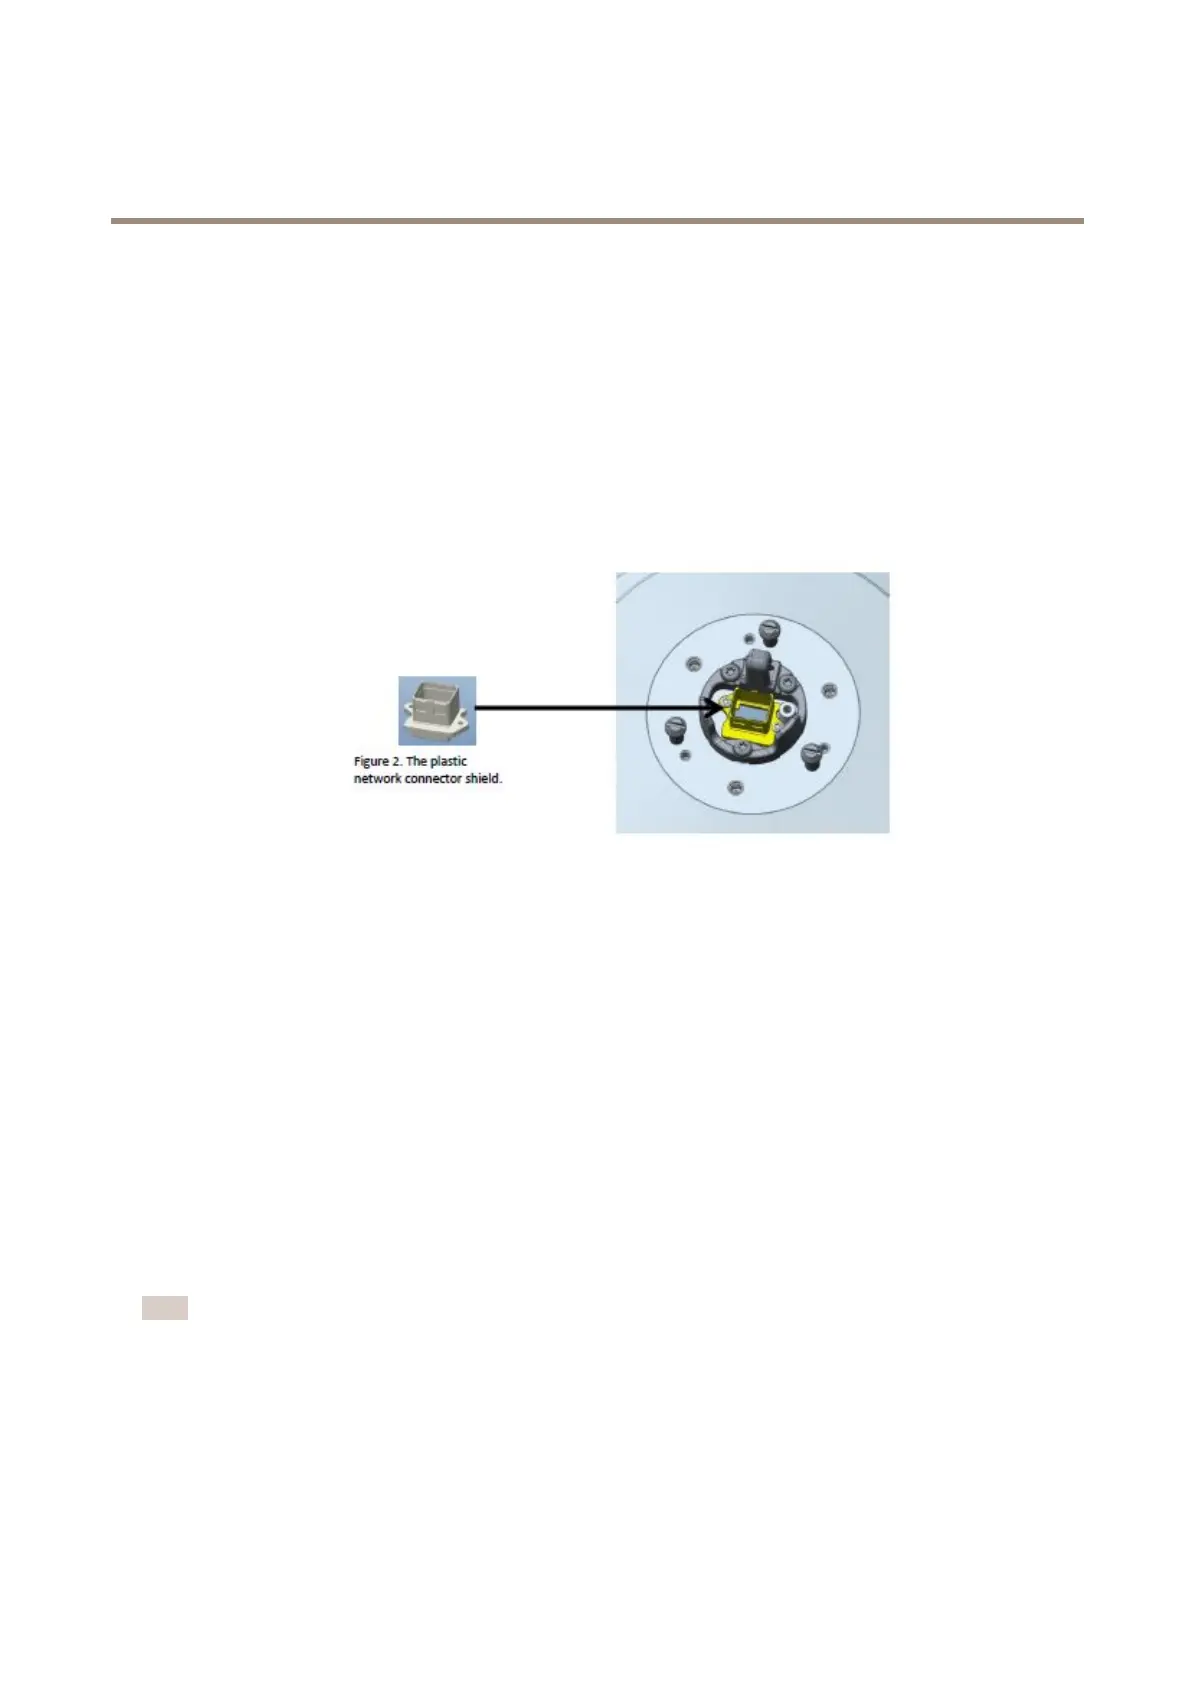
-Makesurethattheplasticnetworkconnectorshieldisintactandisstillmountedonthecamera.Theconnector
shieldcannotberemovedfromthecamera.
Theplasticnetworkconnectorshield.
BoththeconnectorandthepremountedcableareavailablefromanAxisreseller.InstructionsformountingtheIP66connector:
axis.com/support/faq/FAQ116166
Outerheatsink–validforcoldmodels(-C)only
Purpose:Maintaintheperformanceofthecoolingsystembycleaningtheouterheatsink
Actions:
•Cleantheouterheatsinkaccordingtotheinstructionsinthedevice’sinstallationguide.
Pressurize-validforsteelmodels(-S)only
Purpose:CheckandllthecamerawithNitrogengastwiceayeartopreventcondensation.
Actions:
•Repeatthellingprocessthreetimes.Releasethepressurebetweeneachlling,tomakesurethatallairandhumidityis
purgedfromthehousing.
Note
Thecamerahousinghasanpressurereliefvalvethatlimitsthellingpressureto0.5bar(7psi).Duringnormalusethe
pressureinsidethecamerahousingmaydropbelowthatpressure.Forfullprotectionmakesurethatthepressureisabove
0.2bar(3psi).
1.Settheregulatorgaugeonthegascylinderto0.5bar(7psi).
2.Removethecapsfromtheinletvalveandthepressurereliefvalve.
3.Placethechuckontheinletvalveandpressdowntollthecamerawithnitrogen.
9