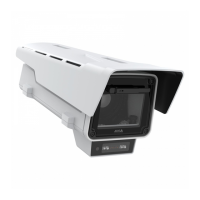
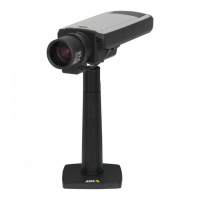
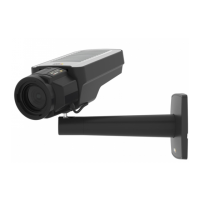
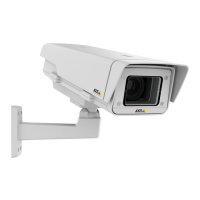
AXISQ1659NetworkCamera
Howtoinstalltheproduct
Installthehardware
NO NO
NO
TICE TICE
TICE
Duetolocalregulationsortheenvironmentalandelectricalconditionsinwhichthe
productistobeused,ashieldednetworkcable(STP)maybeappropriateorrequired.Any
networkcablesthatareroutedoutdoorsorindemandingelectricalenvironmentsshallbe
shielded(STP)andintendedfortheirspecicuse.
NO NO
NO
TICE TICE
TICE
Avoidmountingthecameratowardsthesun,thismaycausedamagetothelensandsensor.
Important
Mountthecamerasecurelytoavoidvibrationswhichwillcauseblurryvideo.
1.MounttheEF/EF-Slensonthecamerabody,seeHowtomountthelensonpage8.
2.Optionallyconnectexternalinput/outputdevices,suchasalarmdevices.SeeConnectors
onpage14forinformationontheterminalconnectorpins.
3.Optionallyconnectanactivespeakerand/orexternalmicrophone.
4.Connectthecameratothenetworkusingashieldednetworkcable(RJ45)orbyusinga
SFPnetworkmodule,seepage10.
5.Connectpower,usingoneofthemethodslistedbelow:
-PoE+(PoweroverEthernet,IEEE802.3atType2).PoE+isautomatically
detectedwhenthenetworkcableisconnected.
-Connectanexternalpoweradaptertothepowerconnectorblock.See
Connectorsonpage14.
6.CheckthatthestatusLEDindicatethecorrectcondition.Seeformoredetails.Notethat
theStatusLEDcanbeconguredtobeunlitduringnormaloperation.
7.OptionallyinsertamicroSDcard(notincluded)intotheSDcardslot.
NO NO
NO
TICE TICE
TICE
Topreventcorruptionofrecordings,theSDcardshouldbeunmountedbeforeitisejected.
8.Toproperlygroundtheproduct,connectagroundingwiretothegroundingscrew
positionednearthecamerasscrewplate,seeHardwareoverviewonpage6
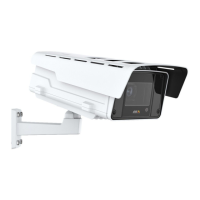
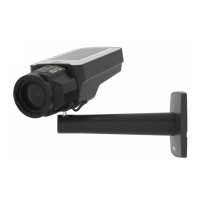
9.Fastenthecameratoawallmountoraholder.
Howtomountthelens
NO NO
NO
TICE TICE
TICE
Formoredetailsoncompatiblelenses,seewww.axis.com.
8
 Loading...