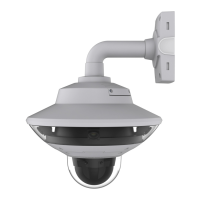
AXISQ86–ESeries
VIDEO
RS485
G
ND
B
A
1
2
3
4
REL.2
REL.1
ALAR
M
S
F1
F2
N
L
1
2
1
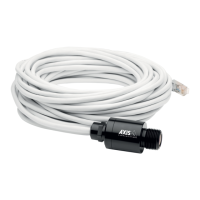
Networkcable
2
Powercables
Important
ThedipswitchesareconguredwiththecorrectPTorPTZprotocolinthefactoryand
mustnotbechanged.
Note
Thebaseunitcanbeattachedtothebracketinfourdifferentpositions.
9.Usethealignmentindicatorstondasuitablepositionthatallowsaccesstothe
congurationboard,whichcanbeopenedforeasyaccesstothenetworkconnector
duringforexampletroubleshooting.
10.Ifthereiscableslackafterthecableshavebeenconnected,loosenthecableglands,
removetheslackandattachthecableglandsagain.
11.Attachthebaseunittothebracket.
12.ApplyLoctite
®
243threadlockeronthescrewsandtightenthescrews(torque4Nm).
17

 Loading...