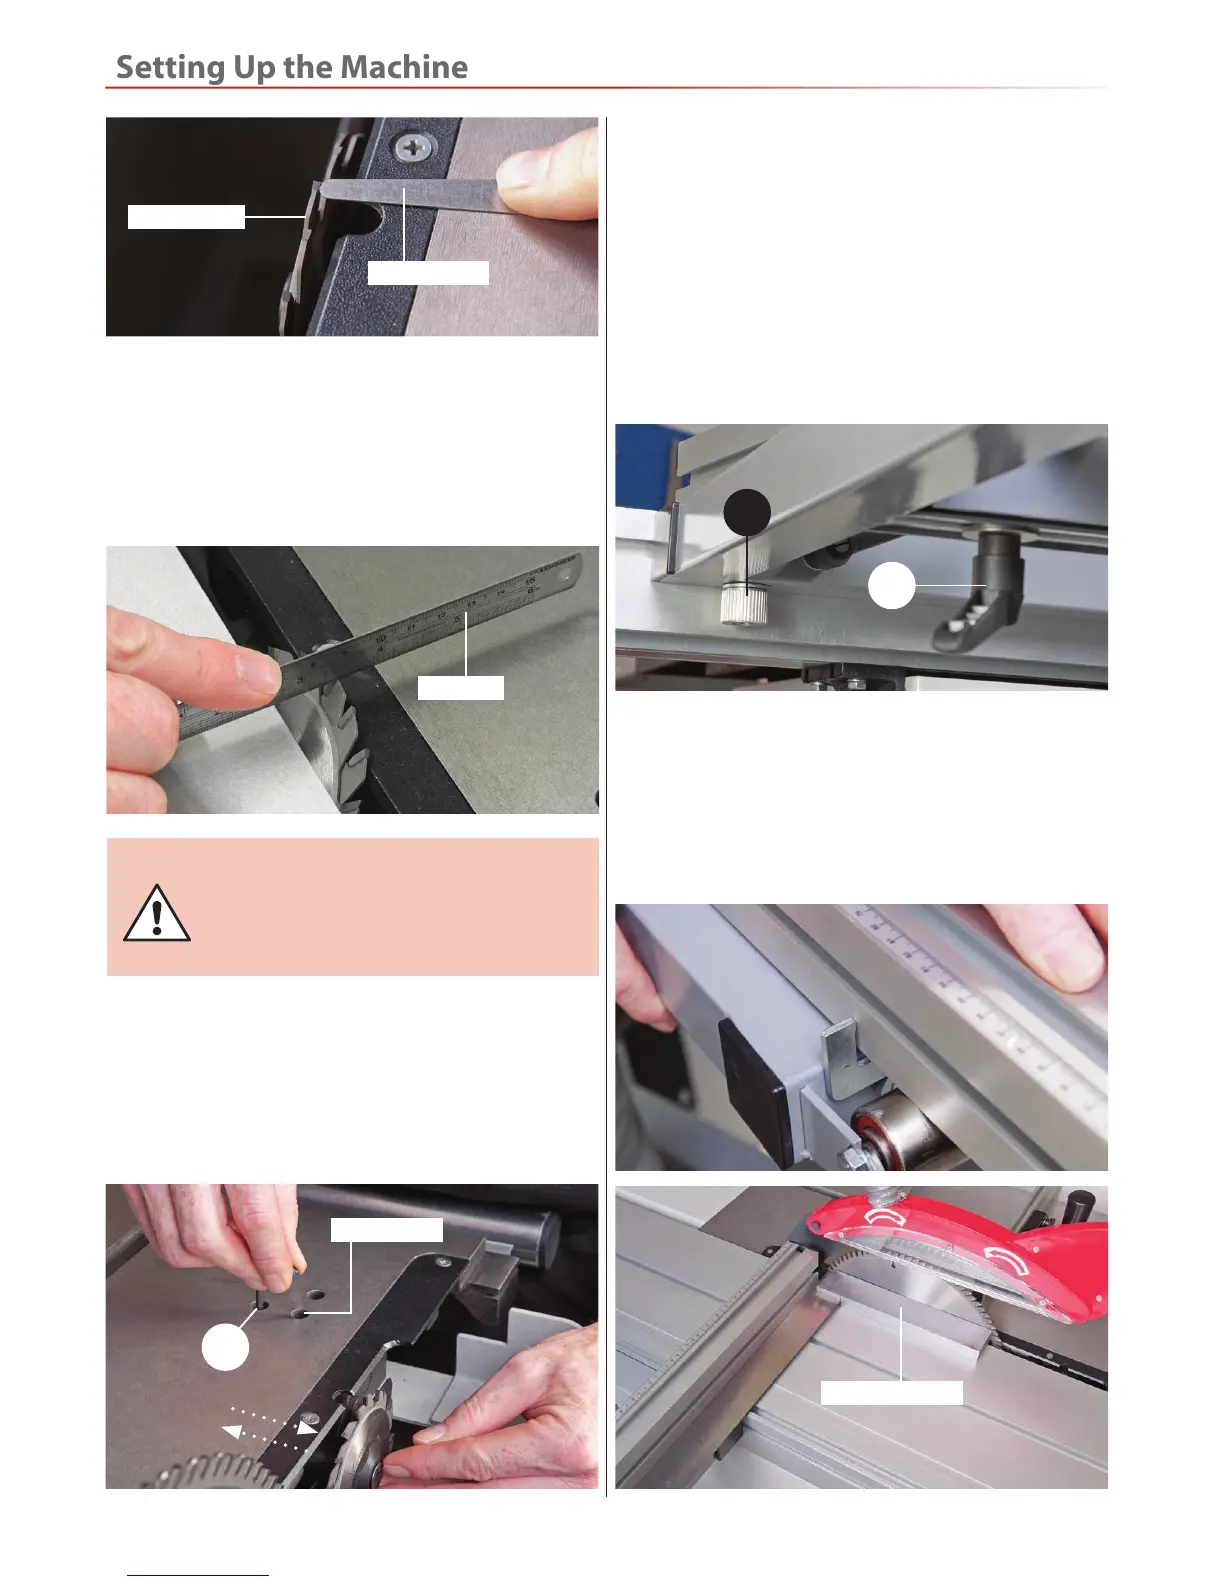
Feeler gauge
Scoring blade
Lower the saw assembly until the scoring saw is just
below the table. Then tilt the blade assembly until it
reads 45˚ degrees on the tilt angle scale, check that the
scoring blade is sitting just proud of the table, see fig 93.
45˚ Degrees
Fig 93
NOTE: If you change the main blade saw
blade at anytime, the kerf width of the
replacement blade must be slightly
narrower, (3.2mm) than the kerf width
of the scoring blade.
Blade Alignment (Left and Right)
Loosen the adjuster lock, turn the alignment Hex screw
(B) as required to align the scoring blade with the main
blade, see fig 94. Once aligned re-tighten the adjuster
lock.
Steel rule
Fig 94
Adjuster lock
B
Check that everythinge that should be tight, is tight; saw
blade guard, rise and fall lock mechanism, fence clamps
etc. Replace the crown guard assembly.
1. Raise the blade to its maximum height, slacken the
lift and shift handle (A) and the steel pin by loosening
the clamping knob (B), see fig 95. Slide the fence up
close to the saw blade, make sure the extension fence
Fig 95
is up against the 90˚ fence stop, see fig 84. Using a 90˚
square, place it against the fence and the blade (not on
the teeth), see fig 97 check that the angle is correct, if
not, adjust the 90˚ stop cam by turning the Phillips screw
until the fence is square to the blade, see fig 98.
A
B
Fig 96-97-98
Extension Table Fence
90˚ degree square
 Loading...