34
WARNING!! DISCONNECT THE MACHINE
FROM THE MAINS BEFORE CONTINUING!
DISCONNECT THE MACHINE FROM THE
MAINS!
WARNING!! IT IS IMPORTANT THE FRONT
EDGE OF THE FENCE NEVER PASSES THE
CENTRE OF THE BLADE.
Rip Saw Cutting
1. Set the crown guard 3-4mm above the top of the
workpiece, see fig 120.
2. Set the fence for the width of cut.
A
A push stick must be used when making cuts less than
300mm in length. The push stick should be at least
450mm long with a ‘bird’s mouth to one end, see
illustration below.
RECONNECT THE MACHINE TO THE MAINS!
Bird’s mouth
Start the saw by pressing the ‘ON’ button on the NVR
switch wait until the saw is at full speed, if everythinge
sounds and feels O.K, carefully guide a test workpiece
safely through, checking there is no build up of dust.
If all is OK.,turn off the saw, wait until the saw comes
to a complete stop before removing the workpiece.
RECONNECT THE MACHINE TO THE MAINS!
To operate the panel saw correctly, it is recommended
to visit the HSE (Health and Safety Executive) website
at www.hse.gov.uk and read the information work
sheet on the safe working practices, see image below.
HSE Health and Safety Executive
3. Start the saw, wait until it’s at full speed and carefully
feed the workpiece through using a ‘Push Stick’, (A).
Make sure the workpiece is clear of the blade then turn
off the saw, wait until the saw comes to a complete stop
before removing the workpiece.
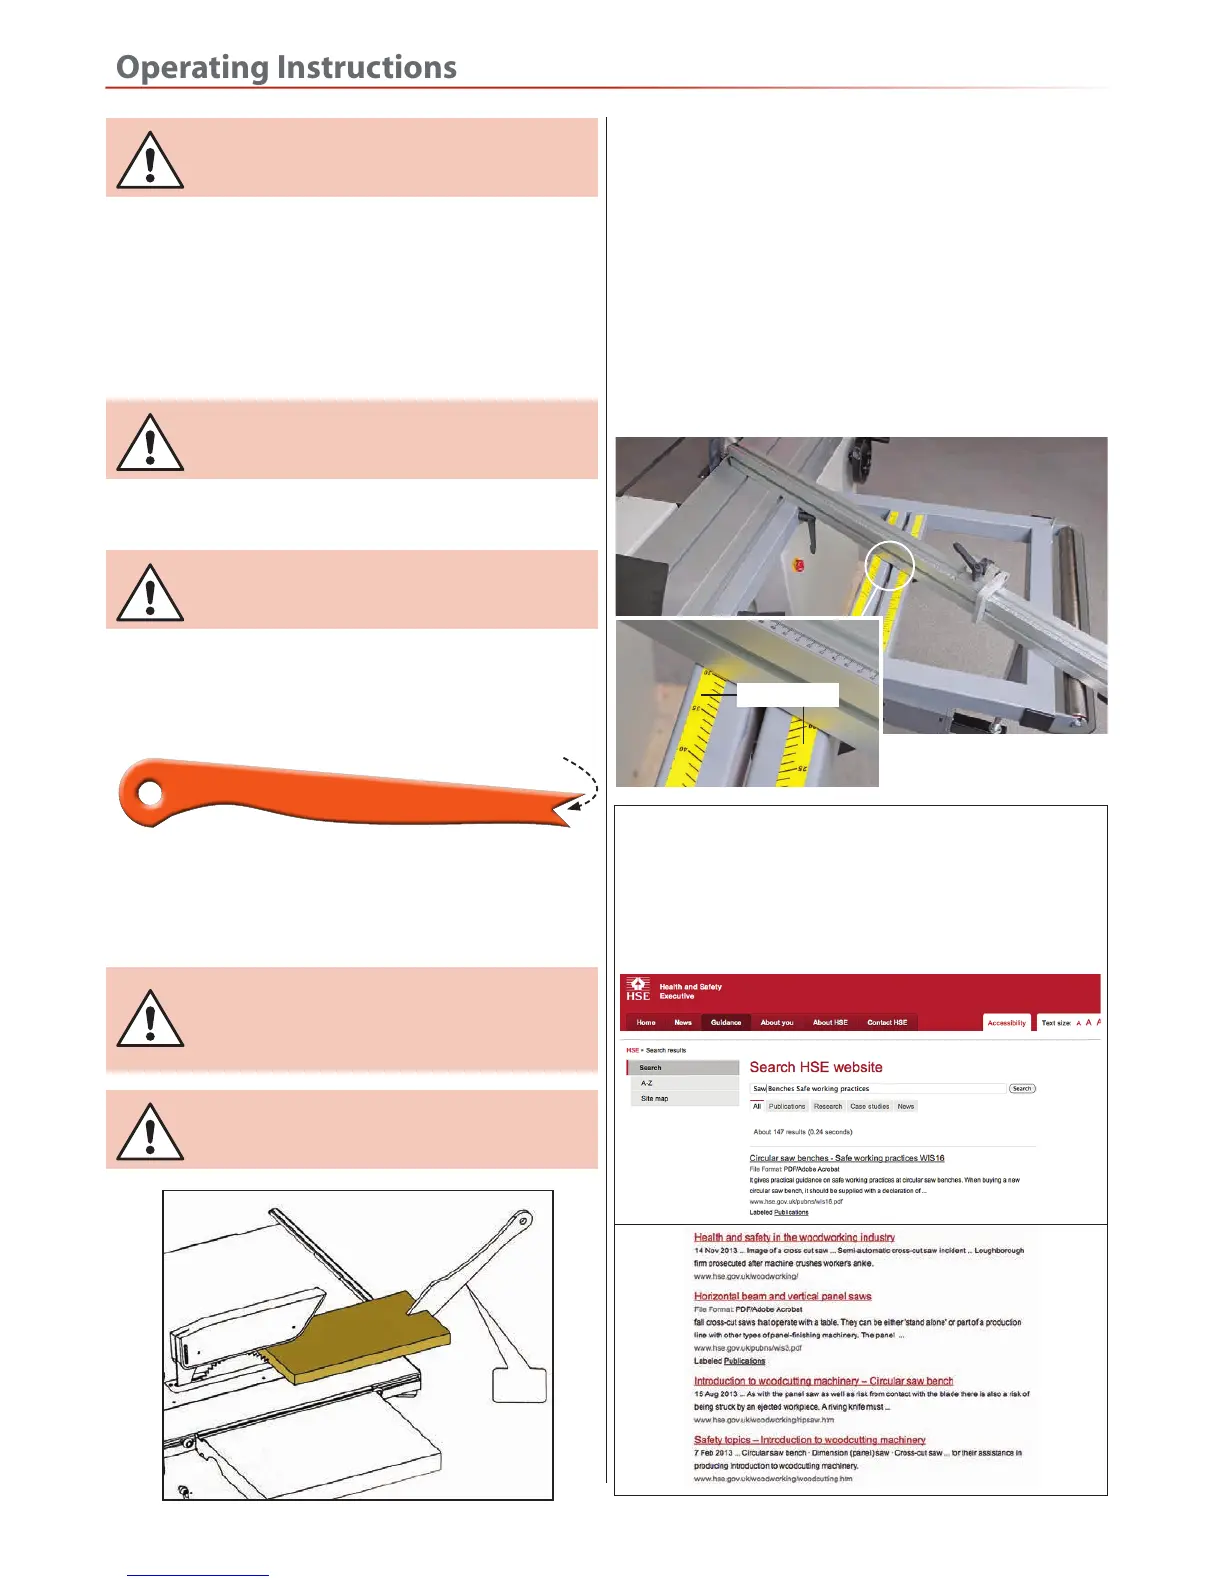
Bevel Cut
There is an angle scale mounted on top of the extension
table, to set the fence at required angles for cutting
bevel cuts, see fig 124.
Fig 124
Angled scale
 Loading...