PROGRAMMING A LOCOMOTIVE TO A SPECIFIC ADDRESS
Y
our E-Z Command Control Center features ten programmable control buttons or “addresses.” By default, most new DCC-equipped
l
ocomotives are factory-programmed to respond to commands on address 3.
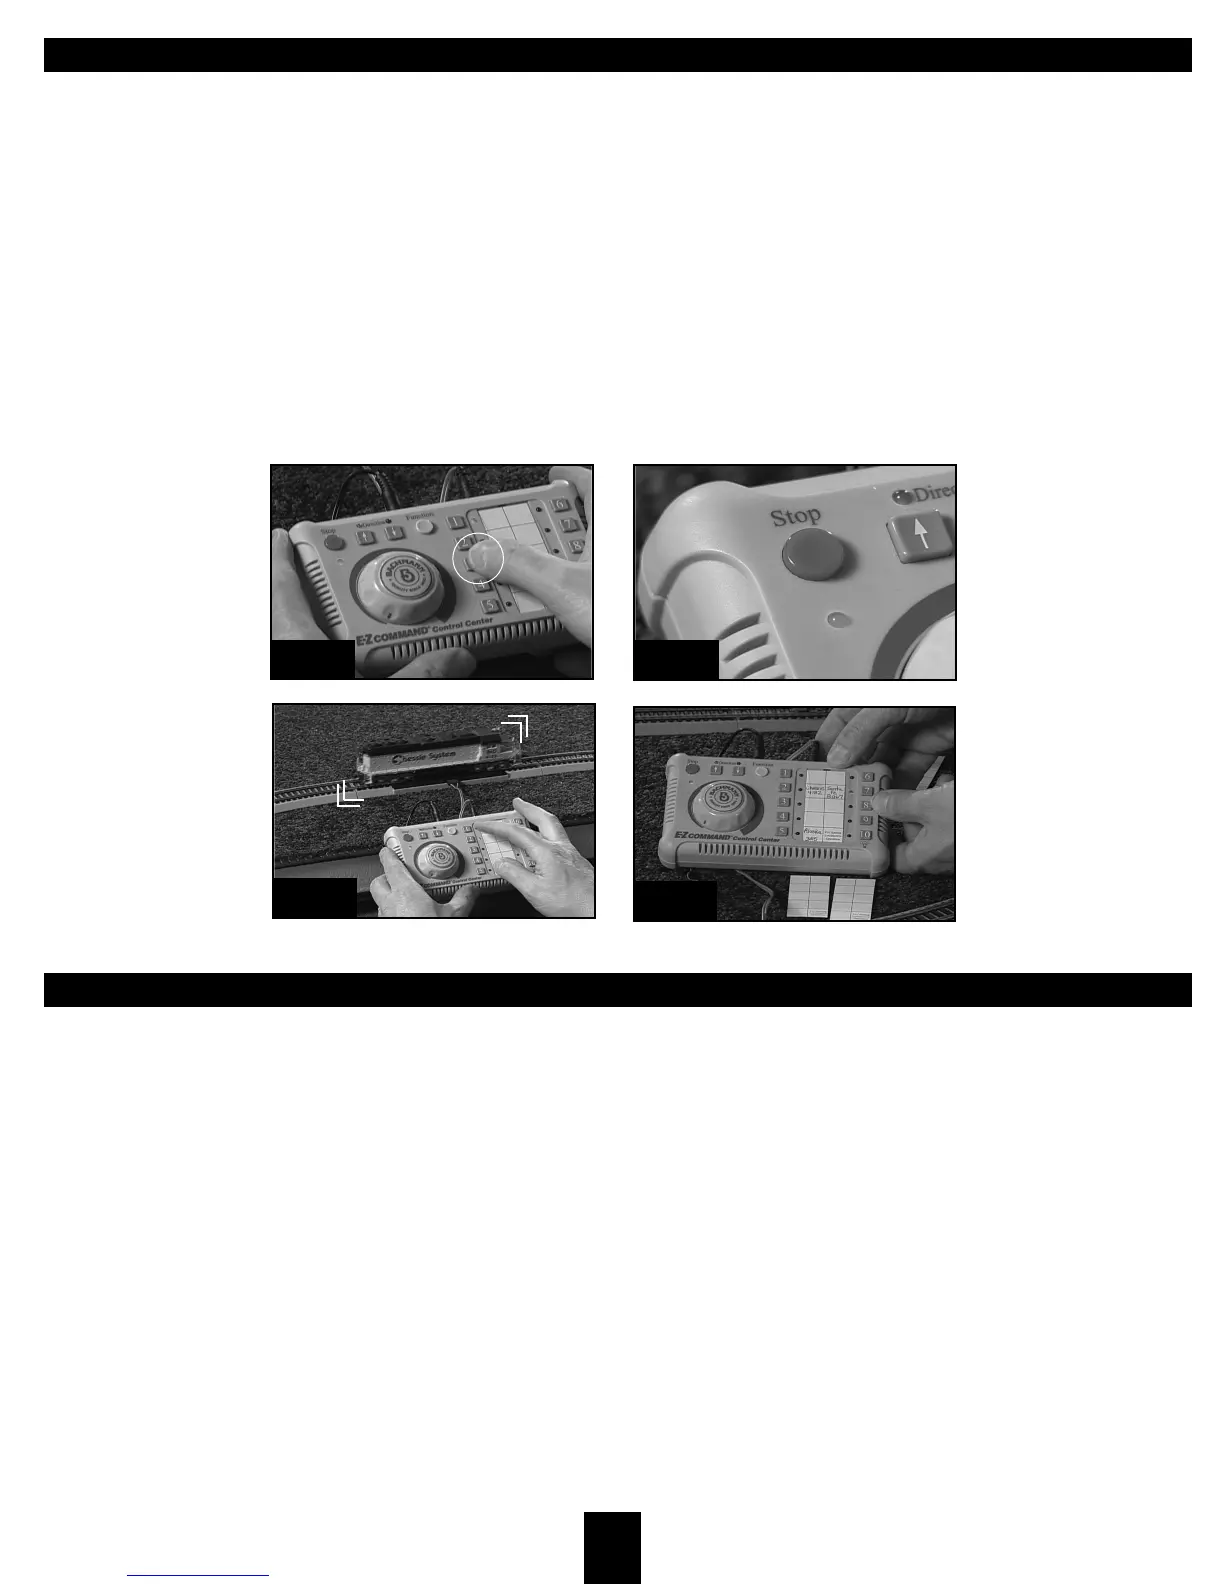
To program your locomotive to another address, activate the locomotive by running it a short distance. Next, press and hold down
button 3, the locomotive’s default address (figure 9) AND THEN AT THE SAME TIME, press the “Stop” button (figure 10), then
release both buttons together. The power LED will flash quickly to indicate you’re in programming mode.
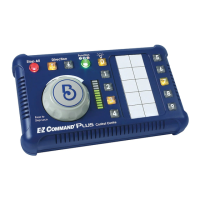
Choose a new address for your locomotive and press the corresponding button. The locomotive will move slightly (figure 11) and the
power LED will flash slowly to indicate that you have successfully programmed your locomotive to its new address. Finally, press the
“Stop” button to exit programming mode.
After you’ve programmed all your locomotives, you can individually control each of them by pressing the numbered button you have
assigned to that particular locomotive. A removable two-column sheet is located between the numbered buttons so you can identify
which locomotive is assigned to each button. For your convenience, extra blank sheets are included with your system (figure 12).
REPROGRAMMING DECODERS WITH PREVIOUSLY ASSIGNED DIGITAL ADDRESSES
You can use the E-Z Command system to control locomotives that have a previously assigned digital address other than number 3. If
the previously assigned address is a number less than 10, follow the directions we’ve just described to assign a new address to a
locomotive decoder. Just substitute the locomotive’s original digital address number for the number 3 in the standard programming
procedure.
However, if the locomotive’s digital address is a number higher than 10, you can reprogram it by following this procedure:
First, remove all locomotives from the layout. Next, follow the standard E-Z Command programming procedures as described in the
“Programming a Locomotive to a Specific Address” section (but without any locomotive on the track), including pushing and holding
down the number 3 button and the “Stop” button. At this point, you’re ready to assign a new digital address to the locomotive.
Simply place the subject locomotive on the track and assign a new address by pressing a numbered E-Z Command button (1 to 9). The
locomotive will move slightly to signal that you have successfully assigned a new, lower address. Finally, push the “Stop” button to
exit the programming mode and begin operating your locomotive at its new digital address.
3
9
10
11
12