
S
Shelley ReynoldsSep 9, 2025
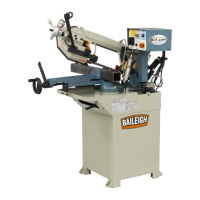
What to check if there is no operation on single-phase for Baileigh Industrial Saw?
- CcgrossSep 9, 2025
If there is no operation on single-phase for your Baileigh Industrial Saw, check the power supply and fuses No. FU4, FU5 for normal condition.