Installation Guide
Basler IP Fixed Box Cameras 5
EnglishLanguageLanguageLanguageLanguageLanguageLanguageLanguage
2 Installing the Camera
2.1 Hardware Installation
1. Take the camera and an appropriate lens and move to an environment that
is as dust-free as possible.
2. Remove the cap from the lens mount on the front of the camera.
3. Install the lens on the camera:
If you are using a CS-mount lens, carefully screw your lens into the
mount as far as it will go.
If you are using a C-mount lens, carefully screw a 5 mm extension ring
into the lens mount of the camera as far as it will go and then carefully
screw your lens into the extension ring as far as it will go.
NOTICE
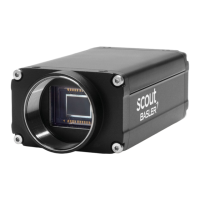
BIP2-1920-30c
This model comes with a C-mount adapter that holds the IR-cut filter.
You can remove the C-mount adapter to use a CS-mount lens but be
aware that this also removes the IR-cut filter. When using a CS-mount
lens, a 0.8 mm spacer is required in addition.
When using a C-mount lens, take care not to insert the lens too deeply
into the lens mount as this can damage the IR-cut filter.
For more information, see the dimension drawings in Chapter 8 of the
user’s manual.