Page 10 <&(%$*4.8"4,7%K'*#$"&8#L%/7*,#*%4,77%HMNNNMNIIMOPQP1 Item 63445
?@<6AR ST6;@ACSE D@CEA6E@EU6?6AFT
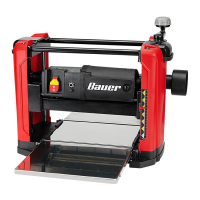
;*/7,4"83%X7,9*#
1. Turn Planer off and unplug from its electrical outlet.
2. Using included Wrench, loosen Hex Screws on Dust Chute, then Remove
two Hex Screws on Blade Guard. Remove Blade Guard.
V(*84.
X7,9*%
W',(9
D,38*$#
B*b%
?4(*)
B*b%
?4(*)
<"3'(*%B
U@FACSEd Blades are very sharp and are double-edged! Wear heavy-duty
leather work gloves at all times when handling a blade.
3. Wearing gloves, rotate Cutterhead toward you until it locks into place.
4. Remove six Hex Screws on Gib, then using Magnets \#**%<"3'(*%B_, remove Gib.
B*b%
?4(*)#
U'$$*(.*,9%
;*7*,#*%
?)"$4.
W"+
<"3'(*%C
U@FACSEd Change both Blades at the same time. Changing
Blades individually could result in imbalance.
5. Using Magnets, remove Blade, rotate or replace, placing holes over Tabs.
A,+
A,+ X7,9*
<"3'(*%c
6. Replace Gib and six Hex Screws, $"3.$*8%?4(*)#%#*4'(*7>1
7. Push Cutterhead Release Switch \#**%<"3'(*%C_ forward to allow
rotation to the second Blade. Repeat steps 4 through 6.
8. Replace Blade Guard and two Hex Screws, then tighten Dust Chute.