Do you have a question about the Baumatic BRCI2575 and is the answer not in the manual?
Your appliance is designed for home use only, for chilling and refrigeration.
Check for transport damage before connecting; contact retailer if damage is found.
Appliance contains R600a refrigerant; handle with care as it is flammable.
Keep packaging away from children and prevent them from touching controls.
Avoid wet hands, outdoor use, blocking vents, and ensure proper electrical connection.
Do not attempt self-repair; contact Baumatic Customer Care Department for service.
Details on appliance height, width, depth, and required installation space.
Information on capacity, noise level, defrost type, thermostat, shelves, and drawers.
Details the appliance's energy class and importance of climatic rating.
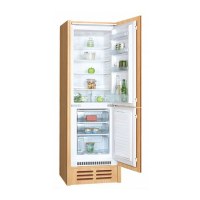
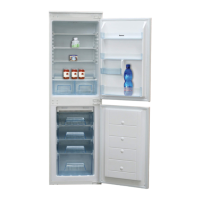
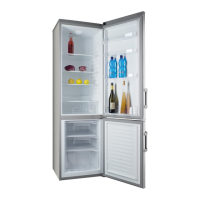
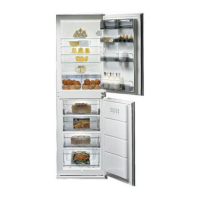
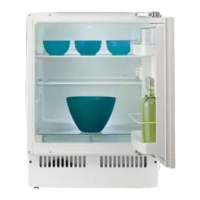
Identifies the internal light and thermostat control dial location.
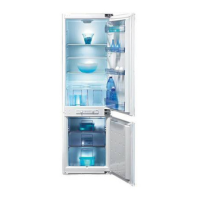
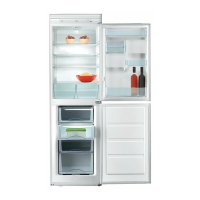
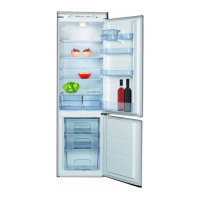
Shelves can be repositioned in guide slots and are secured.
Drawers at the bottom for fruit and vegetables, with a protective cover.
Various racks in the door liner for eggs, cheese, butter, and bottles.
Drawers located within the freezer compartment.
Channel and outlet for defrost water at the rear wall; keep clear.
Clean interior/exterior, wait 8 hours after delivery before connecting to mains.
Compressor runs continuously; avoid frequent door opening and overloading.
Guidance on storing cooked food, meat, fruit, vegetables, and dairy products.
Pack fresh food into airtight containers to prevent drying and flavour loss.
Use freezer bags, foil, or cans; remove air before sealing for easier freezing.
Fill ice cube tray with water and place in upper freezer drawers.
Sounds from defrosting, expansion/contraction, and compressor cycling.
Sounds from coolant flow through pipework and water into evaporating tray.
Install in a cool position and ensure correct ventilation to reduce consumption.
Clean condenser coils and door gasket; avoid frequent door opening.
Check for CFCs recyclers when disposing of the old fridge.
Disconnect appliance; clean with bicarbonate of soda and water solution.
Wash accessories separately with soap and water; do not use abrasive products.
Defrosting is automatic; clean drain hole and evaporating tray periodically.
Defrost at least twice yearly; do not place thawed food back in the compartment.
Turn off, disconnect, remove frost, dry thoroughly, and reset thermostat.
Ensure appliance is disconnected before replacing the bulb.
Connect via qualified electrician, ensuring correct wiring and fuse.
Detailed instructions for changing the door hinge side.
Ensure door seals adhere correctly after reversal to maintain performance.
Specifies required height, depth, and width for the appliance installation space.
Ensures adequate airflow for condenser cooling via housing unit design.
Insert appliance leaving 5mm gap for gasket, then fasten the gasket.
Fasten top and bottom parts using screws, adjust hinge/fixing brackets.
Mount and connect appliance door to cabinet door using slider guides.
Check plug, power supply, thermostat position, and voltage for operational faults.
Address overloading, thermostat settings, door closure, and ventilation.
Investigate noise sources, check for ice on the back wall.
Refer to refrigerator defrosting section for water management issues.
Disconnect appliance and contact customer care for operating issues.
Ensure appliance accessibility and that installation does not impede repair.
| Category | Refrigerator |
|---|---|
| Energy Rating | A+ |
| Height | 1770 mm |
| Width | 540 mm |
| Cooling System | Static |
| Number of Shelves | 4 |
| Climate Class | SN-T |
| Noise Level | 39 dB |
| Refrigerant | R600a |
| Installation | Freestanding |
| Number of Door Bins | 3 |