8 Beachcomber Hot Tub Owner’s Guide www.beachcomberhottubs.com 9
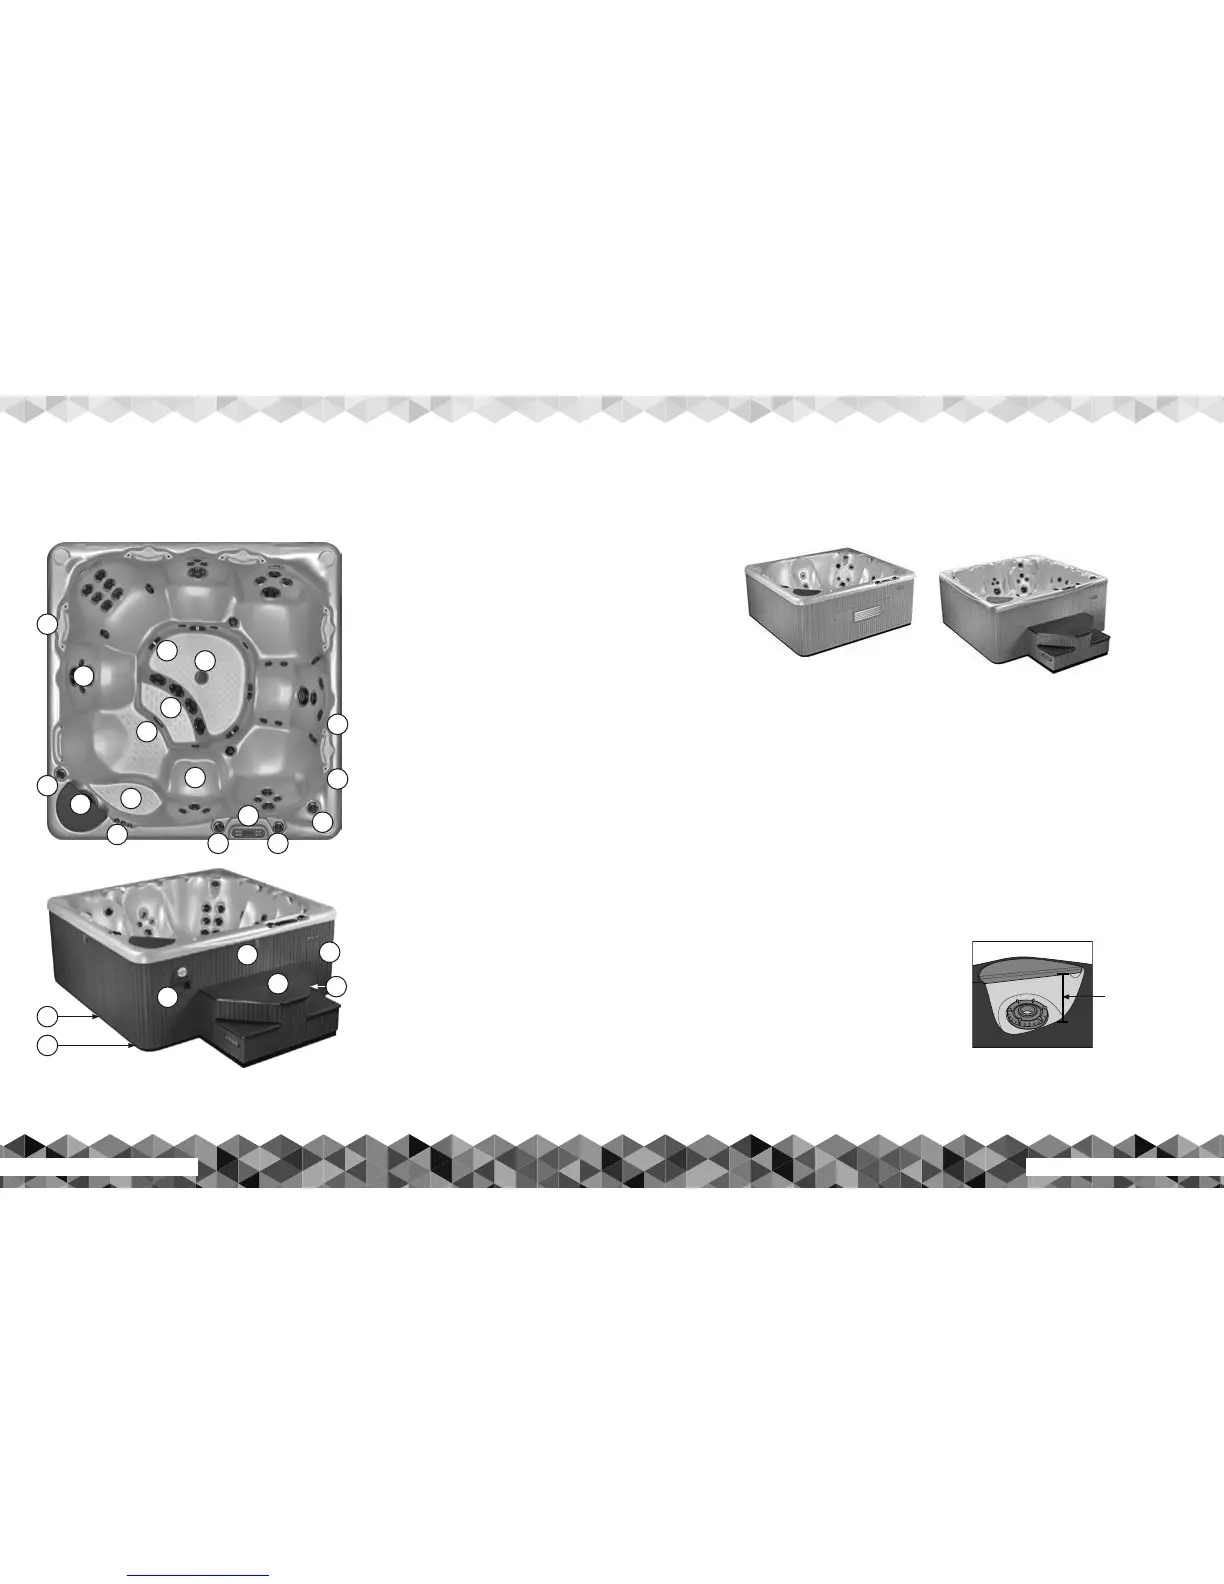
Beachcomber Hot Tub Components Overview
Familiarize yourself with the components of your personal Beachcomber Hot Tub. Some of these features shown
may be optional at extra cost and are shown here for the safety and convenience of our worldwide customers.
For Hybrid3 Edition Hot Tubs, the external pumping and heating equipment arrives in its own separate Hybrid3 Equipment Box. The
equipment must be hooked up to the hot tub using the separate instructions provided in the Hybrid3 Equipment Box. For either LEEP or
Hybrid3 hot tubs, electrical connections must be performed by a qualified electrician. After the proper electrical connections have been
performed to your proper standard codes, the qualified installer must follow these steps:
1. Check all union fittings on the Hybrid3 or LEEP pumping and heating equipment to ensure gaskets are in place with a tight fit. Hand-
tightening is sufficient. If leaking is noted at these fittings, the gasket may be missing, not seated properly or the fitting may not be tight
enough. Unscrew the union and check.
2. Open all knife valves. Fill the hot tub with water from a garden hose. You can place the hose directly in the hot tub, or attach it to the
drain/fill valve located down by the pumps, to fill from the bottom. We recommended running water through the garden hose to
waste for 10 seconds, before filling the hot tub to ensure fresh water from the hose source.
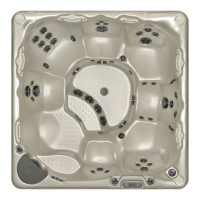
3. Fill the hot tub to the half way mark on the skimmer opening as shown.
For Hush Pump equipped hot tubs, the level can be lowered to one third
up the skimmer opening, allowing for more displacement if the hot tub is
subjected to use by more than the recommended number of people for
that model. Do not allow the water to go below this level.
4. Open the air bleed valve to release any air trapped in the external plumbing
(see equipment configuration diagrams in this guide). There is one air bleed
valve on the model 321 hot tub, and all 300, 500 and 700 series hot tubs
equipped with the Hush Pump.
5. With the air bled from the system, you can now turn on the power at the GFCI. Once the control panel is on, use the instructions on the
following pages to complete your start up. Refer to the instructions for the control panel that matches your system.
Water Level
Normal water level
is half way up the
skimmer opening.
Starting Up your Beachcomber Hot Tub
for the First Time
Beachcomber manufactures hot tubs in two configurations: the Hybrid3 Edition featuring the equipment outside of the hot tub cavity under a
safety step, and the LEEP Portable which features the equipment tucked inside the hot tub cabinetry behind an access door.
Basic Hot Tub Configurations
The LEEP Portable Hot Tub
The Hybrid3 Edition Hot Tub
1
2
3
4
5
6 6
8
9
10
11
12
13
14
C
A
B
D
E
G
F
15
7
2
1. Molded Cup Holder Handgrips
2. Eclipse Lighting Fixtures
3. Roman Arch Waterfall Control Valve
4. Filter Lid for Micro-filter and Skimmer Basket
5. Roman Arch Waterfall Jets
6. Air Injection Controls
7. Energy Saver Management System
Topside Control Pad
8. Reflex Foot Massage RFM Control Valve
9. Beachcomber FlexJets
10. Safety Textured Steps for Easy Hot Tub Access
11. Cooling Seat
12. Hot Tub Internal Light
13. Reflex Foot Massage RFM Jets
14. VGB Approved Suction Fittings
15. Gravity Floor Drain
A. Perma-Seal Foundation (on hot tub bottom)
B. Electrical Conduit Access (on both sides)
C. Quintessential Surround Sound QSS System
D. Garden Everlight Fixture (on all four sides)
E. SafeAxiss Safety Step (Hybrid3 Edition only)
F. Enviroskirt Cabinetry
G. Energy Saver Management System