4
Attach the Backplate (part 6) to the Upper and Lower Brackets (parts 4 + 5) using four Bolts, Nuts and Washers
A. Make sure you attach the Backplate the right way up by carefully refering to the images below. The bolts go
through the very top holes and through the second from the bottom holes.
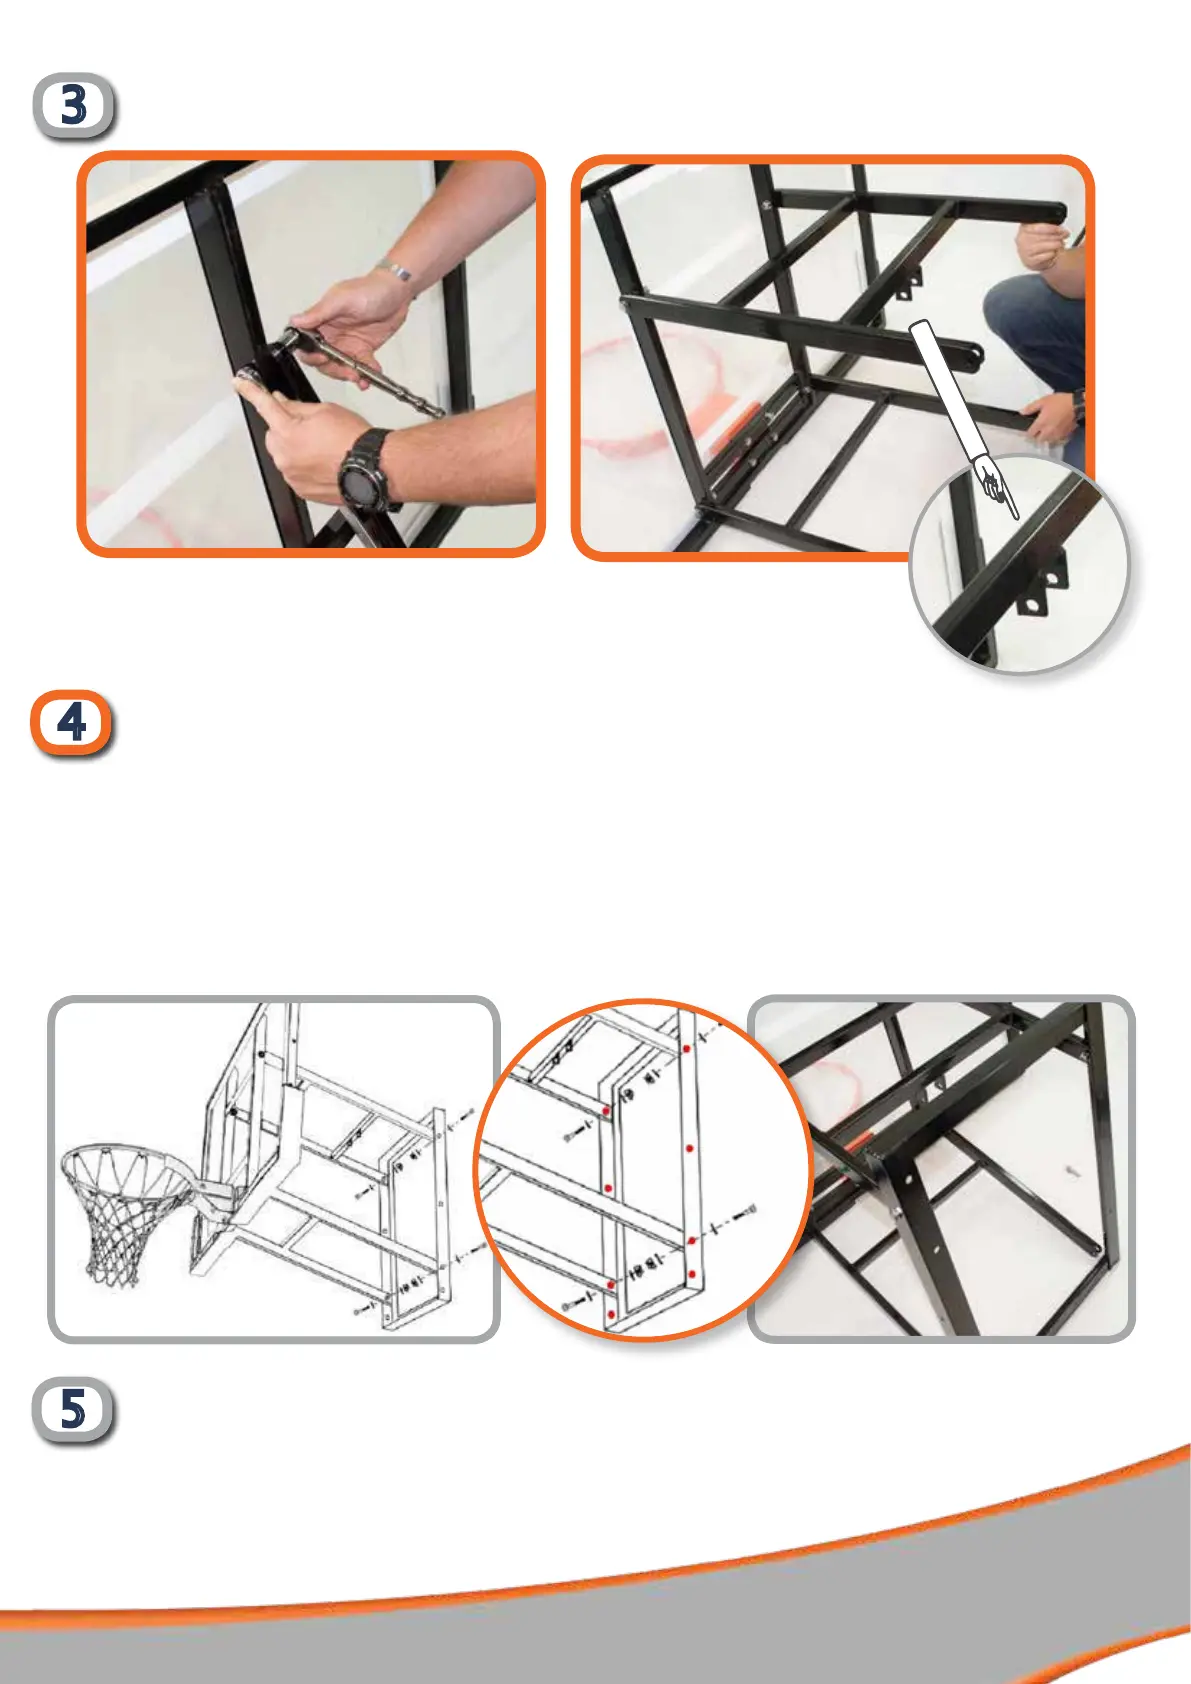
3
4
Attach Backboard Brackets
Attach Backplate to Brackets
You will need:
Pre assembled parts from steps 2-3 (parts 1 + 2 + 4 + 5) Backplate (part 6)
4 x Bolts, Springs, Nuts & Washers A (M10 x 40mm)
They should sit in this order once assembled:
Bolt > Washer > Bracket > Backboard > Washer > Nut
xing joint
5
Attach Adjustment Pole and Handle
You will need:
Pre assembled backboard from steps 1-4 (parts 1 + 2 + 4 + 5 + 6)
Adjustment Pole and Handle (part 9) 1 x Bolt, Nut & Washer E (M10 x 80mm)
Attach the Adjustment Pole (part 9) using one Bolt, Nut and Washer E. Now add the handle as shown in the picture.
 Loading...