20
EN Schneid-FiXX
BEEM - Elements of Lifestyle
Operating
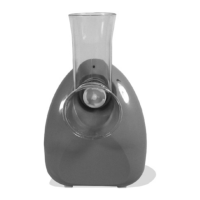
Insert/remove attachment
(see image A)
Insert the attachment into the xture
(2) so that the feed shaft (6) is situated
above the symbol on the drive unit.
Turn the attachment anticlockwise until
the feed shaft (6) is situated above the
symbol on the drive unit.
The feed
shaft snaps in audibly.
To remove, turn the attachment an-
ticlockwise until the feed shaft (6) is
situated above the symbol on the
drive unit.
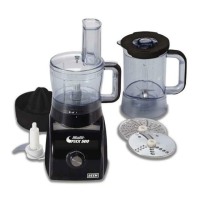
Inserting/removing the grater
(see images B and C)
Push the desired grater into the mount-
ing until it stops (7).
Turn the grater anticlockwise until it
stops. The grater does not snap in but
is pulled inwards and xed into place
during operation.
To remove, simply turn the grater anti-
clockwise.
WARNING
The slicers are very sharp!
Only grip the grater at the plastic ►
parts.
Inserting/removing the splash
guard (see image D)
Insert the splash guard (14) with the
locking elements into the notches of
the appliance.
Lock the splash guard by turning it an-
ticlockwise.
Using the appliance
Insert the attachment rst, then the
desired grater followed by the splash
guard.
Insert the plug into the mains socket.
Press the ON/OFF button to start the
appliance and x the grater.
Switch off the appliance.
Put a suitable container under the
spout.
Cut the ingredients into pieces to t into
the feed shaft.
Press the ON/OFF button to switch on
the appliance.
Remove the pusher.
Put the ingredients into the feed shaft
Insert the pusher into the feed shaft
and press it downwards lightly. This
pushes the ingredients into the grater.
NOTE
The straight surfaces of the pusher ►
point forwards, the rounded point
backwards.
After using
Press the ON/OFF button to switch off
the appliance and wait until the motor
stops moving.
Pull the plug out of the mains socket.
Clean the appliance and the accesso-
ries as described in the Cleaning and
care section.