8
to your ADSL broadband connection:
1. Power off the PC or Notebook.
2. Connect the provided Ethernet (RJ-45) cable to the Ethernet Power Line
Adaptor’s Ethernet port.
3. Connect the other end of the Ethernet (RJ-45) cable to an available
Ethernet port of the ADSL broadband Router.
4. Plug the Ethernet Power Line Adaptor into a wall socket next to the
computer.
5. Turn on your computer.
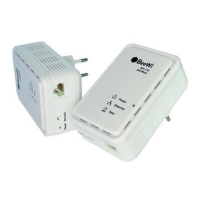
6. Check and confirm that the Power, Ethernet and Data LEDs on the Power
Line Adaptor are ON.
Connect to the Internet to check your network connection.
The HomePlug AV standard uses 128-bit AES (Advanced Encryption
Standard) to safely transmit data between power line adapters. To
communicate with each other, power line adapters need to use the same
Network Membership Key (NMK).
The SECURITY button allows you to set up a secure connection with other
HomePlug AV compliant Power line devices which also support the NMK
feature.
This section describes how to add new devices or remove old devices from a
HomePlug AV logical network (AVLN) by using the SECURITY pushbutton.
3.1. Forming a HomePlug AV Logical Network
When two adapters with different NMK values are connected to the same
power line and the user wants them to form a logical network.
1. Press the SECURITY button on the first adapter for less than 3 seconds.
2. Press the SECURITY button on the second adapter for less than 3 seconds
within the same minute.
3. Wait for the connection to complete.
The Power LED on both adapters blinks evenly at 1-second intervals until the
operation succeeds or fails. If the connection succeeds, it illuminates steadily.
If an error occurs, the Power LED on the second adapter blinks unevenly until
the button on the first adapter is pressed again or the second adapter is reset
by holding the button down for more than 10 seconds.
3. SETTING UP A SECURED NETWORK
 Loading...