120 Country Club Dr. Suite 22-L Incline Village, NV 89451 www.behmor .com
If yes, let’s finish up.
Start by re-inserting all the screws. Start with #5 to re-insure the panel is properly in place, then do 4, 3 and 2.
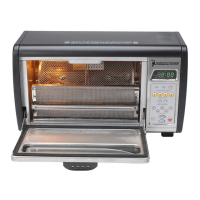
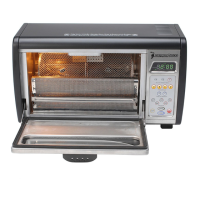
Next for the top panel. -----Remember the “T” and guide as noted previously (Photo C)?
With the panel horizontal, gently insert the “T” through the guide and swing it around so that it lays flat on the
top of the roaster. Do a visual check of the area on top of the control panel to insure is it flat. If yes, bend the
“T” so the panel is locked into place.
With the top panel in position, open the roaster’s door to start with the four small screws that are used for under
the lip. If you’ve ever replaced a tire you know the lug nuts should be done in a specific order. Same logic is
applied here.
Do not tighten any screw all the way until all are in part way.
The first screw should be top left, then top right, finally the middle two. Once they are part way seated, tighten
them all in the same order. Following this procedure will insure the panel is properly aligned for each screw.
Next the top panels back for screws, far left, far right then the middle areas.
Lastly the two side panels.
Left panel first (remember the small screw inside), then right side panel. Make sure in each instance you have
all of the front and side guides going into their respective holes/openings.
Don’t forget to reattach the side panel DC Fan.
 Loading...