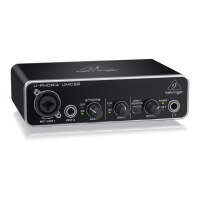
U-PHORIA UMC404/UMC204/UMC202/UMC22/UM2
Quick Start Guide37
36
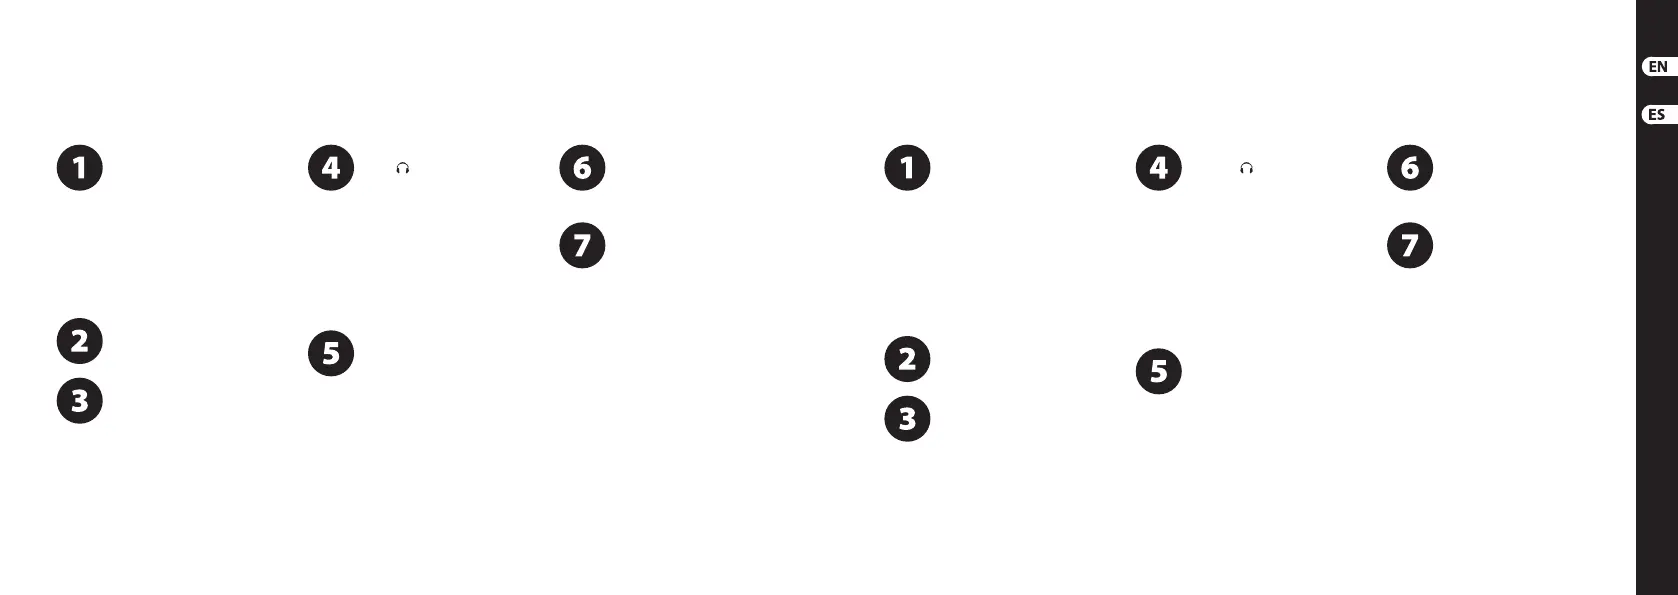
(EN) Step 3: Getting started
U-PHORIA UMC404/UMC204/UMC202/UMC22/UM2 Getting started
Windows users: Please visit
www.behringer.com and
downloadthe latest USB driver for
your U-Phoria interface. Unzip the le,
double-click the setup.exe and follow the
on-screen instructions.
Mac users: For OS X there are no drivers needed,
your U-Phoria interface operates
class-compliant.
Connect to the mains
via the provided power
adapter(UMC404).
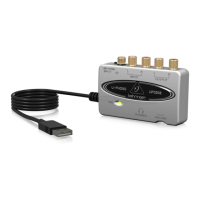
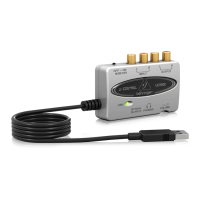
Connect to a computer via the
provided USB cable. Designate your
U-Phoria device as your audio
(UM2 / UMC22 / UMC202) or audio/MIDI
(UMC204 & UMC404) interface in your
DAWsoftware.
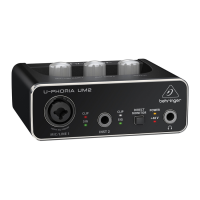
Connect a pair of studio headphones
to the connector to monitor
input levels and playback from your
audio software. Use the OUTPUT knob (UM2 &
UMC22) or PHONES knob (UMC202 / UMC204 /
UMC404) to adjust the headphone volume.
Engage the DIRECT MONITOR button (UM2 /
UMC22 / UMC202) or adjust the MIX knob
(UMC204 & UMC404) to achieve zero latency
monitoring of your inputsignals.
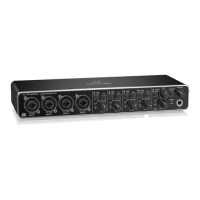
Connect instruments and audio
sources to MIC/LINE 1 and INST 2
(UM2 & UMC22), INPUT 1 and INPUT
2 (UMC202 & UMC204), or INPUT 1 – 4
(UMC404). Use the MIC/LINE GAIN 1 and INST
GAIN 2 (UM2), GAIN 1 and GAIN 2 knobs
(UMC22/ UMC202 / UMC204), or GAIN 1 – 4
(UMC404) knobs to adjust the input level of the
connected audio sources. Engage the +48 V
phantom power switch on the rear panel if you
are recording with condenser microphones.
Connect a MIDI keyboard, controller,
or other MIDI device via the MIDI
ports on the rear panel
(UMC204 & UMC404).
Connect a pair of studio monitors
to the 1(L) & 2(R) OUTPUTS
(UM2/UMC22 / UMC202) or
L & R MAIN OUTS (UMC204 & UMC404) for
playback and mixing. Use the OUTPUT (UM2 /
UMC22 / UMC202) or MAIN OUT (UMC204 &
UMC404) knob to adjust the volume level at the
OUTPUTS or MAIN OUT.
(ES) Paso 3: Puesta en marcha
Usuarios de sistemas Windows:
Visite la web www.behringer.com y
descárguese la última versión del
driver USB para su interface U-Phoria.
Descomprima el chero, haga doble clic en el
archivo setup.exe y siga las instrucciones
queaparecerán.
Usuarios de ordenadores Mac: En OS X no es
necesario ningún driver, por lo que su interface
U-Phoria funcionará de forma directa.
Conecte la unidad a la corriente
pormedio del adaptador
incluido(UMC404).
Conecte esta unidad a un ordenador
por medio del cable USB incluido.
Designe su dispositivo U-Phoria
como su interface audio (UM2 / UMC22 /
UMC202) o audio/MIDI (UMC204 & UMC404)
en su programa DAW.
Conecte unos auriculares de estudio
a la toma para monitorizar los
niveles de entrada y la reproducción
de su software audio. Use el mando OUTPUT
(UM2 & UMC22) o el mando PHONES (UMC202 /
UMC204 / UMC404) para ajustar el volumen de
los mismos. Active el botón DIRECT MONITOR
(UM2 / UMC22 / UMC202) o ajuste el mando MIX
(UMC204 & UMC404) para conseguir una
monitorización con latencia cero de sus señales
de entrada.
Conecte instrumentos y fuentes
audio a las tomas MIC/LINE 1 y INST
2 (UM2 & UMC22), INPUT 1 y INPUT
2 (UMC202 & UMC204) o INPUT 1 – 4 (UMC404).
Use los mandos MIC/LINE GAIN 1 y INST GAIN 2
(UM2), GAIN 1 y GAIN 2 (UMC22 / UMC202 /
UMC204), o GAIN 1 – 4 (UMC404) para ajustar el
nivel de entada de las fuentes audio
conectadas. Active el interruptor de
alimentación fantasma de +48 V del panel
trasero si va a grabar con micrófonos
decondensador.
Conecte un teclado, controlador u
otrodispositivo MIDI a través de
lospuertos MIDI del panel trasero
(UMC204 & UMC404).
Conecte un par de monitores de
estudio a las salidas 1(L) & 2(R)
OUTPUTS (UM2 / UMC22 / UMC202)
o L & R MAIN OUTS (UMC204 & UMC404) para la
reproducción y mezcla del sonido. Use el mando
OUTPUT (UM2 / UMC22 / UMC202) o MAIN OUT
(UMC204 & UMC404) para ajustar el nivel de
volumen en las salidas OUTPUTS o MAIN OUT.
 Loading...