9
E
+ Please ensure that only qualified persons install and operate the ULTRALINK PRO. During
installation and operation the user must have sufficient electrical contact to earth. Electro-
static charges might affect the operation of the ULTRALINK PRO!
1 2
3
2 1
3
Pin 1
Cable InputOutput
Pin 2 = (+) Signal Positive
Pin 3 = (-) Signal
Shield
(+) Signal + Hum
(-) Signal + Hum
Negative
(+)Hum + Signal
(-)Hum + Signal
2 x Signal
Ground
RFI and Hum
= Signal + 6 dB
Fig. 3.1: Compensation of interference with balanced connections
Unbalanced use of
mono 1/4" jack plugs
Ring
Balanced use of
stereo 1/4" jack plugs
Balanced use with XLR connectors
1 2
3
2 1
3
Input Output
Tip =
Signal
Tip =
hot (+ve)
Sleeve =
Ground / Shield
Sleeve =
Ground / Shield
Tip
Tip
Sleeve
Sleeve
Strain relief clamp
Strain relief clamp
Ring =
cold (-ve)
For connection of balanced and
unbalanced plugs, ring and sleeve have
to be bridged at the stereo plug.
1 = Ground / Shield
2 = hot (+ve)
3 = cold (-ve)
For unbalanced use pin 1 and pin 3 have to be bridged
Fig. 3.2: Different plug types
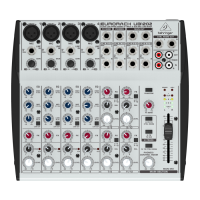
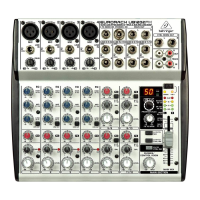
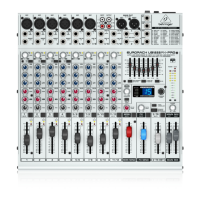
3. INSTALLATION
 Loading...