Building into kitchen benches
These hobs are designed for installation in kitchen benches. When
installed into a corner, the walls or panels above the benchtop
must be at least 155mm away from the edge of the hob to ensure
adequate air circulation to the burners.
The dimensions of each hob and installation openings are shown
in the illustrations included on the following pages.
Insertion and fixing
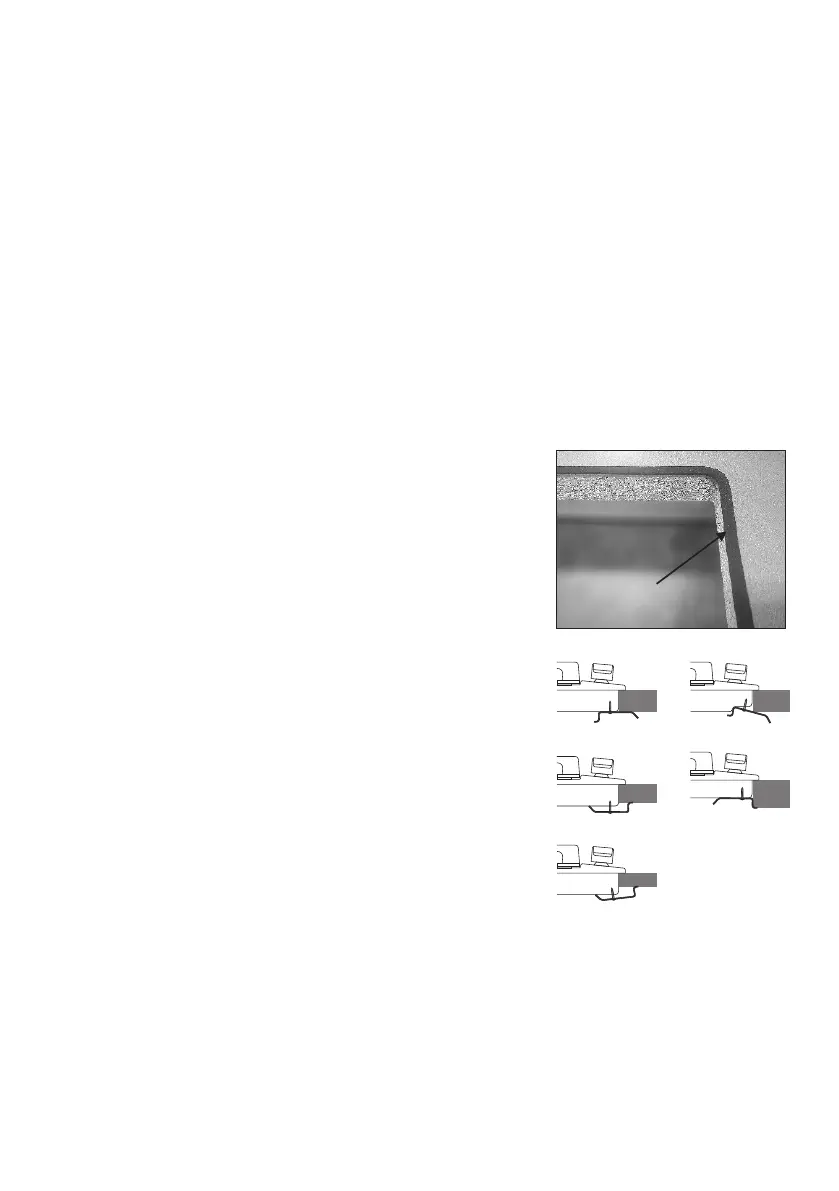
Before inserting the hob in the installation opening, place the
gasket provided around the edge of the cut-out in the benchtop. It
is important to fix this gasket evenly, without gaps or overlapping,
to prevent liquid from seeping underneath the hob.
1) Provide a cut-out in the benchtop as
close as possible to the dimensions
included on the following pages.
2) Make sure the benchtop is clean
and dry
a) For the Stainless hob, place the
gasket as close as possible to the
edge of the cut-out. The join should be
at the rear of the cut-out.
b) For the Glass hob, the foam tape
must be fitted to the edge of the glass
and not the benchtop. The join should
be at the rear of the hob.
3) Place the hob in the installation
opening and push it down so that the
hob is resting firmly on the benchtop.
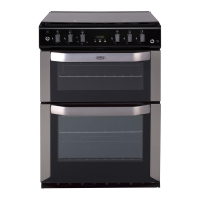
4) Fit the supplied brackets and screws
as shown in the illustrations to the
right. There are several combinations
that can be used depending on the
thickness of the benchtop. Tighten the
screws to secure the hob to the
benchtop. Make sure the hob is sitting
flat and even. Adjust where necessary.
Combustible Surfaces as per AS/NZS 5601
Any adjoining wall surface situated within 200mm from the edge of
any hob burner must be a suitable non-combustible material for a
height of 150mm for the entire length of the hob.
16
Installation
Place gasket around
edge of bench cutout