Itis recommend thatyou run a washcycle with the
dishwasher empt yan d the n re move th e plu g fr om the
socket, turn o ff the wa ter supp ly and le ave the door of
t he app l ian c e sl ig htly ope n. T h is wil l h elp t h e doo r
sealsto last longer and prevent odoursfromforming
withi nthe appli ance .
If the appliance must be move d, t ry to keep it in the
vertical position. If absolutely necessary, it canbe
positi oned on its back.
Oneofthefactorsthatcauseodourstoforminthe
dishwasher is f ood th at re main s tr apped i n the seals .
Periodic clea ning with a d amp sponge will preve nt t hi s
f r o m occurr in g.
Ensu re the voltage and fr equency o f the p ow er being cor resp ond s to
t hose on the rati ng pl ate. Only insert the p lug into an elect rica l so cke t which is ea rthed
pr op erly. If t he el ectrical socket t o wh ich the a ppl iance must b e conne ct ed is not
appropriate forthe plug, replace the socket, ratherthan using a adaptors or the like as
they could cause ove rheating andburns.
Plea se look at th e r ating labe l to know t he r ating v oltage and c onn ect t he d ishwasher to t he app ropr iate power s uppl y.
Use the r equired fuse 10 amp , tim e d elay f use or c ircuit br eake r rec ommended and provide separate circuit servi ng
only this appl ia nce.
This appliance must be earthed. In the event of a malfunction or breakdown, earthing will reduce the risk of
electric shock by providing a path of least resistance for the electric current. This appliance is equipp ed with a
cord having an equipment-earthing conductor and an earthing plug. The plug must be plugged into an
appropriate outlet that is installed and earthed in accordance with all local standards and requirements.
Posi tion the ap pliance i n the d esired location. T he back sho uld r est ag ainst the w all b ehi nd it, and the side s,
along the adj acen t ca bi nets o r wa lls. T he dishw asher is equippe d wi th water supply and d rain hos es th at can
be positio ned ei th er to the righ t or the l eft s ides to facil itate p rop er i nstall ation.
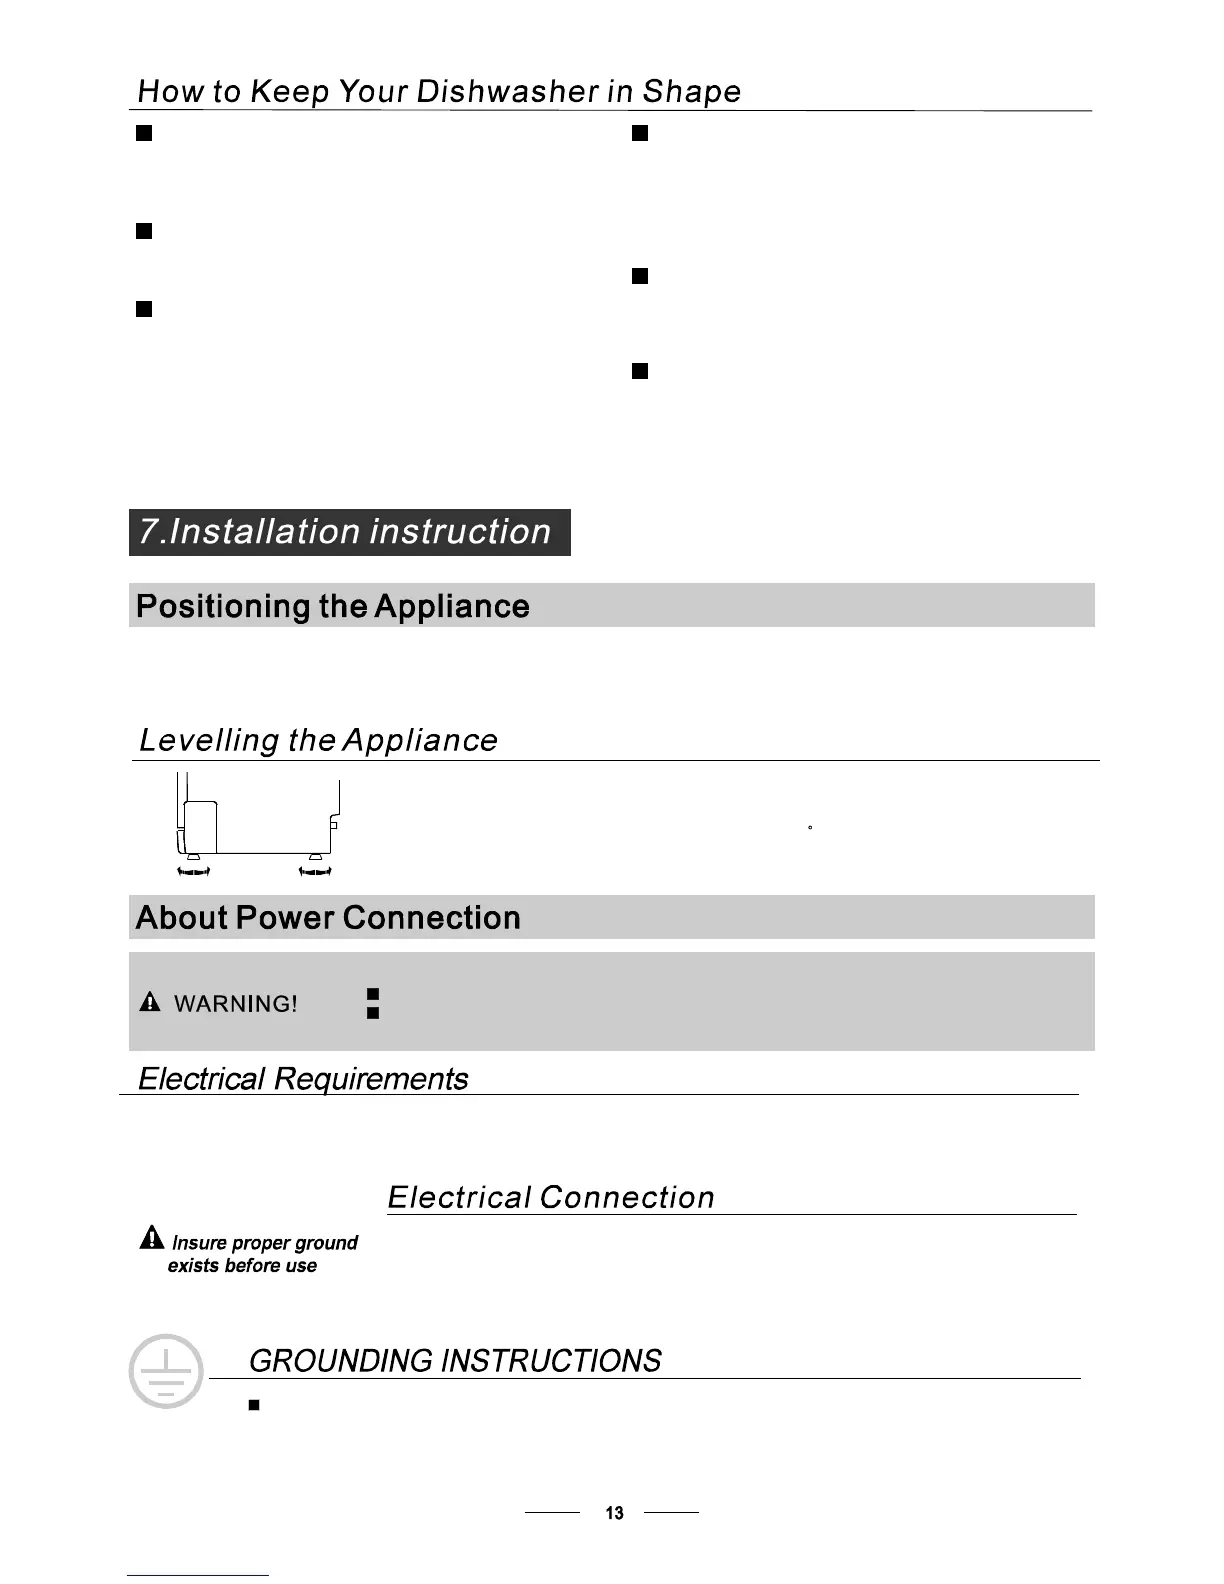
O nce th e appl iance is pos itione d for levell in g, the hei ght of the dishwashe r
m ay be alt ered vi a ad justment of the screwing level of the fee t. In any cas e,
th e appl ia nce should not be i nclin ed more than 2 .
For personal safety:
DO NOT USE AN EXTENSION CORD OR AN ADAPTER PLUG WITH THIS APPLIANCE.
DO NOT, UNDERANY CIRCUMSTANCES, CUT OR REMOVE THE EARTHING
CONNECTION FROM THE POWER CORD.
Aft er every wash, turn off the water supp ly t o the
applia nce and leave t he do or s lightl yop en soth at
m oisture a nd odou rs a re n ot t rapped inside .
Befo re cleaning or p erforming mainten ance, always
remove the p lug from t he socket.
To clean theexterior andrubberparts ofthedishwasher,
do not use solventsor abrasive cleaning products.
O nly u se a clo th w ith war m so apy wate r.
To re m ov e sp ots o r st ains f rom the sur f ac e of t h e
interi or, use a cloth da mpened wit hwater an a little
vi neg ar, o r a clean ing pro duct mad e s peci fical ly f or
dishwashers.
After Every Wash
Remove the Plug
No Solvents orAbrasive Cleaning
Mov ing the Ap plia nce
Seals
When not in Use for a LongTime