P/N: 501012500
Loading the Ribbon
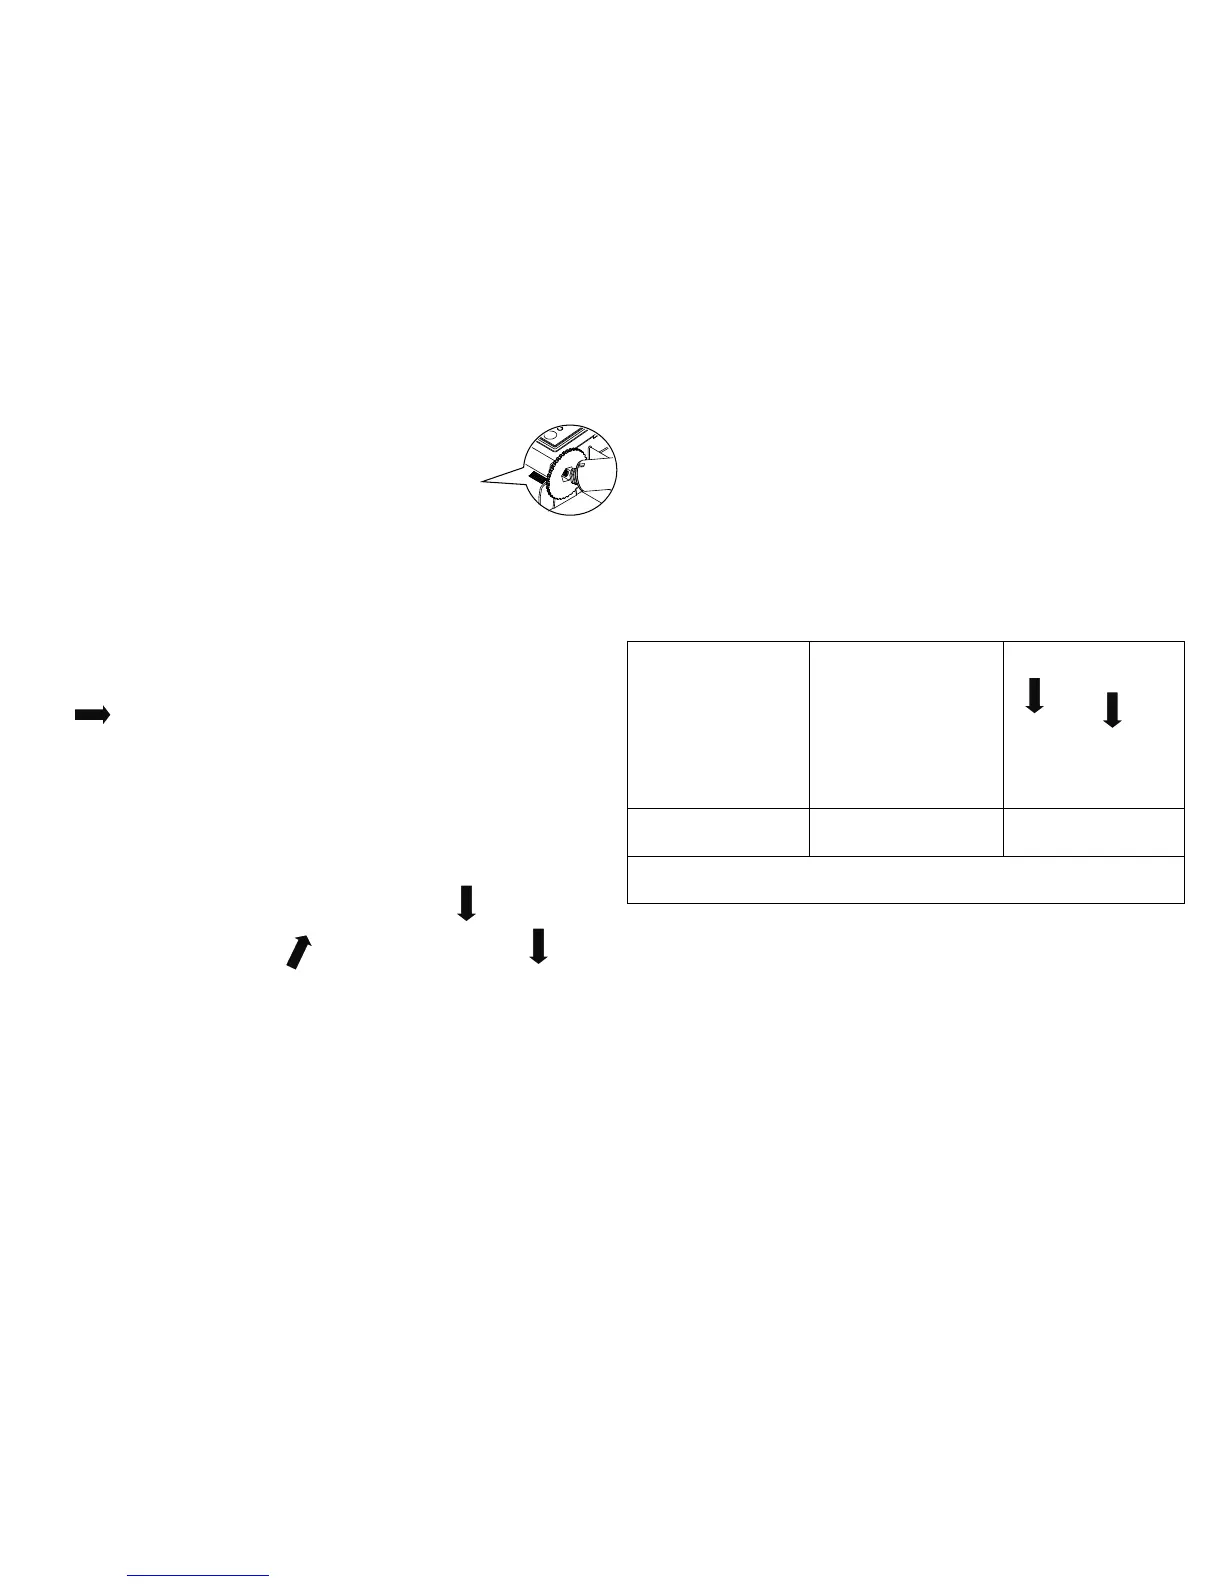
s located on each side of
Insert the left side of ribbon rewind spindle to
the ribbon rewind hub first then insert the
e of ribbon rewind spindle to the hole
at the right side of ribbon mechanism.
Push the print head release button to open
the print head mechanism.
(5) Insert the ribbon to the ribbon spindle.
Insert the left side of ribbon supply spindle t
the ribbon supply hub first then insert the
right side of ribbon supply spindle to the hole
at the right side of ribbon mechanism.
Pull the ribbon through the print head
then stick the ribbon onto the ribbon re
plastic leader is thoroughly wound and the
black section of the ribbon covers the print
hands and make sure the latches
engaged securely.
Loading the Media
top cover open tabs located on each side
Insert the media supply spindle into the paper
roll and use two fixing tabs to fix the paper roll
onto the center of the spindle.
mount. (If your paper width is 4 inch,
can remove the fixing tabs from the
Push the print head release button to open
the print head mechanism.
the paper, printing side face up, through
label leading edge onto the platen roller. Move
the media guides to fit the label width.
Close the print head mechanism
hands and make sure the latches
et the media sensor type and calibrate the selected sensor.
(Start the “Diagnostic tool”
Configuration” tab Click the “Calibrate Sensor” button ) Please refer to the diagnostic utility quick start guide for more information.
Note: Please calibrate the gap/black mark sensor when changing the media.
In case of changing the ribbon, the calibration process is not