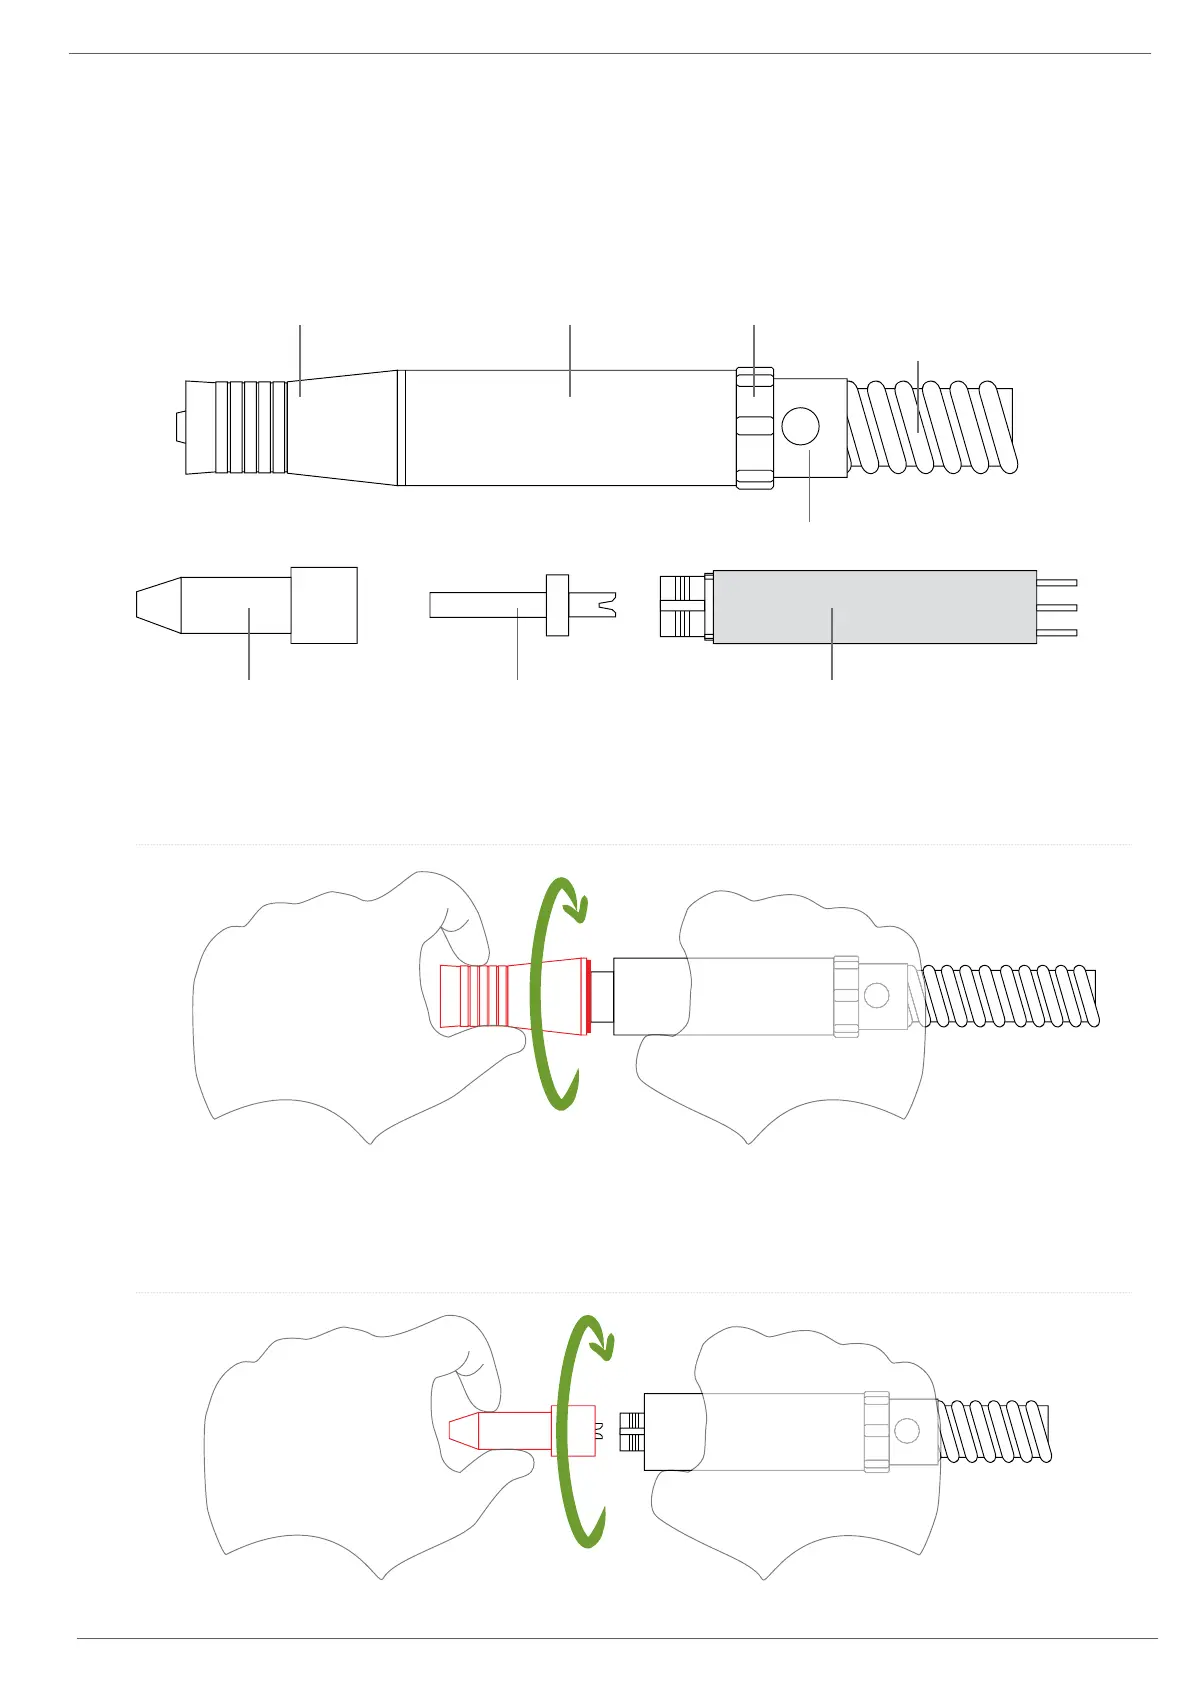
Hold the Main Alloy Body of the Handpiece in one hand, then
unscrew and remove the Alloy Nose Cone.
Then unscrew and remove the Burr Clutch Housing.
Main Alloy Body Knurled Locking Nut
On/Off Switch Assembly
Vacuum Hose
Burr Clutch Housing Micro-motorBurr Clutch Assembly
Step 1
Step 2
Hold the Main Alloy Body of the Handpiece in one hand, then
unscrew and remove the Alloy Nose Cone.
Then unscrew and remove the Burr Clutch Housing.
Main Alloy Body Knurled Locking Nut
On/Off Switch Assembly
Alloy Nose Cone
Vacuum Hose
Burr Clutch Housing Micro-motorBurr Clutch Assembly
Hold the Main Alloy Body of the Handpiece in one hand, then
unscrew and remove the Alloy Nose Cone.
Then unscrew and remove the Burr Clutch Housing.
Main Alloy Body Knurled Locking Nut
On/Off Switch Assembly
Alloy Nose Cone
Vacuum Hose
Burr Clutch Housing Micro-motorBurr Clutch Assembly
7
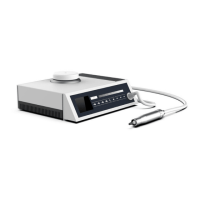
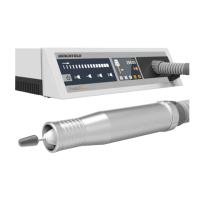
Dismantling the Handpiece
Summary of Parts
A unique feature of the Berchtold handpiece is it’s ability to be completely dismantled, cleaned, and re-built.
To ensure optimal performance of your Berchtold handpieces we suggest that this be performed every 2-3 weeks.