HYDRONIC UNIT
16
To modify the default factory time pe-
riods.
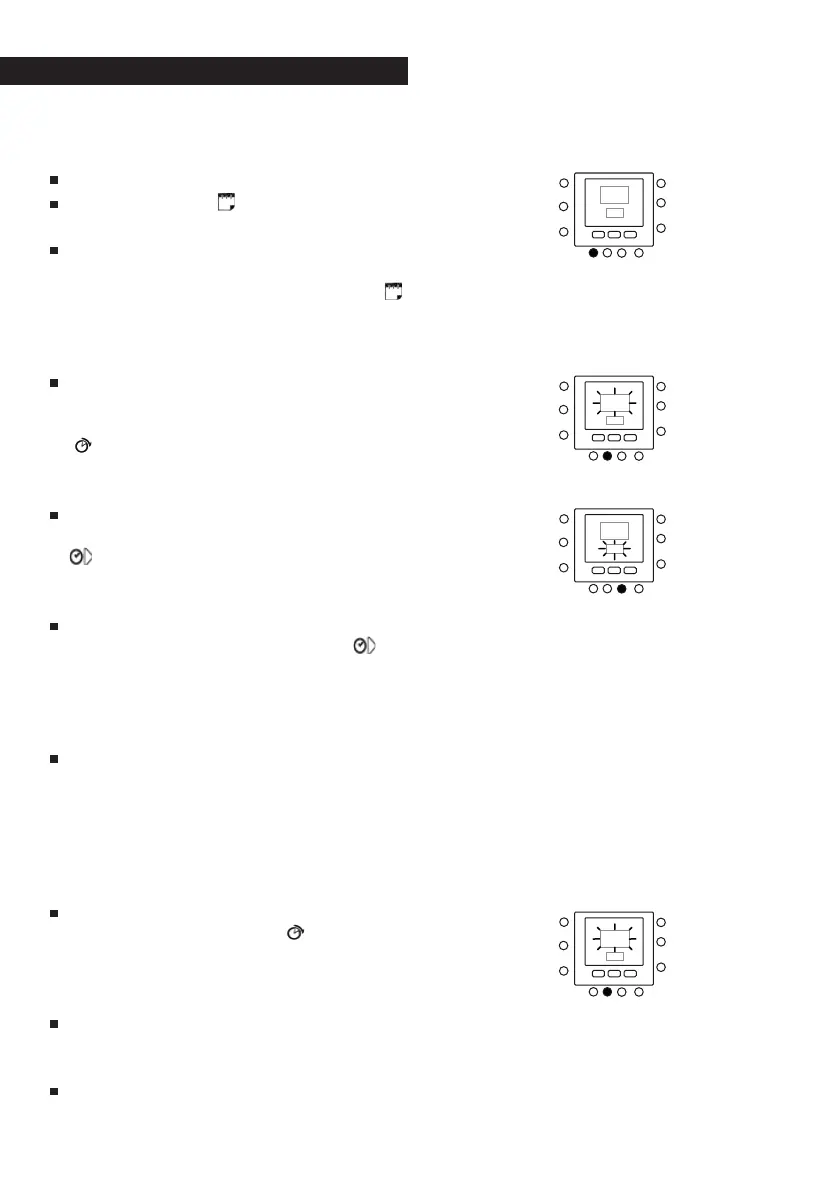
Open the flap.
Press the DAYS (
) key: the numbers
1 to 7 will flash on the display.
Select one of these time options:
from 1 to 7, from 1 to 5, from 6 to 7 or
day by day by pressing the DAYS (
)
key again. (Select the option from 1 to
7 if the hourly settings of weekdays
are the same as those on weekends).
Once you have selected one of the
options (from 1 to 7, from 1 to 5, from
6 to 7 or day by day), press the PERIOD
(
) key. A P and a 1 will flash on the
display. This is period 1 (P1), starting
at 6:00 AM.
To change the number of hours in P1,
press the PERIOD START key for time (
). The time 6:00 AM will flash on
the display. Press the UP and DOWN
keys until you reach the desired time.
To change the minutes, press the PE-
RIOD START key again for time (
) at
the bottom of the display. The min-
utes in 6:00 AM will flash on the dis-
play. Press the UP and DOWN keys un-
til you reach the desired time.
The end time for period 1 (P1) is also
the start time for period 2 (P2). To
change the end time for period 1 –
which also means changing the start
time for period P2 – use the instruc-
tions in the next step to change the
start time for period 2.
To change the start time for period 2
(P2), press the PERIOD
key under
the display twice. This will display in-
formation about period 2, with P2
flashing on the display.
Repeat the steps used for program-
ming period P1 to program periods
P2, P3, P4, and so on.
If you did not select the period from 1
to 7 (every day) when you started this
 Loading...