Installation & Maintenance Instructions
IMPORTANT INSTRUCTIONS
READ AND SAVE
THESE INSTRUCTIONS
No. II-470
Date February, 2021
WARNING: TO REDUCE THE RISK OF FIRE, ELECTRIC SHOCK OR INJURY TO PERSONS, OBSERVE THE FOLLOWING:
A. Read all instructions before installing or using this air curtain.
B. Use this unit only in the manner intended by the manufacturer and described in this manual. Any other use not recommended by the
manufacturer may cause re, electric shock, or injury to persons. If you have any questions, contact the manufacturer.
C. Before servicing or cleaning unit, switch power o at service panel and lock the service disconnecting means to prevent power from
being switched on accidentally. When the service disconnecting means cannot be locked, securely fasten a prominent warning device,
such as a tag, to the service panel.
D. Installation work and electrical wiring must be done by qualied person(s) in accordance with all applicable national and local codes
having jurisdiction, including re-rated construction. See page 4, ELECTRICAL CONNECTIONS (NEC Code ANSI/NFPA No. 70).
E. When cutting or drilling into wall or ceiling, do not damage electrical wiring and other hidden utilities.
F. To reduce the risk of re, do not store or use gasoline or other ammable vapors and liquids in the vicinity of the air curtain.
G. This air curtain is hot when in use. To avoid burns, do not let bare skin touch hot surfaces. Keep combustible materials, such as furniture,
pillows, bedding, papers, clothes, etc. and curtains at least 1 inch from the top, back, front, sides and at least 6 feet from the discharge of
the air curtain.
H. Extreme caution is necessary when any air curtain is used by or near children or invalids, and whenever the heater is left operating
unattended.
I. Do not operate any air curtain after it malfunctions. Disconnect power at the service panel and have the air curtain inspected by a
reputable electrician before reusing.
J. To disconnect the air curtain, turn controls to "o", and turn o power to the air curtain circuit at main disconnect panel.
K. Do not insert or allow foreign objects to enter any ventilation or discharge opening as this may cause an electric shock or re, or damage
the air curtain.
L. To prevent a possible re, do not block the air intake or discharge of the air curtain in any manner.
M. The air curtain has hot and arcing or sparking parts inside. Do not use it in areas where gasoline, paint, or ammable vapors or liquids are
used or stored.
N. This heater may include an audible or visual alarm to warn that parts of the heater are getting excessively hot. If the alarm sounds (or
illuminates), immediately turn the heater o and inspect for any objects on or adjacent to the heater that may have blocked the airow or
otherwise caused high temperatures to have occurred. DO NOT OPERATE THE HEATER WITH THE ALARM SOUNDING (OR ILLUMINATING).
ARCHITECTURAL
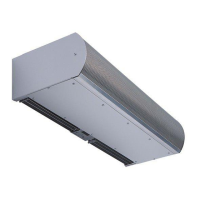
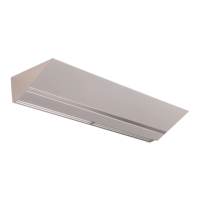
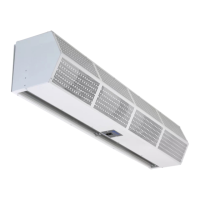
Low Prole 8
AIR CURTAIN SERIES ALC08
FDA
RECOMMENDED
TABLE OF CONTENTS
I. UNCRATING............................................................................................................................................................ ........................................................ 2
II. GENERAL MOUNTING INSTRUCTIONS ................................................................................................................................. ................................... 2
III. WALL MOUNTING ...................................................................................................................................................................................................... 2
IV. SUSPENDED MOUNTING ....................................................................................................................................... ................................................... 3
V. ELECTRICAL CONNECTIONS ..................................................................................................................................................................................... 4
VI. FIELD CONNECTIONS ................................................................................................................................................................................................ 5
VII. OPERATING INSTRUCTIONS .................................................................................................................................................................................... 6
INTELLISWITCH™
QUICK START OPERATION ................................................................................................................................................................................. 9
FAQ’s (FREQUENTLY ASKED QUESTIONS) .................................................................................................................................................... 10
VIII. MAINTENANCE AND CLEANING .......................................................................................................................................................................... 12
IX. SERVICE ............................................................................................................................................................... ........................................................ 8
X. TROUBLESHOOTING ................................................................................................................................................................................................. 14
XI. APPENDIX
A. SERIAL NETWORK CONNECTION ................................................................................................................................................................... 15
B. REMOTE MOUNTED DISPLAY FACEPLATE ................................................................................................................................................ .... 15
C. INFRA-RED REMOTE CONTROL ................................................................................................................................................ ...................... 15
D. BACnet-IP INTEGRATION ................................................................................................................................................ ................................ 15
XII.WARRANTY ................................................................................................................................................ ............................................................... 16
USDA
COMPLIANCE
®
WHEN THE DOORS ARE OPEN
™
save energy & create healthy, comfortable environments
800-245-4455 www.berner.com