INSTALLATION AND OPERATING CONDITIONS OF THE
APPLIANCE
5
Installation before using the appliance for the first time
•
•
Minimum distances from the heat sources
•
from the electric gas and other ovens - 1 3/16’’ (30 mm),
•
from oil or coal fired ovens - 11 13/16’’ (300 mm),
•
from built-in ovens - 1 31/32’’ (50 mm)
Installation must be precise and carried out as specified with nothing left to interpretation.
Connect to the power supply
•
Prior to connection, it is recommended to set the temperature control knob to an “OFF” or other
position that disconnects the appliance from the power supply (see page with the control
description).
•
This appliance should be connected to AC 110-120V 60HZ supply socket. The socket
must be fitted properly, and must be supplied with an earthing conduit and a 10A fuse.
•
It is a legal requirement that the appliance is properly grounded The manufacturer will not be
held liable for any damage or injury which may result from the failure to fulfil this requirement.
•
Do not use adapters, multiple sockets and two-wire extension leads. If it is necessary to use the
extension lead, it must be equipped with a protection ring and a single socket and must have a
VDE/GS safety certificate.
•
If an extension lead is used (with a protection ring and safety certificate), its socket must be
located at a safe distance, away from the sinks, and must not be in a place where it could be
flooded by water or waste water.
•
See the data plate at the lower part of the internal wall of the appliance for detailed specifications
Disconnect to the power supply
•
Make sure the appliance can be easily disconnected from the mains, either by pulling the
plug out of the receptacle, or by switching the breaking off.
Make sure there is enough space around the refrigerator to make it work properly. A free
space of 25/64’’ (10 mm) is required on the rear of the equipment so that the air can circulate
to cool the compressor. Space above the refrigerator should be kept at 1 3/16" (30 mm).
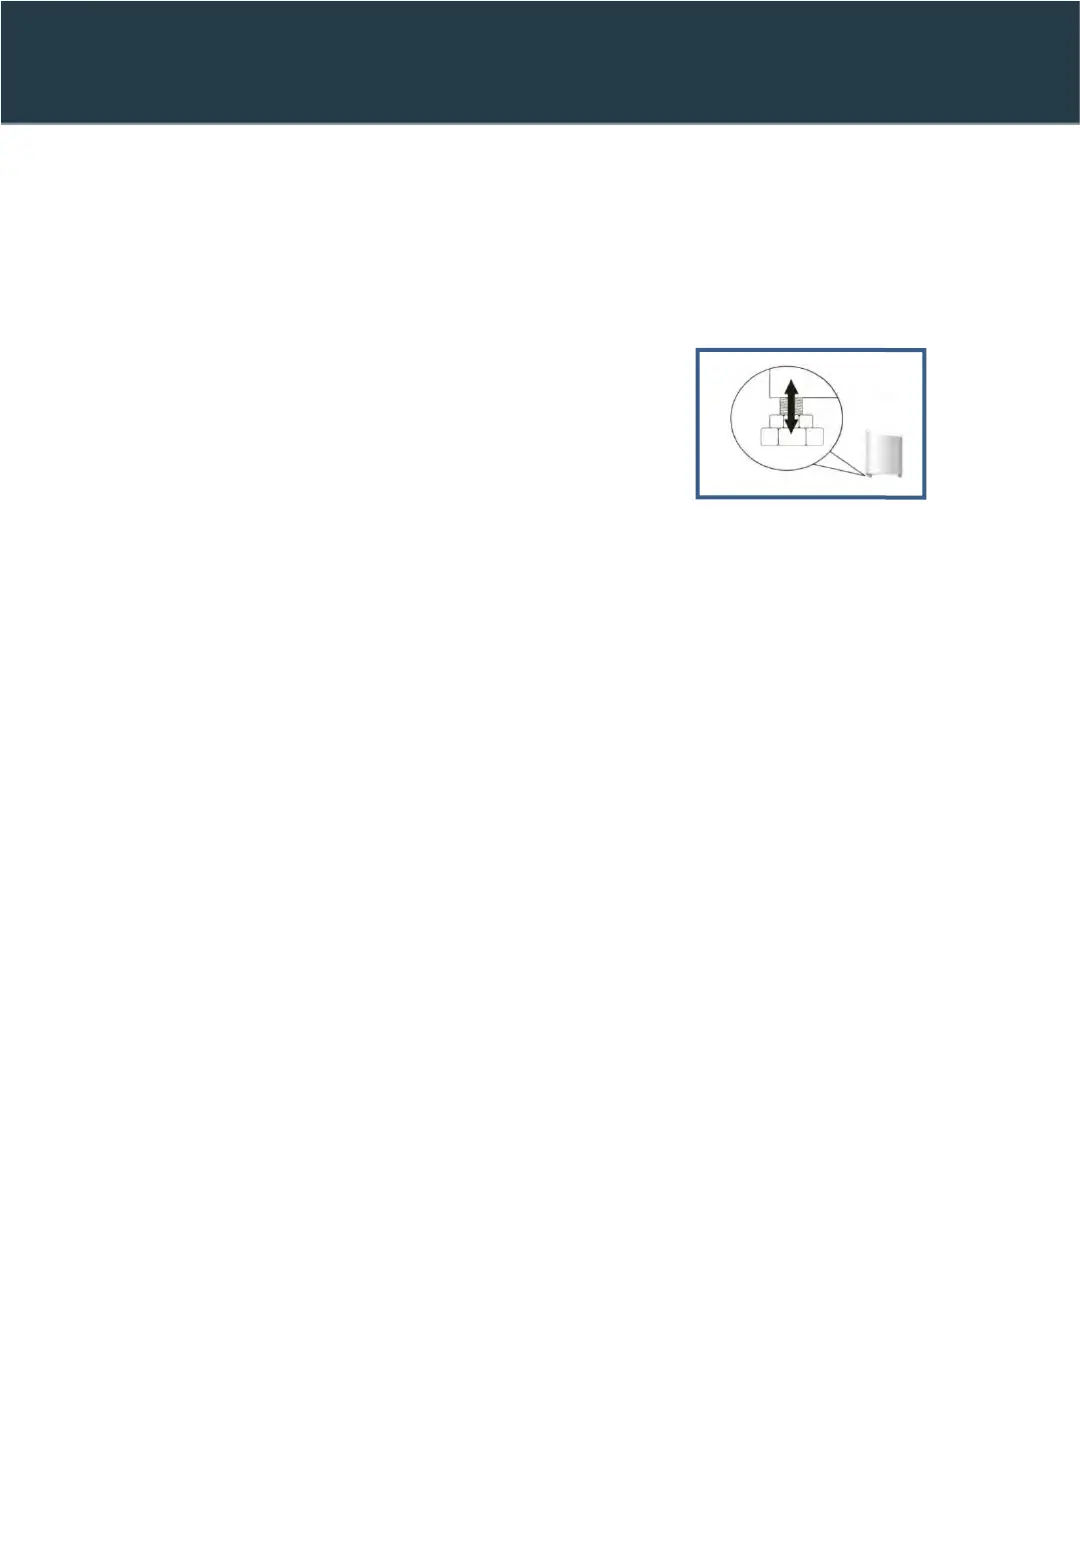
Make sure the appliance is placed in a level position by screwing in the 2 adjustable front legs.