18
1
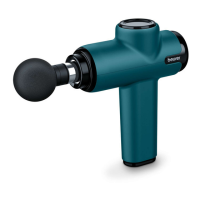
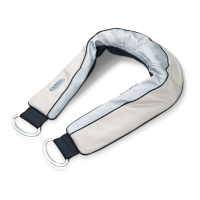
Attachment
4 dierent attachments are available
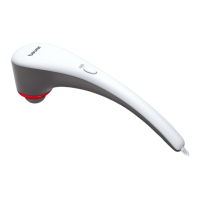
2
ON/OFF button
3
Battery state indicator (3 LEDs)
3 LEDs = Battery state at 100%
2 LEDs = Battery state at 75%
1 LED = Battery state at 50%
4
Handle
5
Connection for mains adapter
6
ON/OFF switch
7
LED Intensity level display
5 LEDs, starting from the left and increasing from left to right
4.2 Attachments
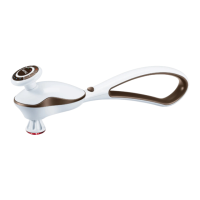
8
Ball head
Best suited for treating large areas and large muscle groups
(e.g. the upper arm or calf).
9
Spiral head
Best suited for treating deep muscle tissue and for targeted spot massages
(e.g. on the sole of the foot).
10
U-shaped head
Best suited for treating deep muscle tissue in the lower back area (excluding the spine)
or the Achilles tendon.
11
Flat head
Best suited for treating large areas on the entire body (e.g. the thigh).
12
Mains adapter
5. INITIAL USE
5.1 Initial use
USAGE
The massage must always feel comfortable. The appearance of light haematoma is a positi-
ve e ect of treatment and quite likely, as circulation can be promoted in a targeted way by
applying the device. Isolated erythema may also occur. If you develop excessive skin irritation,
discontinue the application of the device and consult a doctor. Depending on the extent of the
muscle tension, an application duration of approx. 10 minutes is recommended for the desired
area (neck, shoulder, back, arms, buttocks and legs).
Before using the Deep Tissue Massager for the first time, charge it first for a minimum of 3.5
hours. To do so, proceed as follows:
1. Remove all packaging material from the device.
2.
Connect the supplied mains adapter to the Deep Tissue Massager. The connection for the
mains adapter is located on the bottom of the handle of the Deep Tissue Massager
A
.
3. Then insert the mains adapter into a suitable socket. The current battery charge level is dis-
played on the battery charge level display
3
.